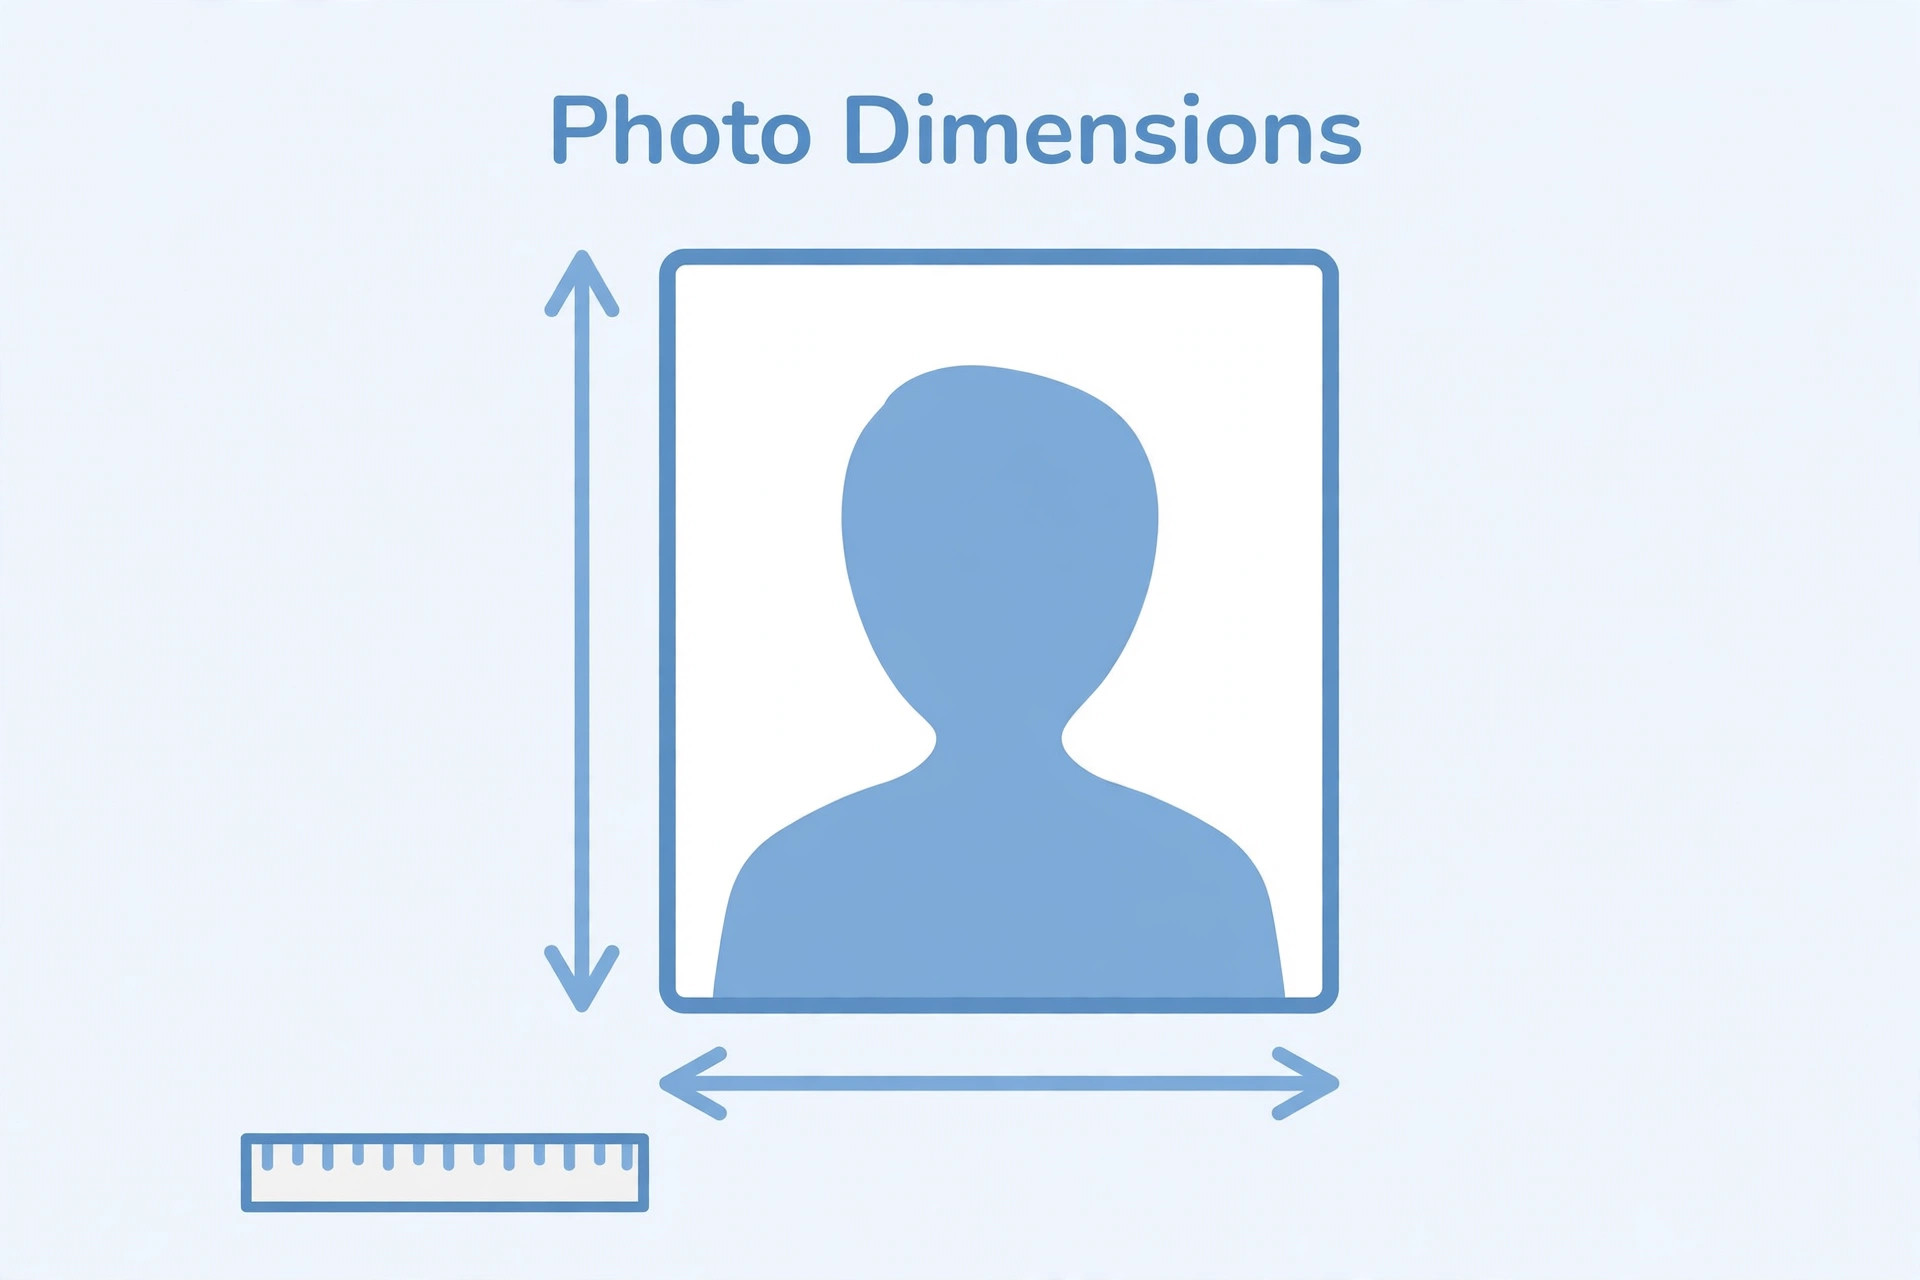
Many government recruitment forms ask applicants to upload a recent photograph. People often describe the required image as a passport-size photo, but this phrase does not always tell you the exact digital dimensions. A printed passport photograph has physical measurements, while an online form may ask for a width and height in pixels, a file-size range or both. These details must be checked separately.
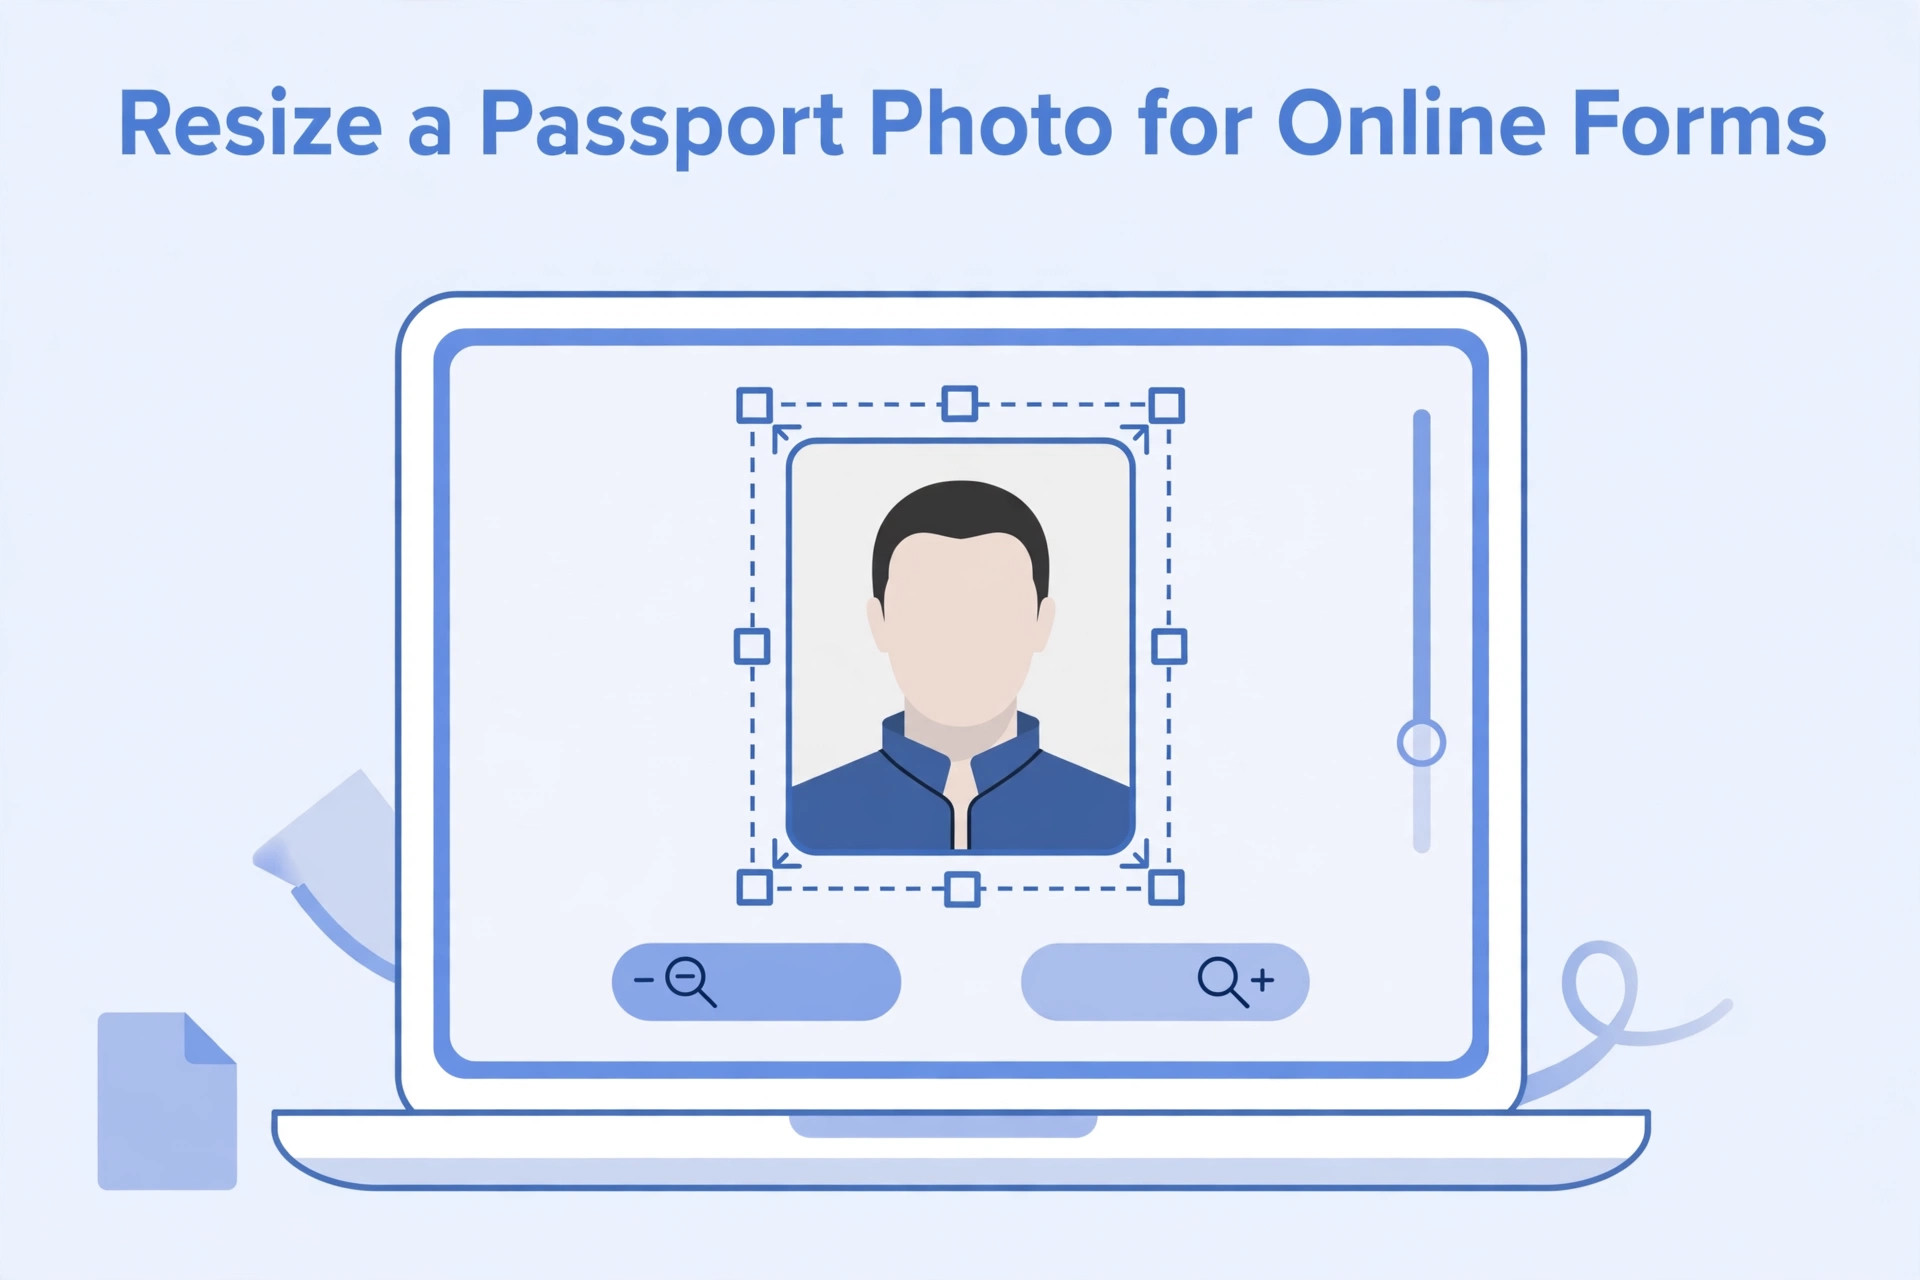
Resizing a photograph is not difficult, but doing it carelessly can make the face stretched, blurred or too small. The goal is not simply to create a tiny image. The goal is to prepare a clear photograph that follows the current recruitment instructions.
First understand what “passport size” means online
In everyday language, passport size usually refers to a small portrait photograph. Online recruitment portals may use the same phrase, but their technical requirements can vary. One portal may provide exact pixel dimensions. Another may provide a sample image. A third may specify only a file-size range and ask the applicant to maintain a particular face position.
Do not copy dimensions from a random website without checking the current notice. A size that was accepted in an earlier recruitment cycle may not be accepted in the current one. Even two examinations conducted by the same authority may use different application systems.
Before resizing, write down the required width, height, accepted format and file-size range. If the notice gives a sample, compare the framing of your image with that sample. If the instructions are not clear, look for the official application help document.
Prepare the original photograph
Start with the best quality original image available. A clear original gives you more flexibility when cropping and resizing. If the original is already blurry, enlarging it will not restore missing detail.
Take the photograph in steady light. Keep the camera at approximately face level and look towards the lens. Use a simple background that follows the recruitment instructions. Avoid strong backlighting, harsh shadows and decorative filters. Make sure the face is clearly visible and that the image looks like the applicant.
If you are using a phone, clean the camera lens first. Ask someone to take the photograph if a selfie makes the angle awkward. A photograph taken from too close may distort facial proportions. Use the normal camera mode unless the authority specifies another method.
Crop before resizing
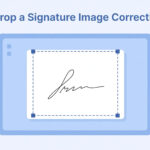
Cropping removes unwanted parts of the image. Resizing changes the number of pixels. It is usually easier to crop first and resize second.
Open the photograph in an image editor. Select a portrait-shaped crop that keeps the head and shoulders within the frame if that is what the sample requires. Do not cut off the top of the head, chin or sides of the face. Avoid leaving a large empty area above the head.
Keep the subject reasonably centred. If the portal shows a face-position guide, use it. Do not crop so tightly that the face touches the image edges. After cropping, preview the result at normal size to make sure the framing still looks natural.
Keep the original proportions
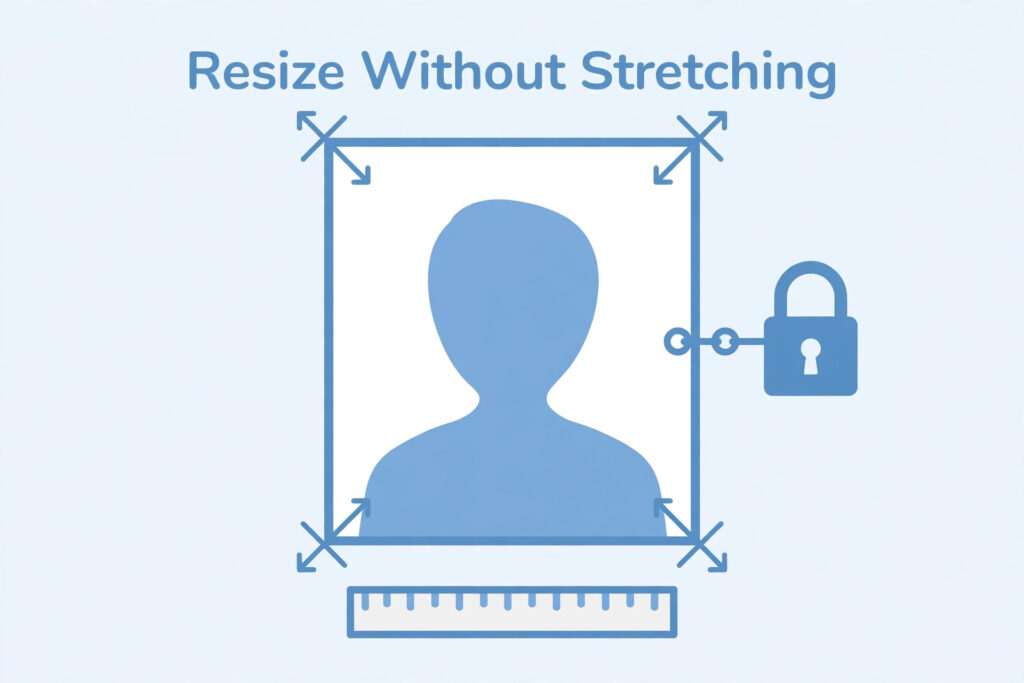
One of the most common resizing mistakes is stretching an image to fit a target width and height. This can make a face look unusually wide or narrow. Most image editors have an option called “maintain aspect ratio,” “lock proportions” or something similar. Keep this option enabled when resizing.
If the required width and height have a different aspect ratio from your crop, adjust the crop to the correct shape first. Do not force the image into a different shape by stretching it. A small amount of careful cropping is better than distorting the face.
For example, imagine that your source photograph is a tall portrait, but the portal expects a less tall rectangle. You can crop some background from the top or bottom while keeping the face and shoulders visible. Then resize the cropped image to the required pixel dimensions.
Resize the image on a computer
On a Windows computer, you can use a basic image editor or a trusted photo application. Open the image, find the resize option and enter the dimensions given in the recruitment notice. If the application allows you to choose pixels, make sure you are not entering centimetres or inches by mistake.
Check that the aspect ratio is locked. If you enter a width and the height changes automatically, compare the result with the portal’s required dimensions. If both values must be exact, crop to the correct aspect ratio before entering the final values.
Save the resized file as a new copy. Keep the original untouched. This gives you a way to start again if the result becomes distorted or too small.
Resize the image on an Android phone
A phone can also be used to prepare a recruitment photograph. Choose an image editor that allows you to crop, set pixel dimensions and export to the required format. Some gallery applications offer only basic crop options, so they may not be enough when a portal gives exact pixel measurements.
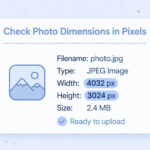
After editing, open the file information or details screen to check the dimensions. If the application does not show the pixel size, use another trusted tool to inspect it. Avoid installing unknown applications that request unnecessary access to your photos or contacts.
Keep the edited file in a folder that is easy to locate when you open the recruitment portal. Rename the file with a simple name such as “exam-photo” so that you can identify it quickly.
Reduce file size after resizing
A photograph may have the correct pixel dimensions but still exceed the portal’s file-size limit. In that case, use image compression or export settings to reduce the file size. Compression should be controlled. If you lower the quality too much, the face may look blocky or unclear.
Do not confuse file size with dimensions. Changing the width and height may reduce file size, but it can also reduce image detail. Compression changes how the image is stored. Check both values after editing.
If the portal gives a minimum and maximum file size, keep the image comfortably inside that range rather than aiming exactly at the boundary. A file that is only a few bytes below the maximum may become slightly larger if it is re-exported by another application.
Choose the correct format
Many recruitment portals accept JPG or JPEG photographs. Some may allow PNG or another format. Follow the specific instruction shown beside the upload field.
A file extension is not proof of its actual format. Renaming “photo.png” to “photo.jpg” does not convert the image. Use the export or save-as option in an image editor to create a real JPEG file when JPEG is required.
After saving, open the final file. If it does not open normally, create it again. A damaged or incorrectly exported file may be rejected even if its name looks correct.
Check the finished image before uploading
Do not upload the first version without checking it. Review the image at normal size and zoom in to inspect facial detail. Confirm that the face is not stretched, the background is suitable and the crop does not cut off important parts.
Then check the technical details:
- Width and height in pixels.
- File size in KB or MB.
- File format.
- Whether the image opens correctly.
- Whether the face is clear and recognisable.
- Whether the image follows any date or background instruction.
The final file should match the exact requirements in the current recruitment notice. A general passport-photo guide cannot replace those instructions.
Mistakes to avoid
Do not enlarge a very small photograph and expect it to become sharp. Do not stretch the image to force it into the required dimensions. Do not use beauty filters or face-changing effects. Do not remove important facial features with excessive cropping. Do not keep compressing the same file again and again, because repeated lossy exports can reduce quality.
Another mistake is preparing a photograph for one examination and assuming it will work for every other form. Save the original and make a separate version for each portal when requirements differ.
Frequently asked questions
Can I resize a passport photo without losing quality?
Resizing can reduce detail, especially when the image is made much smaller. Start with a high-quality original and avoid unnecessary resizing. Inspect the final file before uploading.
Should I resize first or compress first?
A practical order is to crop, resize to the required dimensions and then compress if needed. Check the final dimensions and file size after exporting.
Can I use a printed passport photograph?
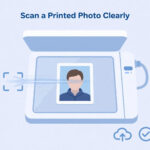
You may scan a printed photograph if the recruitment instructions permit it. Scan it clearly and follow any rules about background, age of photograph and framing.
Why does my photo look stretched after resizing?
The aspect ratio may have been changed. Re-crop the image to the required shape and resize it with proportions locked.
Is a passport photo tool enough for every recruitment form?
No. A general tool can help with editing, but each recruitment portal may have different specifications. Always compare the output with the current official instructions.
A simple workflow to follow
Keep one original photograph in a safe folder. Read the current notice, note the exact specifications, crop the image, resize it without stretching, compress it only if necessary and export it in the accepted format. Open the final file and check it again before uploading.
This process takes only a few minutes once you know the requirements. It is much safer than repeatedly uploading random versions and hoping that one will be accepted.