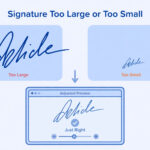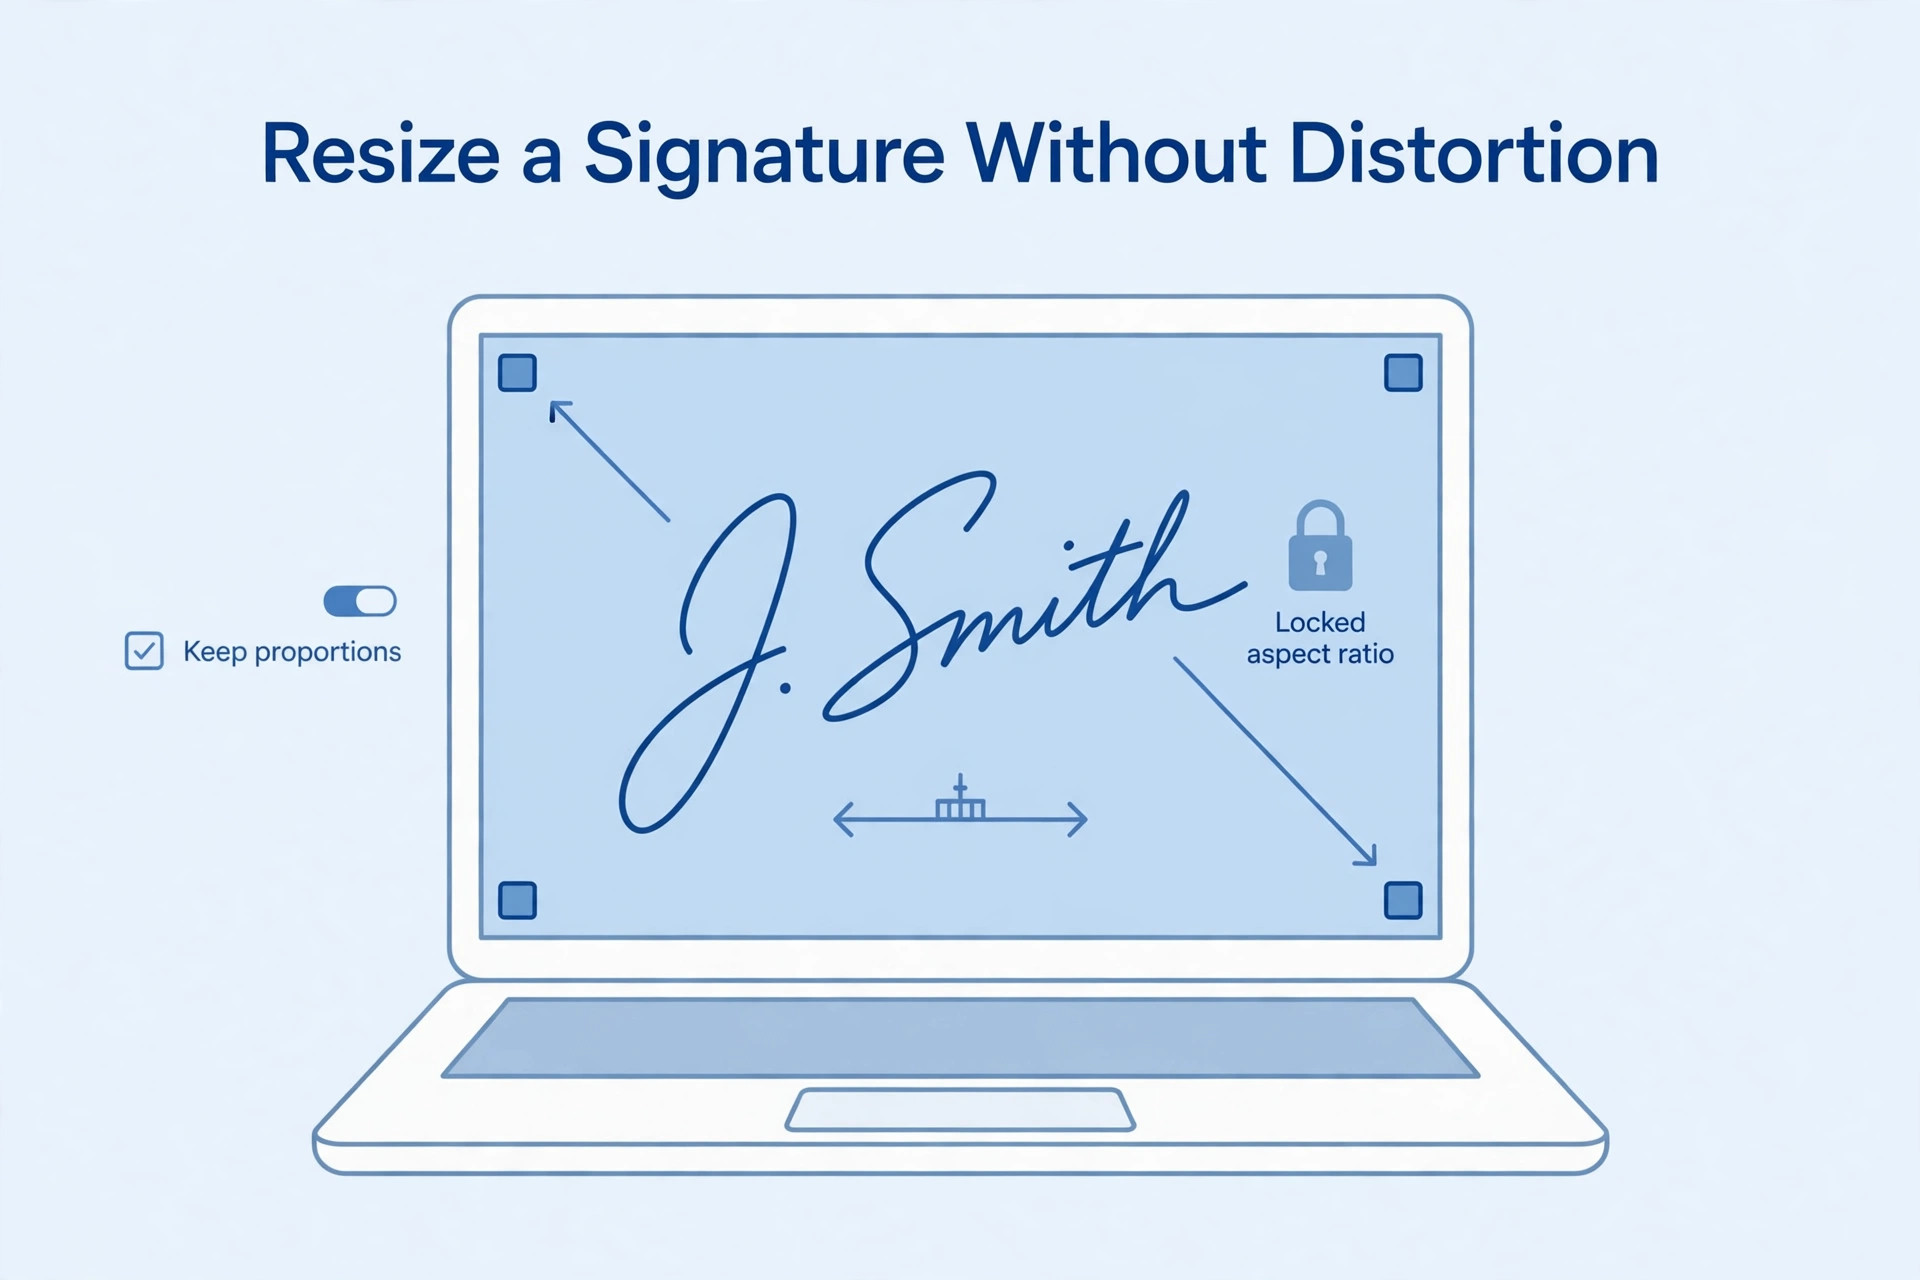
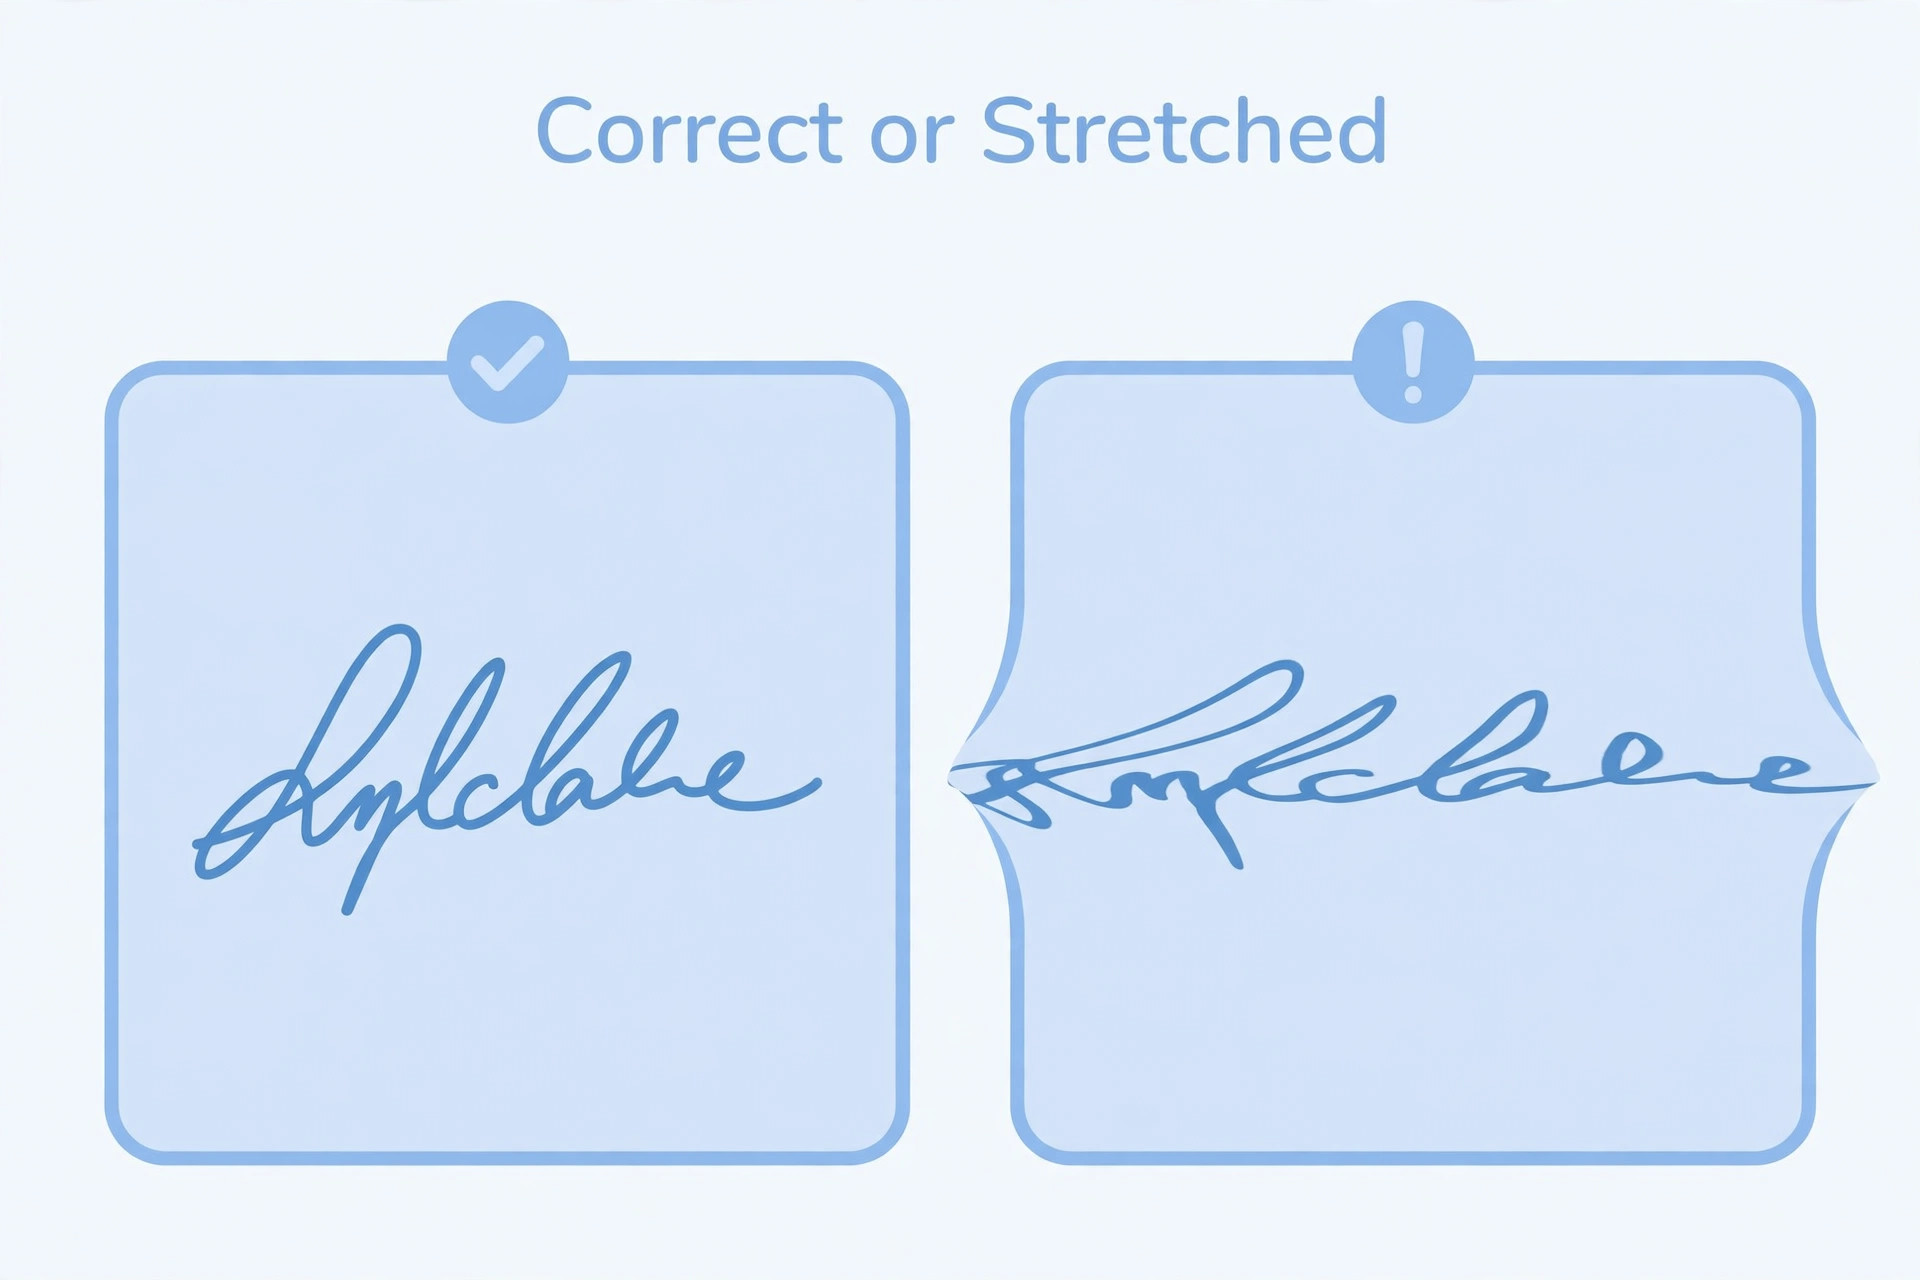
A signature image may need resizing before it can be uploaded to a government recruitment portal. The application may specify a width and height in pixels, a file-size range or both. Applicants sometimes enter the required width and height directly into an image editor without checking the proportions. This can stretch the handwriting and make the signature look unusually wide or narrow.
A signature should remain natural and recognisable after resizing. The safest method is to crop the image to a suitable shape, keep its aspect ratio locked and export it according to the portal's requirements. This guide explains the process in simple steps.
Understand resizing and distortion
Resizing changes the number of pixels in an image. Distortion happens when the width and height are changed independently in a way that alters the original proportions. A signature that was originally wide and short may become tall and narrow if it is forced into the wrong shape.
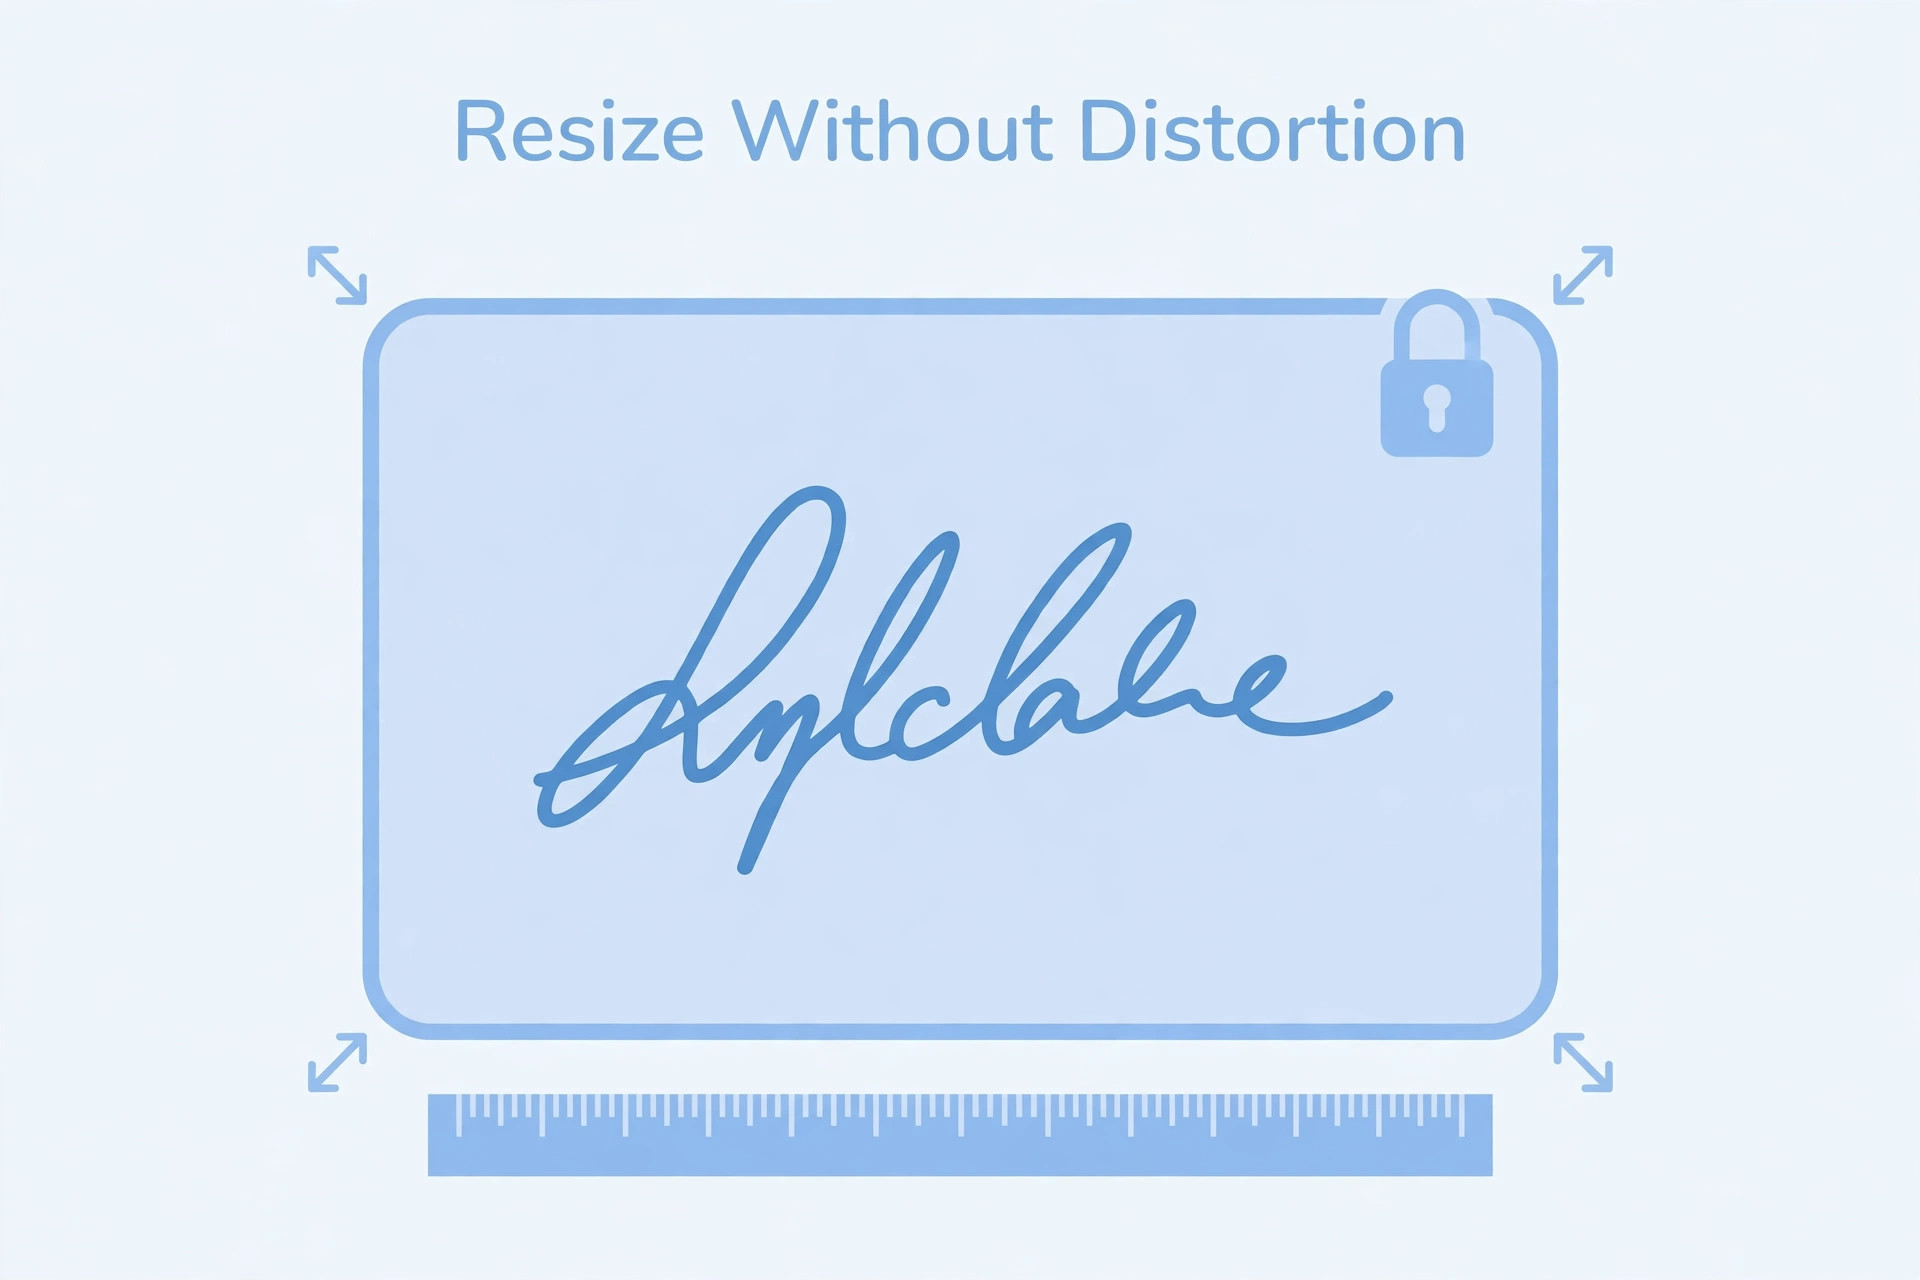
The aspect ratio describes the relationship between width and height. If the aspect ratio is preserved, the signature keeps its original shape while becoming larger or smaller. Most image editors provide a lock icon or a checkbox called “maintain aspect ratio”.
Read the required dimensions first
Before editing, check the current recruitment notification. Note the exact width and height if they are provided. Also check the file format and file-size range. Do not copy dimensions from an old application guide because the requirements may have changed.
If the notice gives only a file-size limit and no pixel dimensions, do not assume that you must resize the signature to a particular width and height. Keep the image clear and follow the stated technical rules.
Some portals provide a sample signature image. Use it to understand the expected framing, but rely on the written specifications for exact measurements.
Start with a clear original scan
A good resize begins with a good source image. Write the signature on clean paper using the ink colour required by the authority. Scan it in even light and make sure the strokes are in focus.
Keep the original scan unchanged. Create a duplicate for editing. This is important because resizing a small image repeatedly can reduce detail. If you need another version, return to the original instead of editing an already reduced copy.
Crop to the right shape
Before entering pixel dimensions, crop the image to a shape that is close to the required aspect ratio. Keep a small margin around the signature. Do not cut off any letter, underline or flourish.
If the required image is wide and short, remove extra blank space above and below the signature rather than stretching it. If the crop becomes too tight, the signature may look cramped. Compare the result with the portal's sample image when one is available.
Cropping should not change the handwriting. Avoid automatic tools that remove parts of thin strokes or treat them as background noise.
Resize with proportions locked
Open the resize option in your image editor. Select pixels as the unit if the recruitment notice provides pixel dimensions. Enable the aspect-ratio lock before changing the width or height.
If you enter the required width and the height changes automatically to a different value, compare it with the portal's required dimensions. If both values must be exact, adjust the crop to the correct shape first. Then resize the cropped image to the target dimensions.
Never force an image into the required dimensions by turning off the aspect-ratio lock unless the authority's instructions specifically require a different process and you understand the effect. Stretching can make the signature look unnatural.
What if the required ratio is different?
Sometimes the original signature has a different shape from the upload box. Do not stretch it. Instead, crop the surrounding blank paper to create a suitable frame while keeping the full signature visible.
If the signature itself is too tall or too narrow, you may need to write a new signature on paper with a more suitable natural layout. Do not digitally reshape the handwriting to make it fit. The image should represent the genuine signature.
Keep the strokes readable
After resizing, zoom in and inspect the thinnest parts of the signature. Small images can lose fine details, especially when the original scan is low resolution. If strokes look broken, return to the original and use a better scan or a less aggressive resize.
Avoid excessive sharpening. It can create rough edges around the handwriting. The signature should look clean, not artificially enhanced.
Reduce file size separately
Pixel dimensions and file size are different. If the resized image still exceeds the portal's limit, adjust the export quality or use controlled compression. Do not reduce the dimensions again unless the instructions allow it.
Export the file in the accepted format. Check the actual size after saving. If the portal specifies a minimum and maximum, make sure the final file falls within the range.
Common mistakes to avoid
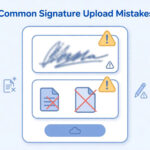
The most common mistake is entering width and height with the aspect-ratio lock disabled. Other mistakes include cropping too tightly, enlarging a low-resolution scan, repeatedly compressing the same file and changing the file extension manually.
Do not upload a file simply because its dimensions match. Check that the signature remains genuine and readable. Also make sure the file is in the correct upload field.
Step-by-step workflow
- Read the current recruitment instructions.
- Save a copy of the original scan.
- Crop the image while keeping every stroke visible.
- Match the crop shape to the required aspect ratio.
- Enable the aspect-ratio lock.
- Resize using pixels if the notice specifies pixel dimensions.
- Export in the required format.
- Compress only if the file-size limit requires it.
- Open the final image and inspect the handwriting.
- Check dimensions and file size before uploading.
Frequently asked questions
Why does my signature become wide after resizing?
The aspect ratio may have been changed. Reopen the original and resize with proportions locked.
Can I change only the height?
You can change one dimension while keeping the aspect ratio locked. The other dimension should adjust automatically. Check whether the result meets the portal's requirements.
What if the portal requires exact width and height?
Crop the source to the matching aspect ratio first, then resize to the exact pixel values. Do not stretch the handwriting.
Can I enlarge a very small signature scan?
You can enlarge the pixel dimensions, but enlargement does not create missing detail. A fresh, higher-quality scan is usually better.
Does resizing reduce file size?
It often does, but not always enough. Check the saved file and use controlled compression if necessary.
Final check before upload
A correctly resized signature should have the required dimensions without looking stretched. Every stroke should remain visible, the crop should preserve the full handwriting and the file should meet the stated size and format rules. Always check the exact file you are about to upload.
Additional practical considerations for image format
A useful way to avoid confusion is to treat image format as a separate task instead of mixing it with every other part of the application. First identify what the authority is asking for, then prepare the relevant file or information, and finally compare the result with the official instructions. This order matters because editing a file before checking the rules can create extra work. It may also lead to a version that looks correct but does not satisfy the upload field.
For example, imagine that you have prepared the exported photograph. Before submitting it, pause and review the actual file type and its extension. Check whether the information is complete, whether the image or document opens correctly and whether the file still looks clear after the final export. If the portal shows a preview, compare that preview with the saved file. A preview can reveal an incorrect crop, a wrong upload field or a file that has not been processed as expected.
It is also useful to keep a small record of what you have checked. Write down the name of the recruitment, the date you reviewed the notification and the technical requirements that apply to this upload. If the authority later publishes a correction or revised instruction, check whether it changes anything. This is especially important when you apply for more than one post or when a recruitment process remains open for several weeks. Do not rely on a screenshot saved from an earlier application cycle.
When something goes wrong, avoid changing several things at once. Read the error message, identify the property it refers to and make one correction. For example, if the message concerns the file type, verify the actual format before changing dimensions. If it concerns readability, inspect the original capture before compressing it again. A step-by-step approach makes it easier to understand the cause and prevents unnecessary changes to a correct file.
Before you finish, ask yourself these questions: Does the file belong to the correct applicant? Is it the document or image requested in this field? Are all important details visible? Does it follow the current notice? Have you checked the final saved version rather than an earlier draft? These checks are simple, but they are useful because upload mistakes often happen when applicants are in a hurry.
If the instructions appear inconsistent, do not choose whichever value seems easier. Check for a later official notice, a corrigendum, an application help page or a clarification from the recruiting authority. Keep the response or reference number if you contact support. An unofficial blog or social media post can help you understand a topic, but it should not override an official recruitment instruction.
Finally, keep your original records safely. Save the unedited scan or source file separately from the version prepared for upload. This gives you a clean starting point if a correction is required or another portal asks for a different format. Use clear filenames and avoid sharing personal documents through public links. A careful file-management routine makes the application process more organised and reduces the chance of selecting an outdated version.