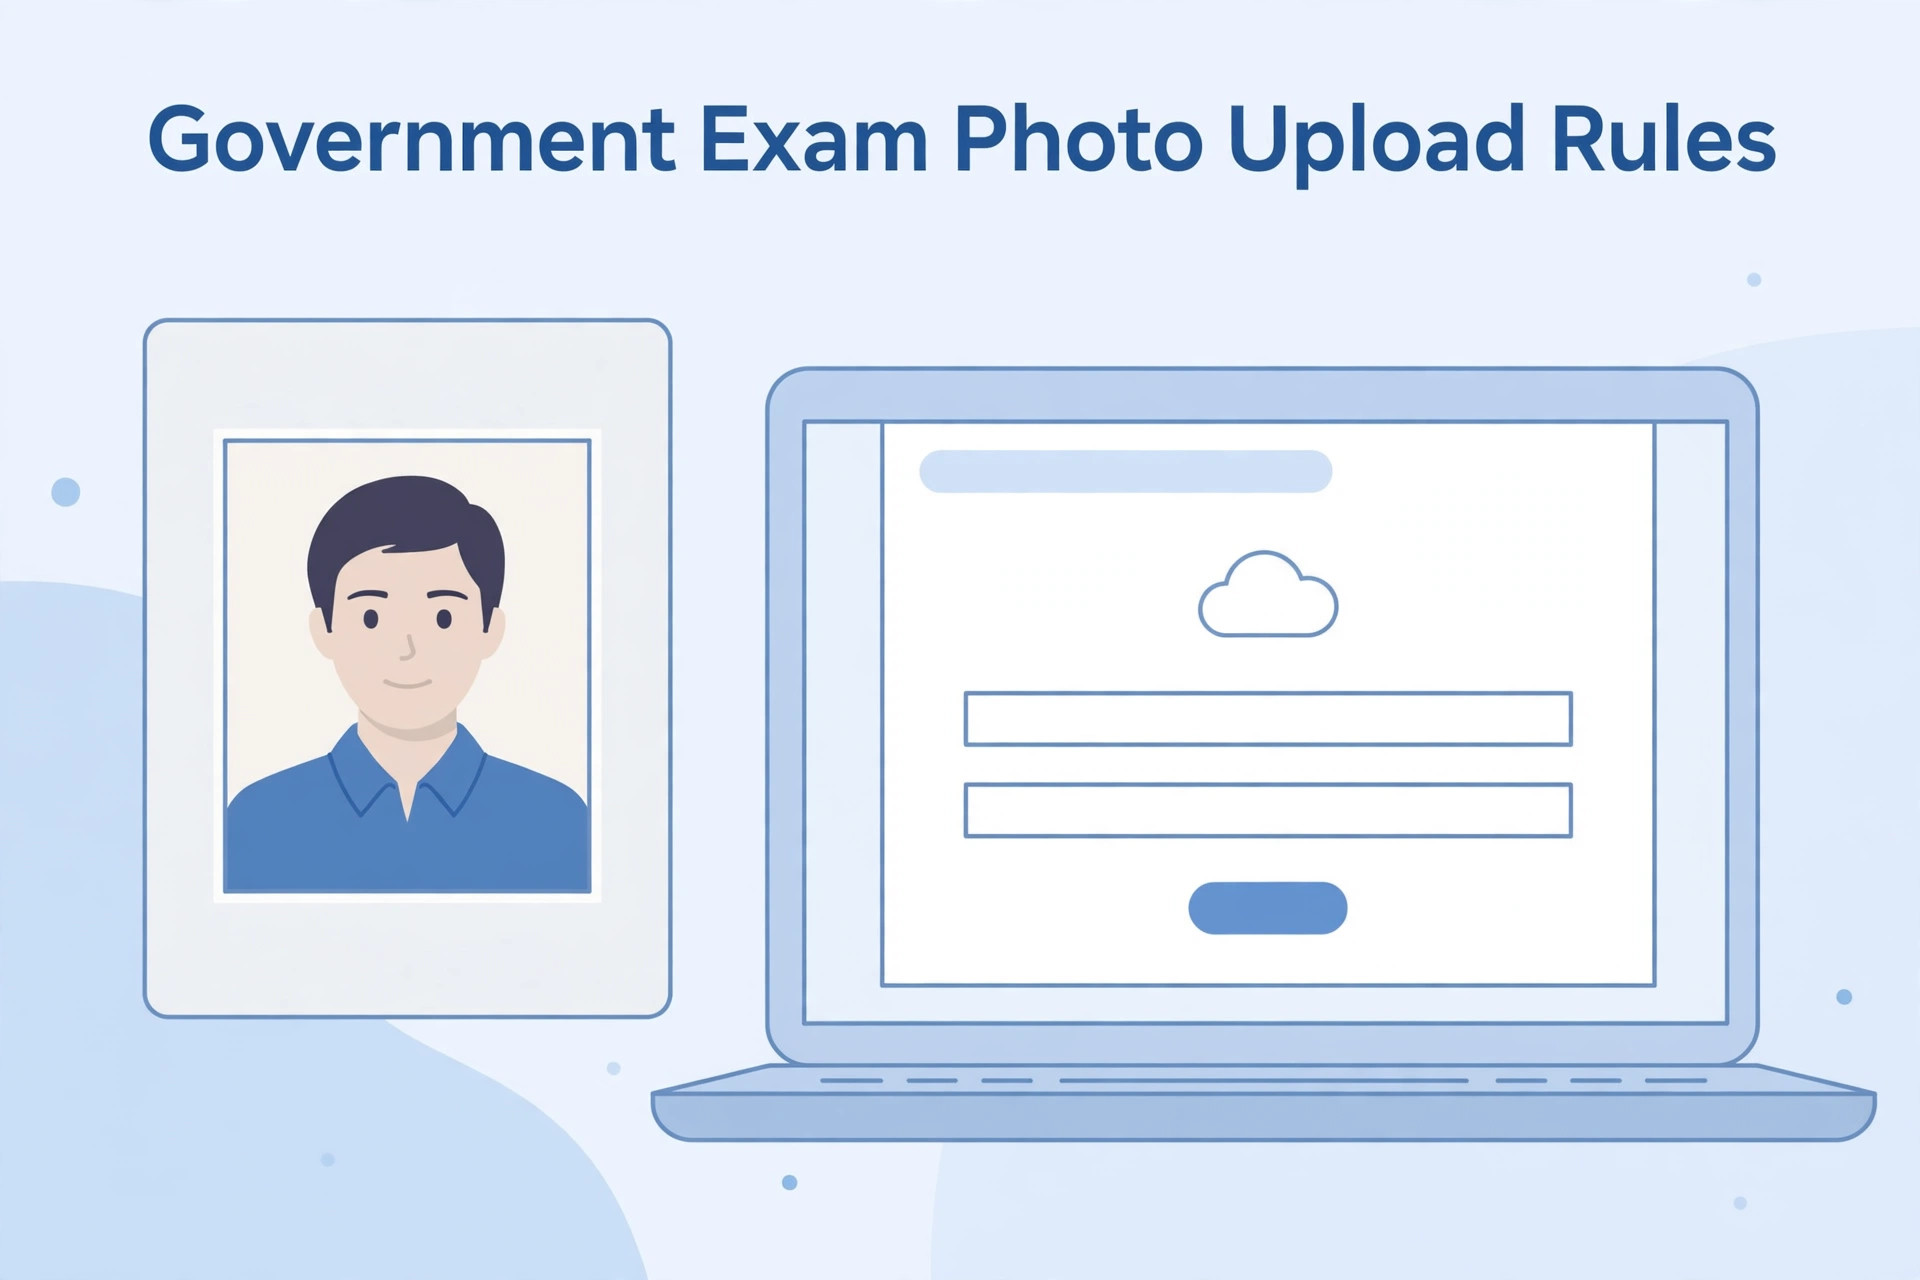
A photograph is one of the first things an applicant has to prepare when filling out an online government job application. It may look like a small part of the form, but an incorrect photograph can create trouble at the application stage or during later identity verification. Some recruitment portals accept only a photograph within a fixed file-size range. Others also specify pixel dimensions, background colour, face position, date requirements or a live photograph. These instructions are not identical across all examinations.
The safest approach is simple: read the photograph instructions in the current official notification and prepare the image according to those instructions. Do not rely only on an old tutorial, a social media post or the requirements of another examination. A photograph accepted by one portal may be rejected by another.
Why the photograph matters in a recruitment form
Recruitment authorities use the photograph as one part of an applicant’s identity record. It may appear on the application form, admit card, attendance sheet or other examination documents. Staff may also compare it with the candidate who reports at the examination centre. A clear and recent photograph makes this process easier.
A photograph that is too dark, blurred, heavily edited or cropped incorrectly may not show the applicant’s face clearly. A file can also fail a technical check if its format, dimensions or size do not match the portal’s limits. In some cases the portal displays an error immediately. In other cases an image may appear to upload but later be found unsuitable during scrutiny.
Start with the current notification
Before editing an image, locate the photograph section in the official advertisement or application instructions. Check the following details separately:
- Accepted file format, such as JPG or JPEG.
- Minimum and maximum file size, if specified.
- Required width and height in pixels, if specified.
- Background colour or background description.
- Whether the photograph must be recent.
- Whether the face must be fully visible.
- Whether spectacles, caps or other items are restricted.
- Whether a printed photograph, scanned photograph or live camera capture is required.
- Whether the image must include a name or date, if the notice explicitly says so.
Do not assume that every item above will apply to every examination. Some portals provide only a file-size range, while others give a complete technical specification. If the instructions are unclear, check the official help document or contact the recruitment authority through its published support channel.
Choose a suitable photograph
Use a clear photograph in which your face is easy to recognise. A plain, evenly lit background is generally easier to process than a busy background, but the exact background requirement must come from the notification. Keep your head straight and look towards the camera unless the official instructions say otherwise.
Avoid photographs with strong shadows across the face. Light should fall evenly so that facial features remain visible. Do not stand directly in front of a bright window because the background may become overexposed and your face may look dark. A simple indoor location with steady lighting is often sufficient.
The photograph should show the face and head in the way requested by the portal. Do not crop too tightly. Leave enough space around the head if the instructions or sample image show that space. At the same time, do not leave so much empty space that the face becomes very small.
Understand file size and pixel dimensions
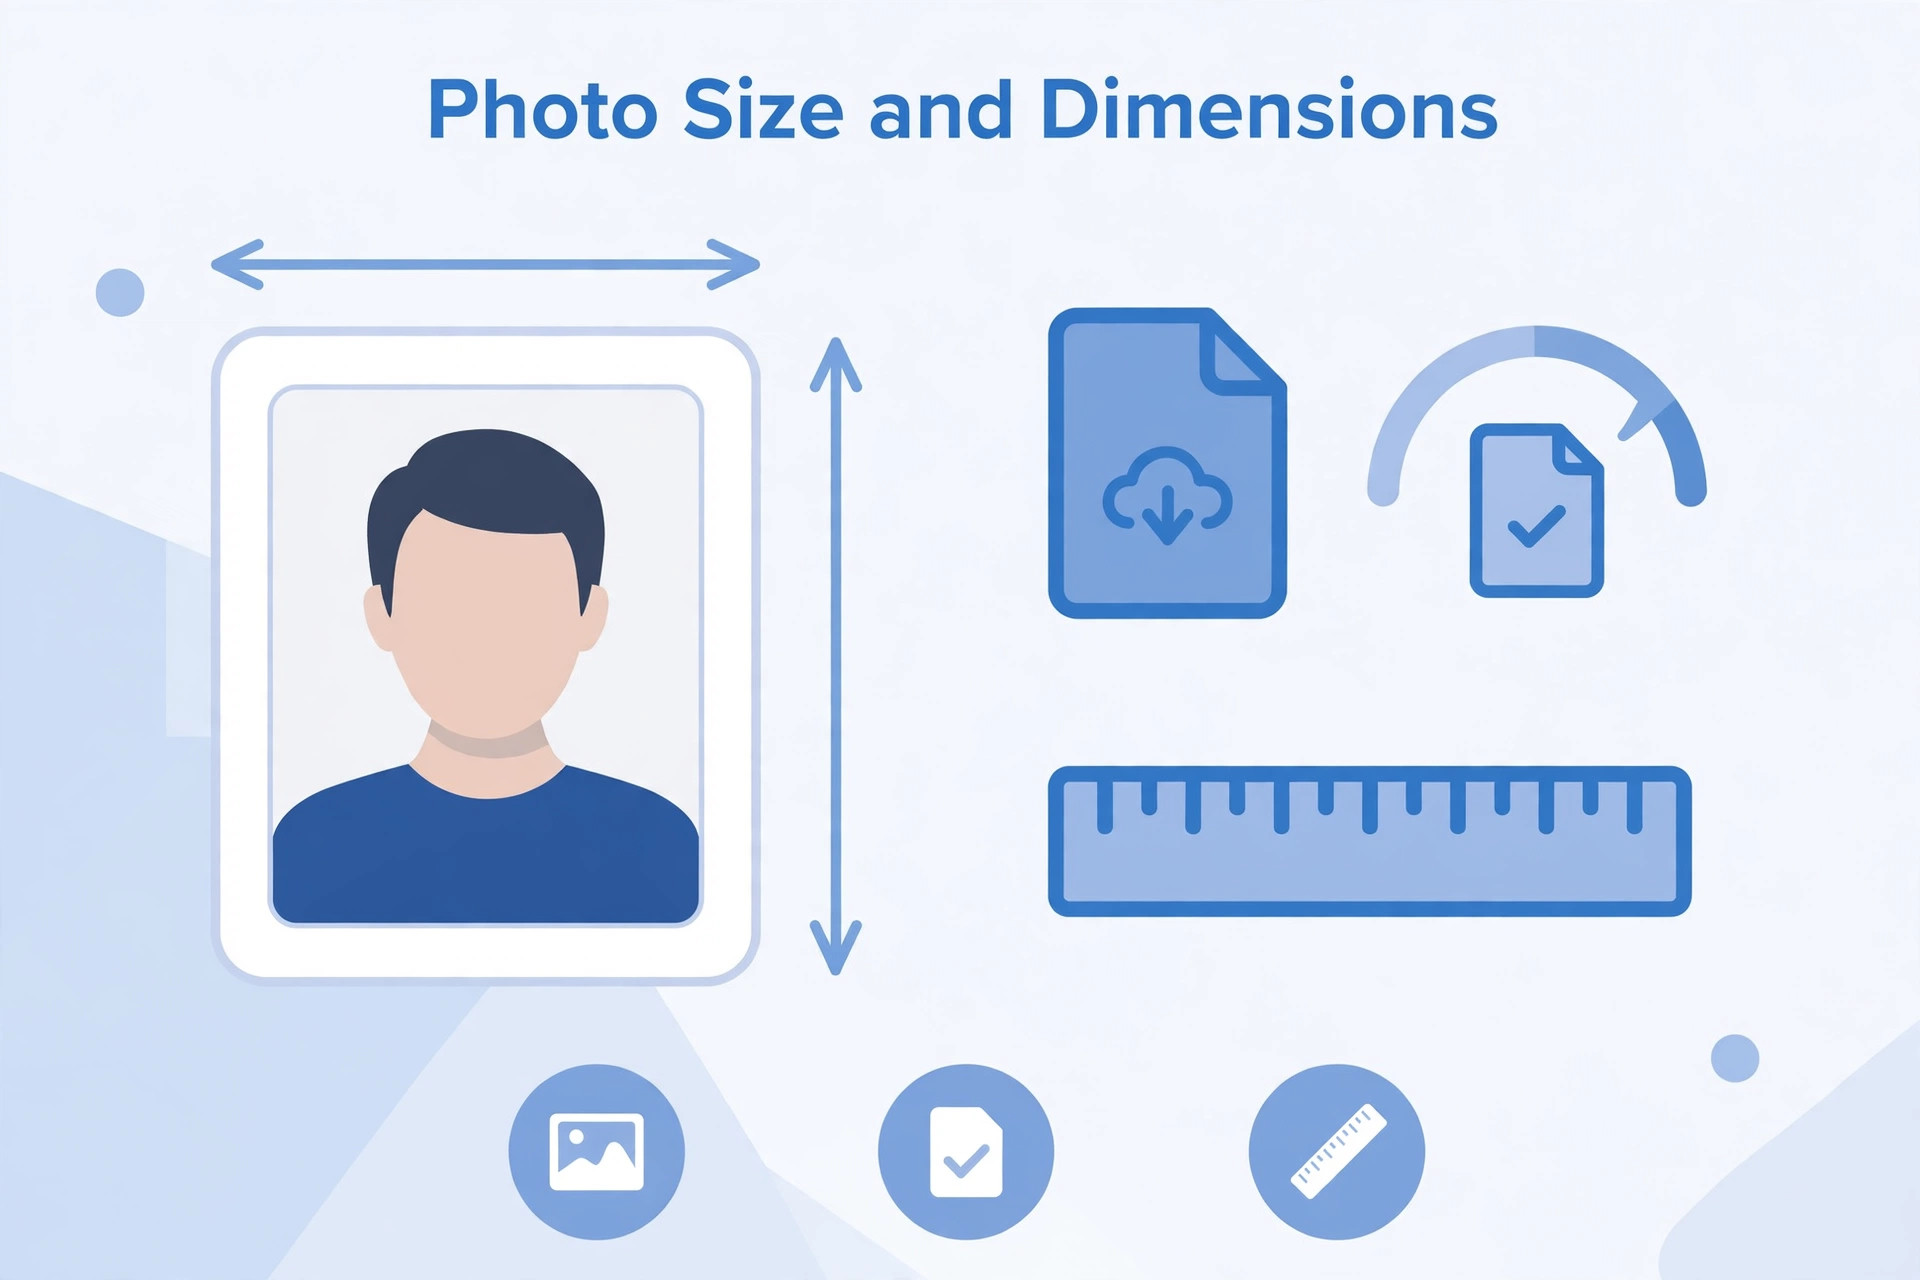
File size and image dimensions are two different things. File size is the amount of storage used by the image, commonly shown in KB or MB. Pixel dimensions describe the width and height of the image. A photograph can have correct dimensions but still be too large in file size. It can also be small in KB but have insufficient detail.
For example, resizing an image changes its pixel dimensions. Compressing an image changes how much data is used to store it. These operations are related, but they are not the same. If the portal asks for a particular pixel size and a maximum file size, both conditions must be met.
Avoid reducing the file size so aggressively that the face becomes blocky or unclear. After compression, open the final file and zoom in enough to check the eyes, facial outline and other important details. A file that looks acceptable as a tiny thumbnail may appear poor when viewed at full size.
Select the correct image format
JPG and JPEG are commonly used for photographs. The two extensions generally refer to the same image format. PNG is another image format, but it may create a larger file for a photographic image. The portal’s instructions decide which format is accepted.
Changing a filename extension does not convert an image. Renaming a PNG file to end in .jpg does not make it a genuine JPEG. Use an image editor or a trusted conversion tool to export the photograph in the required format. Then reopen the exported file to confirm that it works.
Check the background and face position
If the notification specifies a white background, use a genuinely plain white background. If it asks for a light background without naming a colour, choose a simple, pale background that does not distract from the face. If a sample photograph is provided, use it to understand framing and positioning, but do not treat the sample as a substitute for written instructions.
Keep the full face visible. Hair, clothing or shadows should not cover important facial features. Avoid filters that change skin tone or facial appearance. Do not use beauty effects, artificial face replacement or other edits that make the photograph materially different from your actual appearance.
Common reasons a photo upload fails
A recruitment portal may reject an image for several reasons:
- The file is larger than the permitted limit.
- The file is smaller than the minimum limit.
- The image format is not accepted.
- The width or height is outside the permitted range.
- The photograph is blurred or too dark.
- The face is too small, partly hidden or poorly positioned.
- The background does not match the stated requirement.
- The file is damaged or cannot be opened.
- The applicant has selected the wrong upload field.
- A live-photo step has not been completed correctly.
Read the error message carefully. If it mentions file size, do not immediately retake the photograph. First check the existing image’s size and dimensions. If it mentions face detection or image quality, a new photograph may be a better solution than repeated compression.
A practical preparation checklist
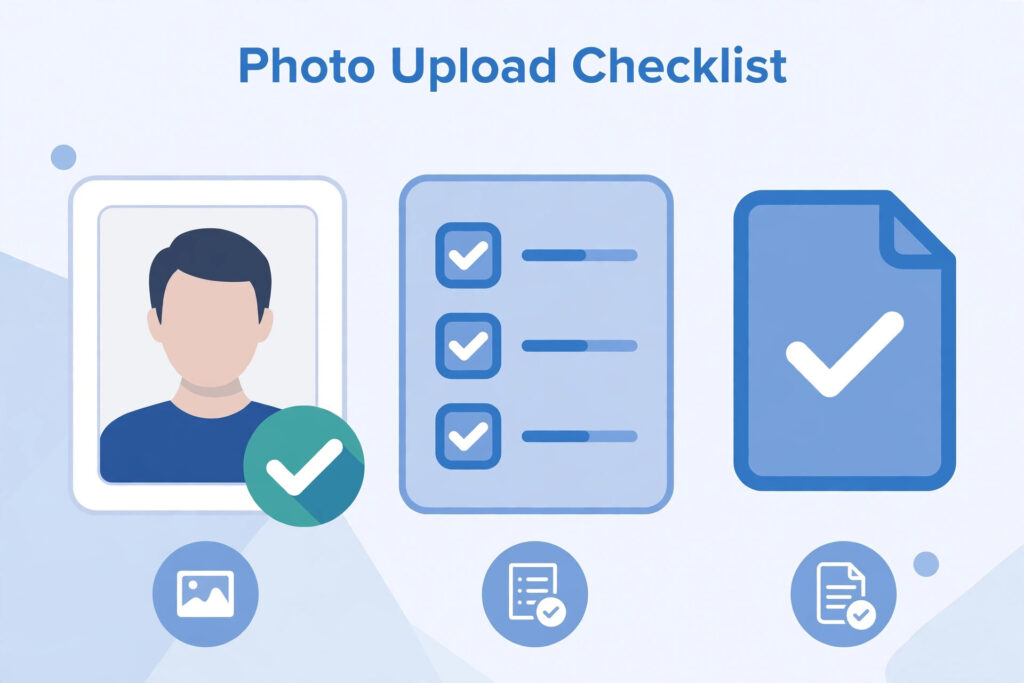
Before uploading, follow this sequence:
- Read the latest official photo instructions.
- Take or select a recent, clear photograph.
- Check the background and face position.
- Crop the image according to the stated framing.
- Resize it only if pixel dimensions are specified.
- Compress it only as much as necessary.
- Export it in the required file format.
- Check the final file size and dimensions.
- Open the final image and inspect it at normal size.
- Upload it in the correct field and wait for confirmation.
Keep the final photograph in a clearly named folder so that you do not accidentally upload an older version. If you apply for several examinations, create a separate copy for each application when the specifications differ.
Should the same photograph be used for every exam?
You may be able to use the same original photograph for more than one application if it is recent and meets each examination’s rules. However, do not assume that one prepared file will satisfy every portal. One examination may require a different file size, another may ask for a different crop, and a third may require a live photograph.
Keep the original high-quality image safely. Make separate copies for individual applications and adjust those copies according to each official specification. This avoids repeatedly compressing an already compressed file.
What if the photograph has already been submitted?
First check whether the application portal provides a correction window or an edit option. Some recruitment processes allow limited changes, while others do not permit photograph replacement after final submission. The rules can also differ between stages of the same recruitment.
If the submitted photograph is incorrect, read the official correction instructions and act within the stated period. Do not submit a second application unless the recruitment authority clearly permits it. Duplicate applications can create additional problems in some recruitment processes.
Frequently asked questions
Is there one standard photo size for all government exams?
No. File-size limits, pixel dimensions and other requirements can differ between recruitment authorities and even between recruitment cycles. Always follow the current notice.
Can I use a mobile phone photograph?
A mobile phone can produce a suitable image if it is clear and follows the required framing and background instructions. Some portals, however, require live camera capture or a particular process.
Is a white background compulsory?
Not for every examination. Use a white background only when the notice asks for it or provides that instruction. Otherwise follow the stated background requirement.
Can I compress a photograph online?
You can use a reliable image tool, but inspect the final image carefully. Do not upload a file that has become blurred or distorted just to meet a size limit.
What should I do if the portal keeps rejecting the image?
Check the exact error, confirm the format, dimensions and file size, and try a fresh export. If the problem continues, use the official helpdesk details rather than guessing at a different specification.
Final preparation advice
Treat the photograph as an important application document, not as an afterthought. Save the official instructions, prepare the image carefully and inspect the exact file you plan to upload. The most reliable rule is to follow the current recruitment notification for that particular examination. This simple habit can prevent avoidable upload errors and help keep your application complete.