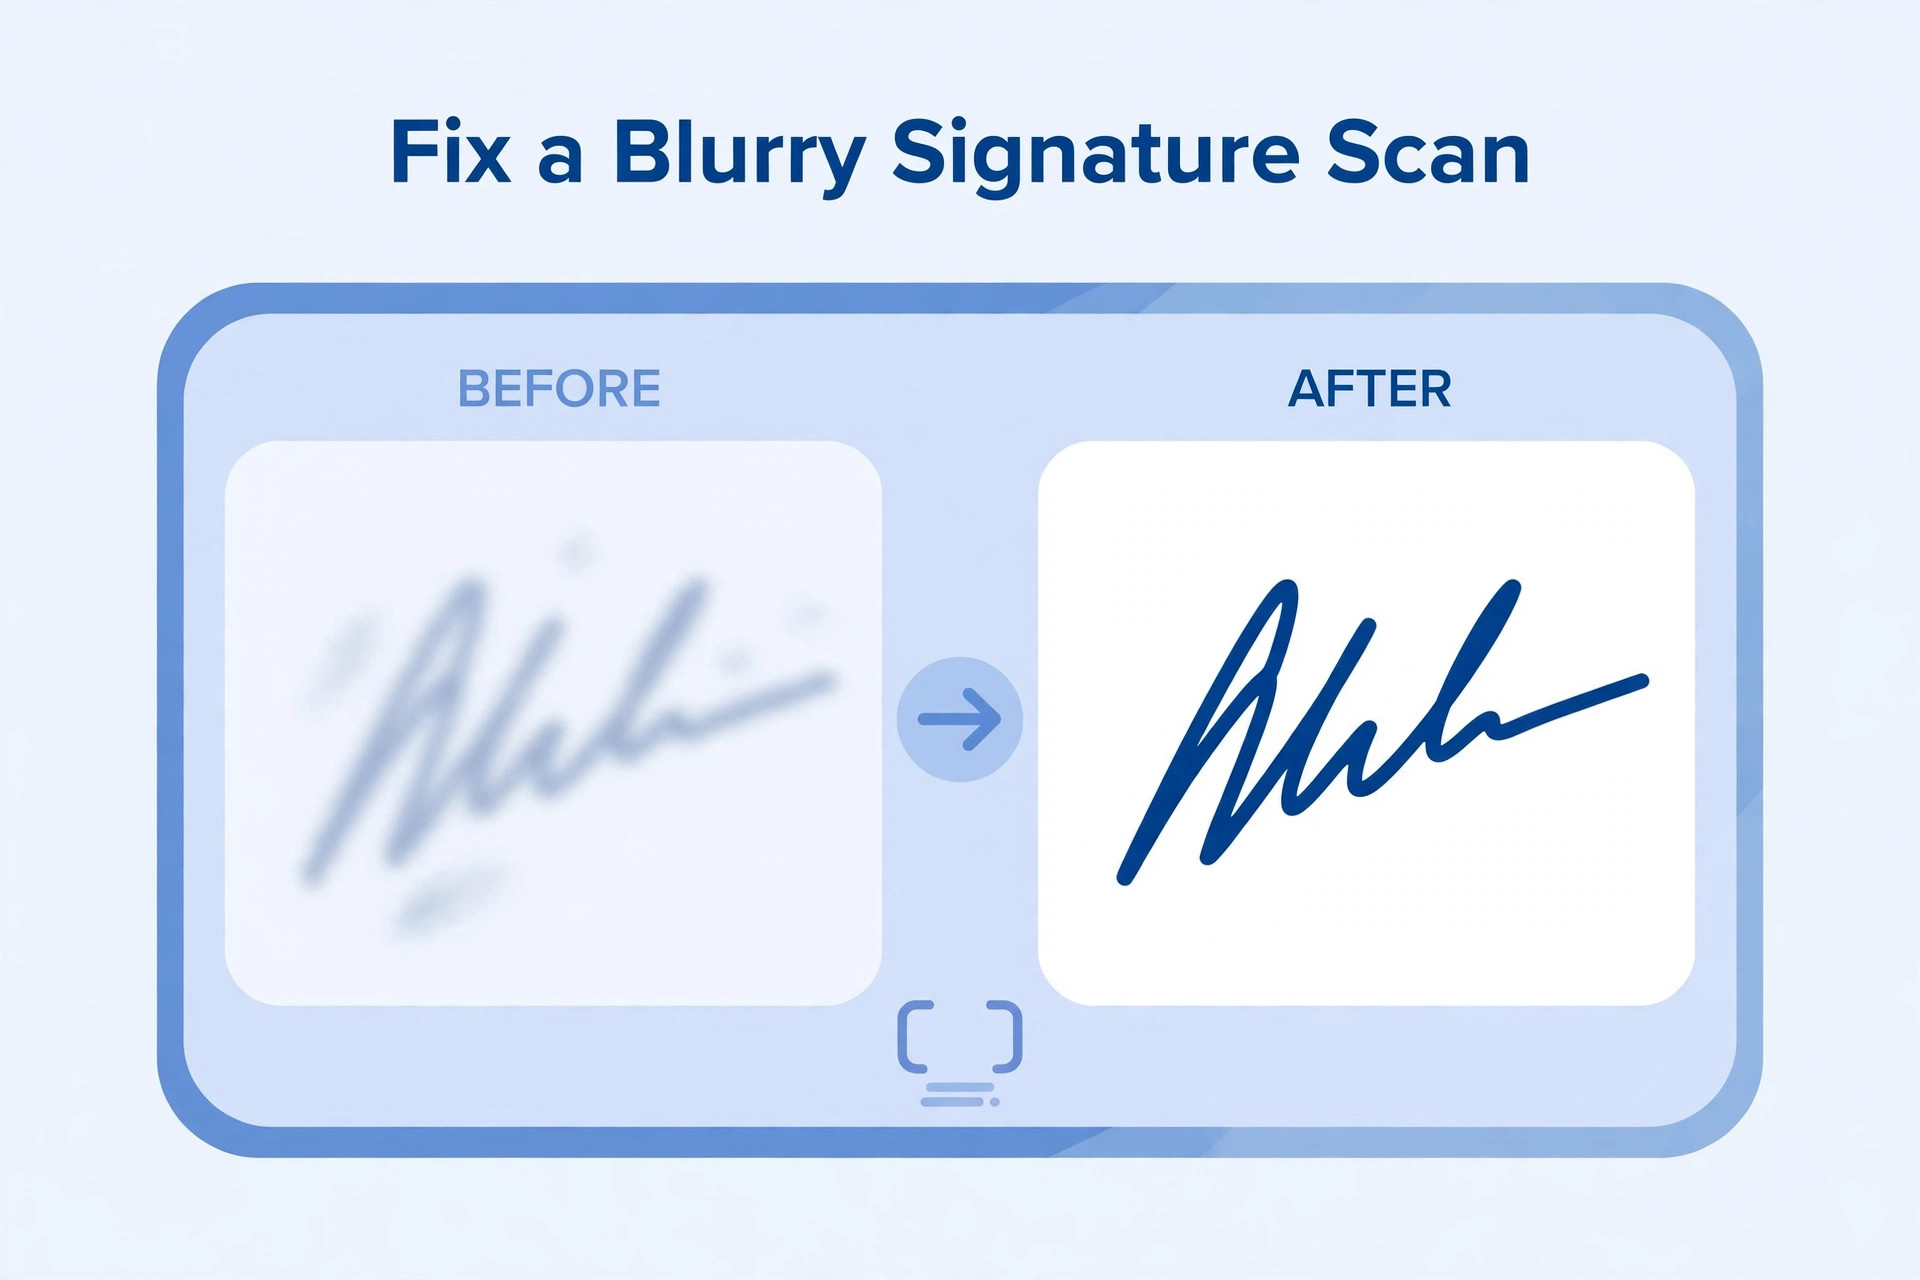
A signature image can look clear on paper but become difficult to read after scanning or photographing it. The ink may appear too light, the strokes may look soft, or the paper may have a grey background. A recruitment portal may reject the image if it cannot display the signature clearly, or the uploaded preview may look poor.
The best solution is to improve the original capture whenever possible. Editing can help with small technical issues, but it cannot restore detail that was never captured. It is also important not to change the applicant's genuine handwriting. This guide explains how to identify the cause of a poor scan and prepare a clearer file.
Identify the problem first
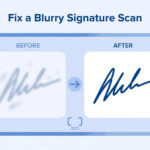
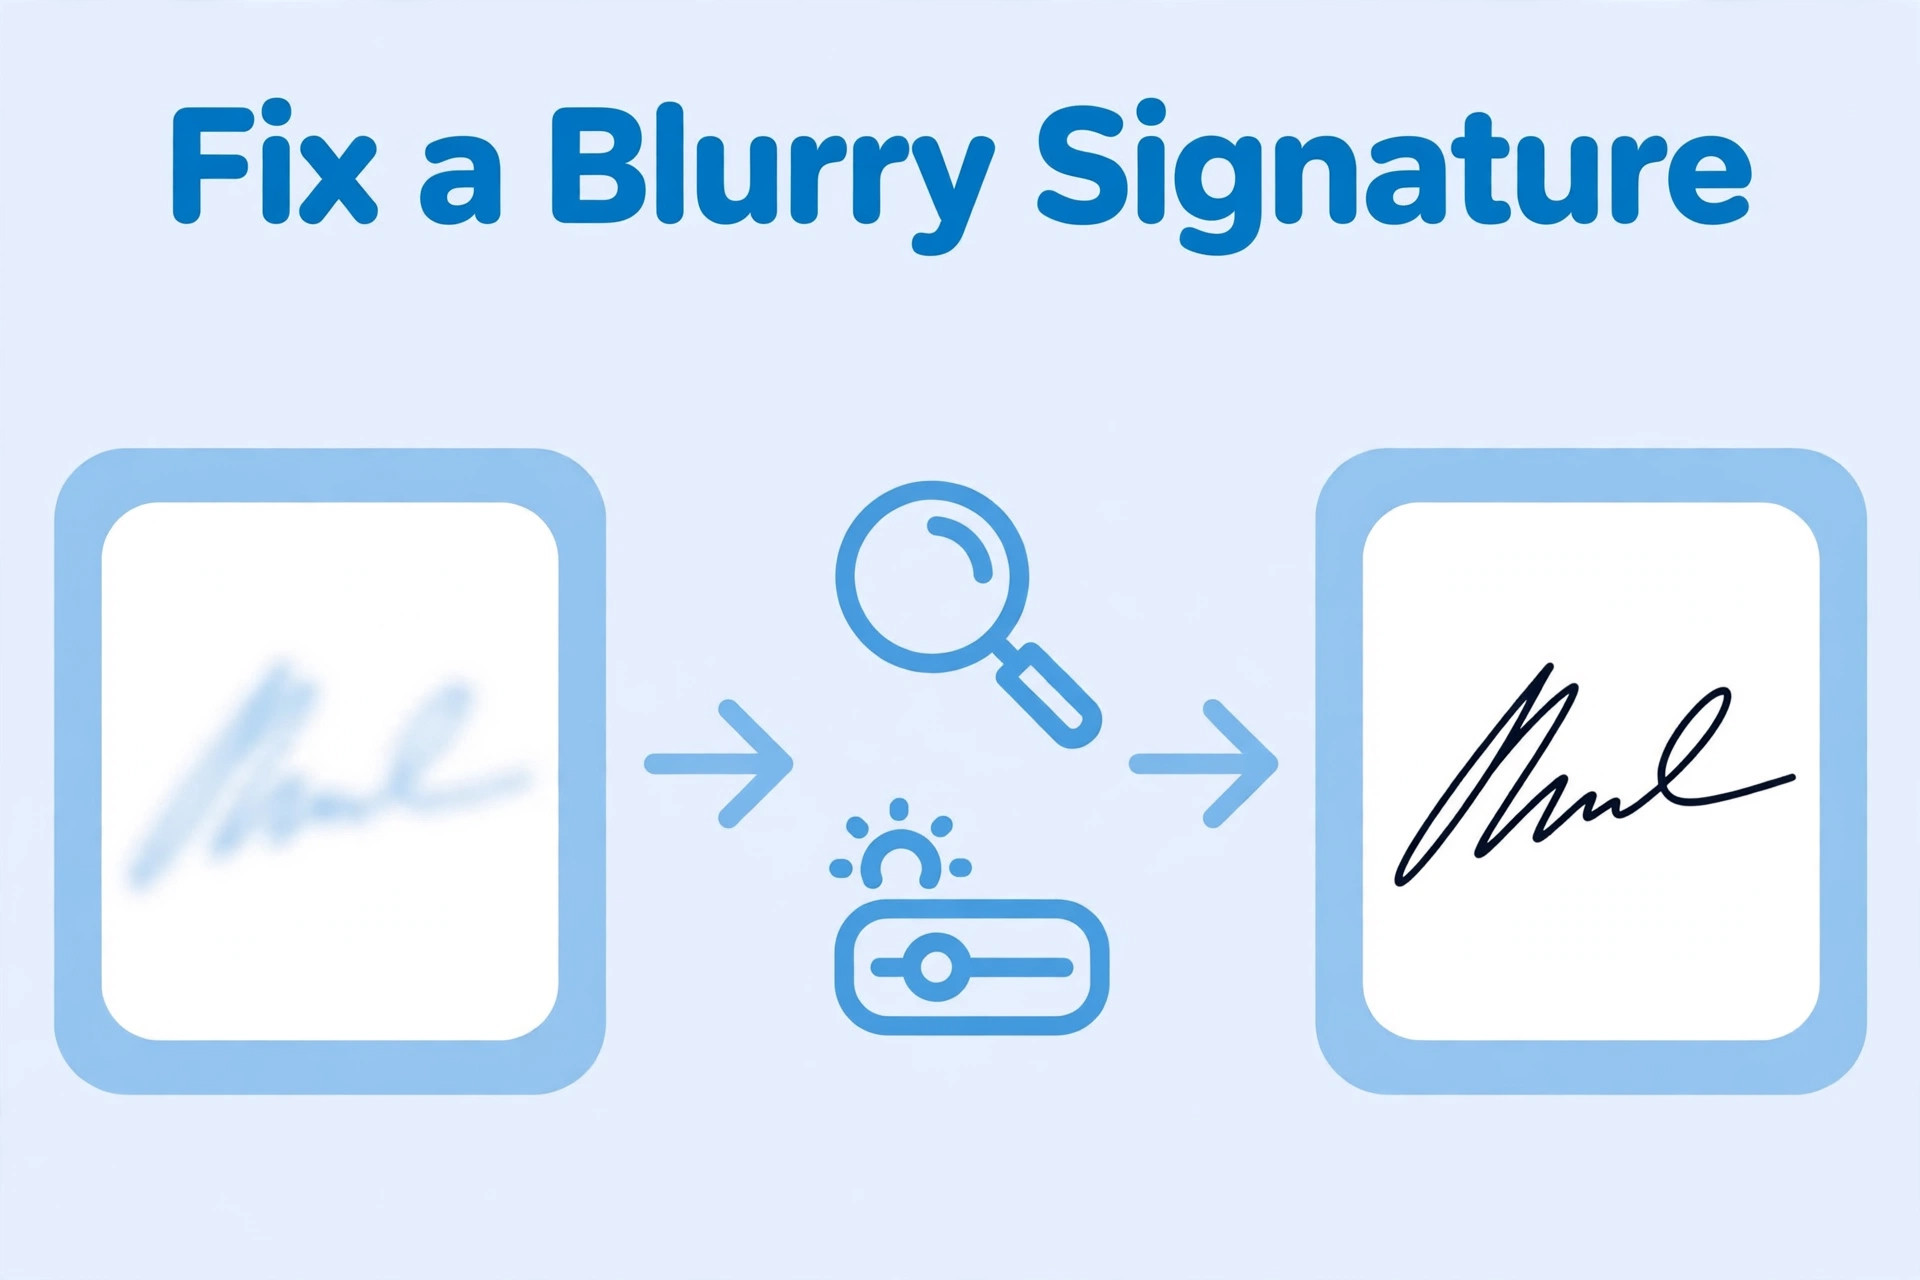
A blurry image and a low-contrast image are not the same problem. Blur means the edges of the handwriting are not sharp. It may be caused by camera movement, poor focus or a low-quality source. Low contrast means the ink and paper look too similar, making the strokes difficult to see.
Look at the original scan at normal size. If the strokes are soft even before editing, the image may need to be scanned again. If the handwriting is sharp but appears faint, lighting or image levels may be responsible.
Start with the original paper
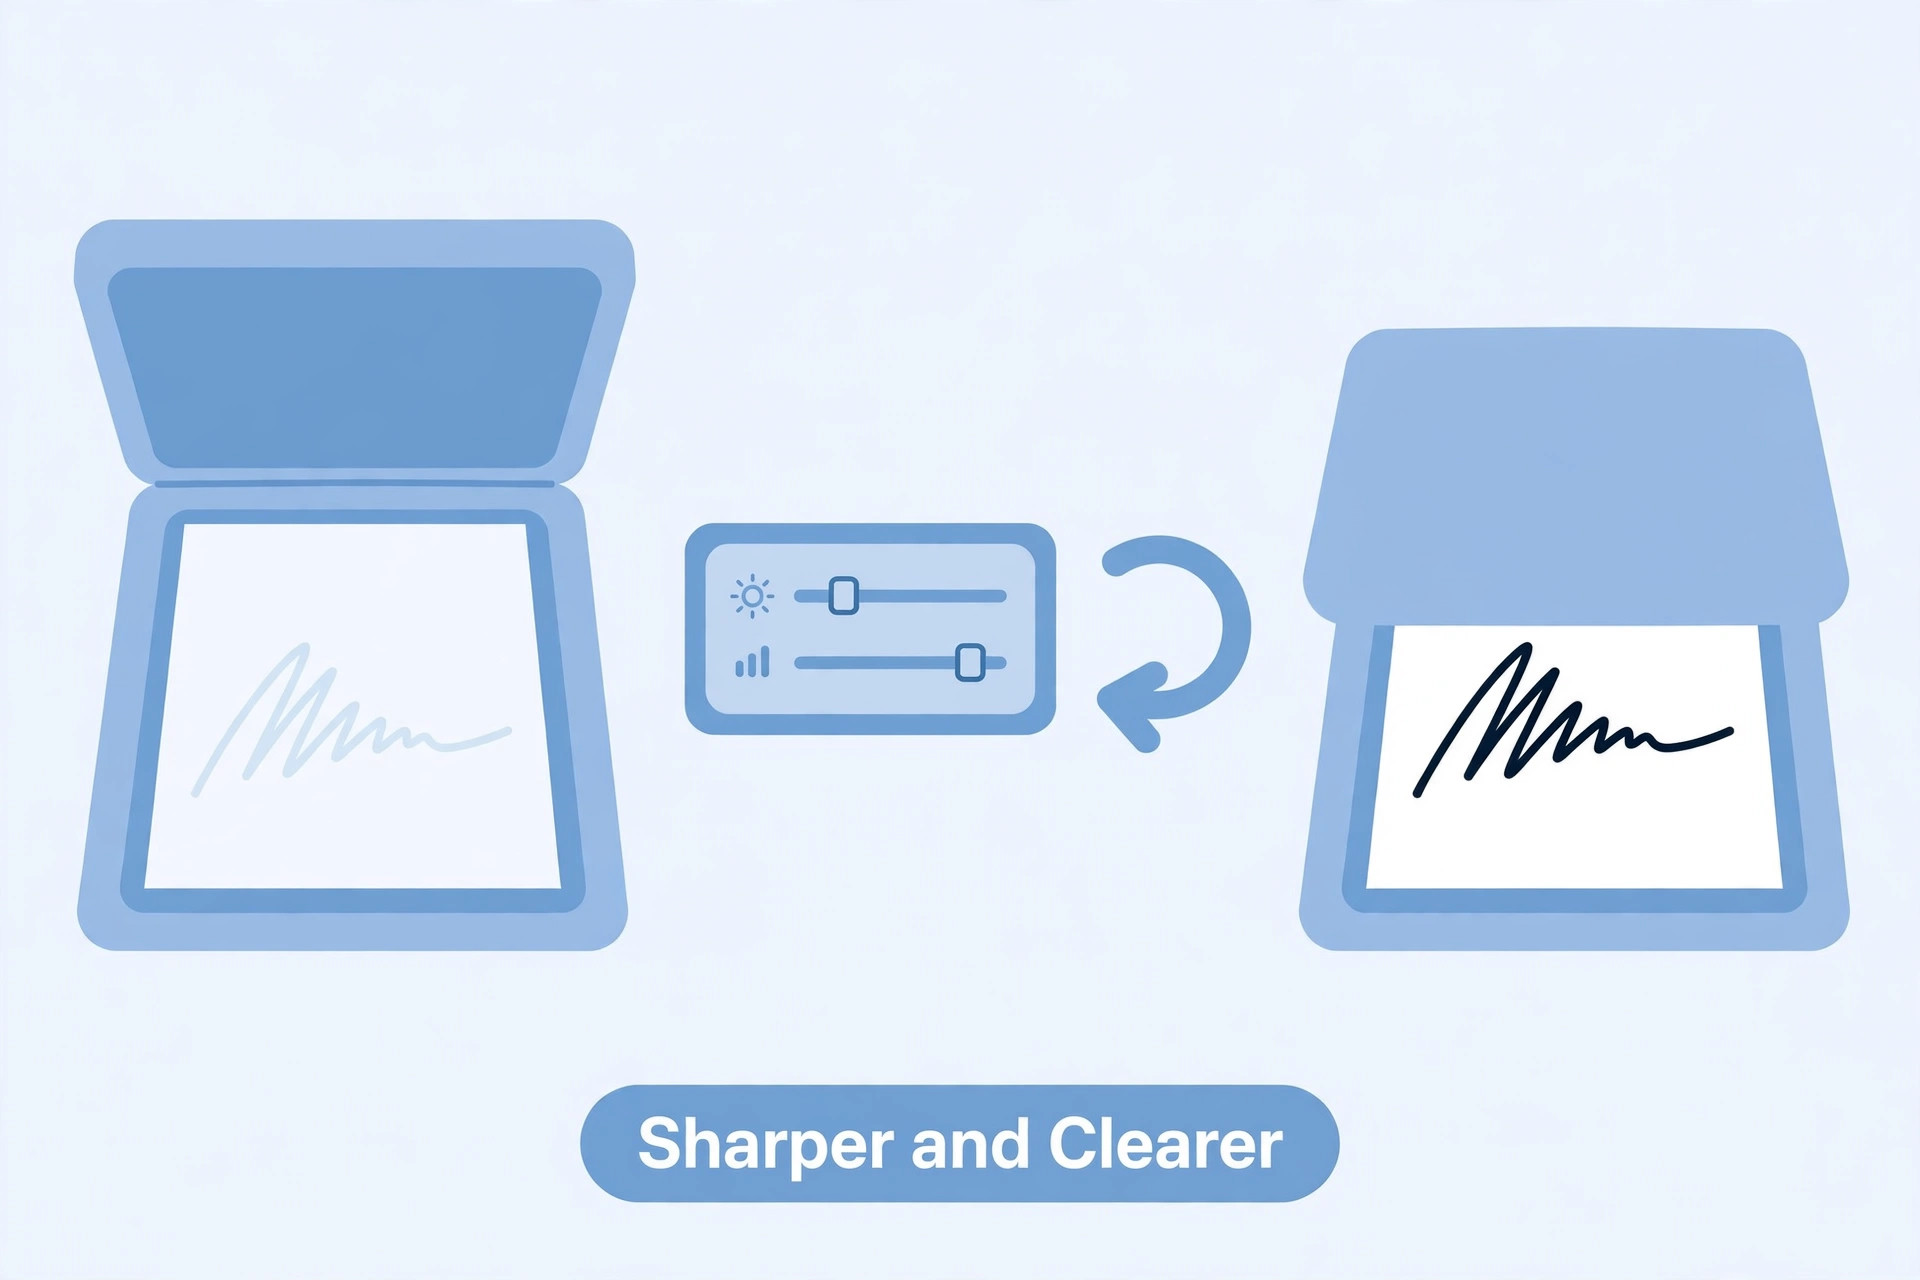
If the physical signature is available, inspect it. Check whether the ink is naturally faint, whether the pen skipped and whether the paper has stains or shadows. If the signature itself is difficult to see, write a fresh signature on clean paper using a pen that follows the recruitment instructions.
Do not trace over the old signature or digitally redraw it. A new genuine signature is safer than trying to reconstruct missing strokes.
Improve lighting before scanning
For a mobile scan, use even lighting. Place the paper on a flat surface and avoid a strong light source that creates glare. Hold the camera parallel to the page and keep it steady. Clean the camera lens before taking the picture.
If you are using a scanner, make sure the glass is clean and the paper lies flat. Dust, fingerprints or marks on the scanner glass can create spots in the image. Use a scan setting that captures the handwriting clearly without creating an unnecessarily large file.
Check focus and resolution
Tap the signature area to focus when using a phone. Avoid taking the photograph while moving. If the camera cannot focus properly, move slightly farther away and use a crop later rather than placing the phone extremely close to the paper.
A scan with too few pixels may not preserve thin strokes. If the original file is very small, enlarging it will not create missing detail. Make a new scan at a suitable resolution and then resize the copy according to the recruitment portal's requirements.
Adjust brightness and contrast carefully
If the signature is sharp but faint, a small contrast adjustment may help separate the ink from the paper. Increase contrast gradually and compare the result with the original. Avoid pushing the setting so far that thin strokes disappear or the paper becomes covered with dark patches.
Brightness can also be adjusted, but changing it too much may make the ink lighter or the paper grey. Make one adjustment at a time and inspect the result. Keep the original file so that you can return to it.
Avoid excessive sharpening
Some image editors offer a sharpening tool. A small adjustment may make soft edges appear clearer, but excessive sharpening creates rough outlines and artificial marks. It can also make the signature look different from the original.
If the scan is seriously out of focus, sharpening will not repair it. Take a fresh scan instead. The goal is to show the actual handwriting clearly, not to create an artificial effect.
Use grayscale only when appropriate
A grayscale image may make a dark signature easier to distinguish from a light paper background. However, do not convert the file to grayscale if the recruitment instructions require a colour image or a particular ink appearance. Check the official requirements first.
If grayscale is allowed, compare the result with the original. Make sure all strokes remain visible and the background is clean. Do not use a black-and-white threshold setting that turns thin lines into broken marks.
Check compression and export settings
A signature may become blurry after strong JPEG compression. If the image looked clear before export but poor afterward, create a new copy from the original scan and export it at a higher quality. Do not repeatedly save the already compressed file.
Use the required format and check the actual file size. If the portal has a strict size limit, adjust quality gradually. Do not reduce the image dimensions below the stated minimum simply to make the file smaller.
When should you scan again?
A fresh scan is usually the better choice when the signature is out of focus, the camera moved, the paper is wrinkled, the ink skipped or important strokes are missing. Editing should not be used to invent missing parts of the signature.
If you no longer have the original paper, check whether the existing image is still readable. If not, prepare a new genuine signature if the application process permits it. Follow any correction-window rules if the form has already been submitted.
Common mistakes to avoid
Do not use a heavy filter to make the signature look darker. Do not draw over the strokes with a digital brush. Do not remove the background so aggressively that thin lines disappear. Do not enlarge a tiny scan and assume it has become clearer. Do not compress the image repeatedly.
Also avoid uploading a screenshot of a signature displayed inside another application. Use the actual image file whenever possible.
Final quality checklist
Before upload, confirm that the full signature is visible, the strokes are sharp enough to read and the background does not hide the handwriting. Check the format, dimensions and file-size range. Open the final exported image and compare it with the original scan.
Frequently asked questions
Can a blurry signature be made clear with an online tool?
A tool may improve mild contrast problems, but it cannot reliably restore detail lost through poor focus. A new scan is better when the handwriting is genuinely blurred.
Should I make the signature completely black?
Only if the recruitment instructions require that appearance. Do not change the ink colour artificially.
Why does my signature look faint after scanning?
The cause may be weak ink, poor lighting, scanner settings or compression. Check the original paper and create a better scan if necessary.
Can I use a phone scanning application?
Yes, when the portal accepts a scanned image and the result meets its requirements. Check focus, crop and file properties.
Is it safe to sharpen the image?
A small adjustment may help, but strong sharpening can create artificial edges. Always compare the result with the original.
A safer way to get a clear result
Begin with a good physical signature and a clean scan. Use editing only for small, permitted adjustments. If the image is badly blurred, create a new scan rather than trying to repair it. A genuine, readable signature is more important than a heavily edited image.