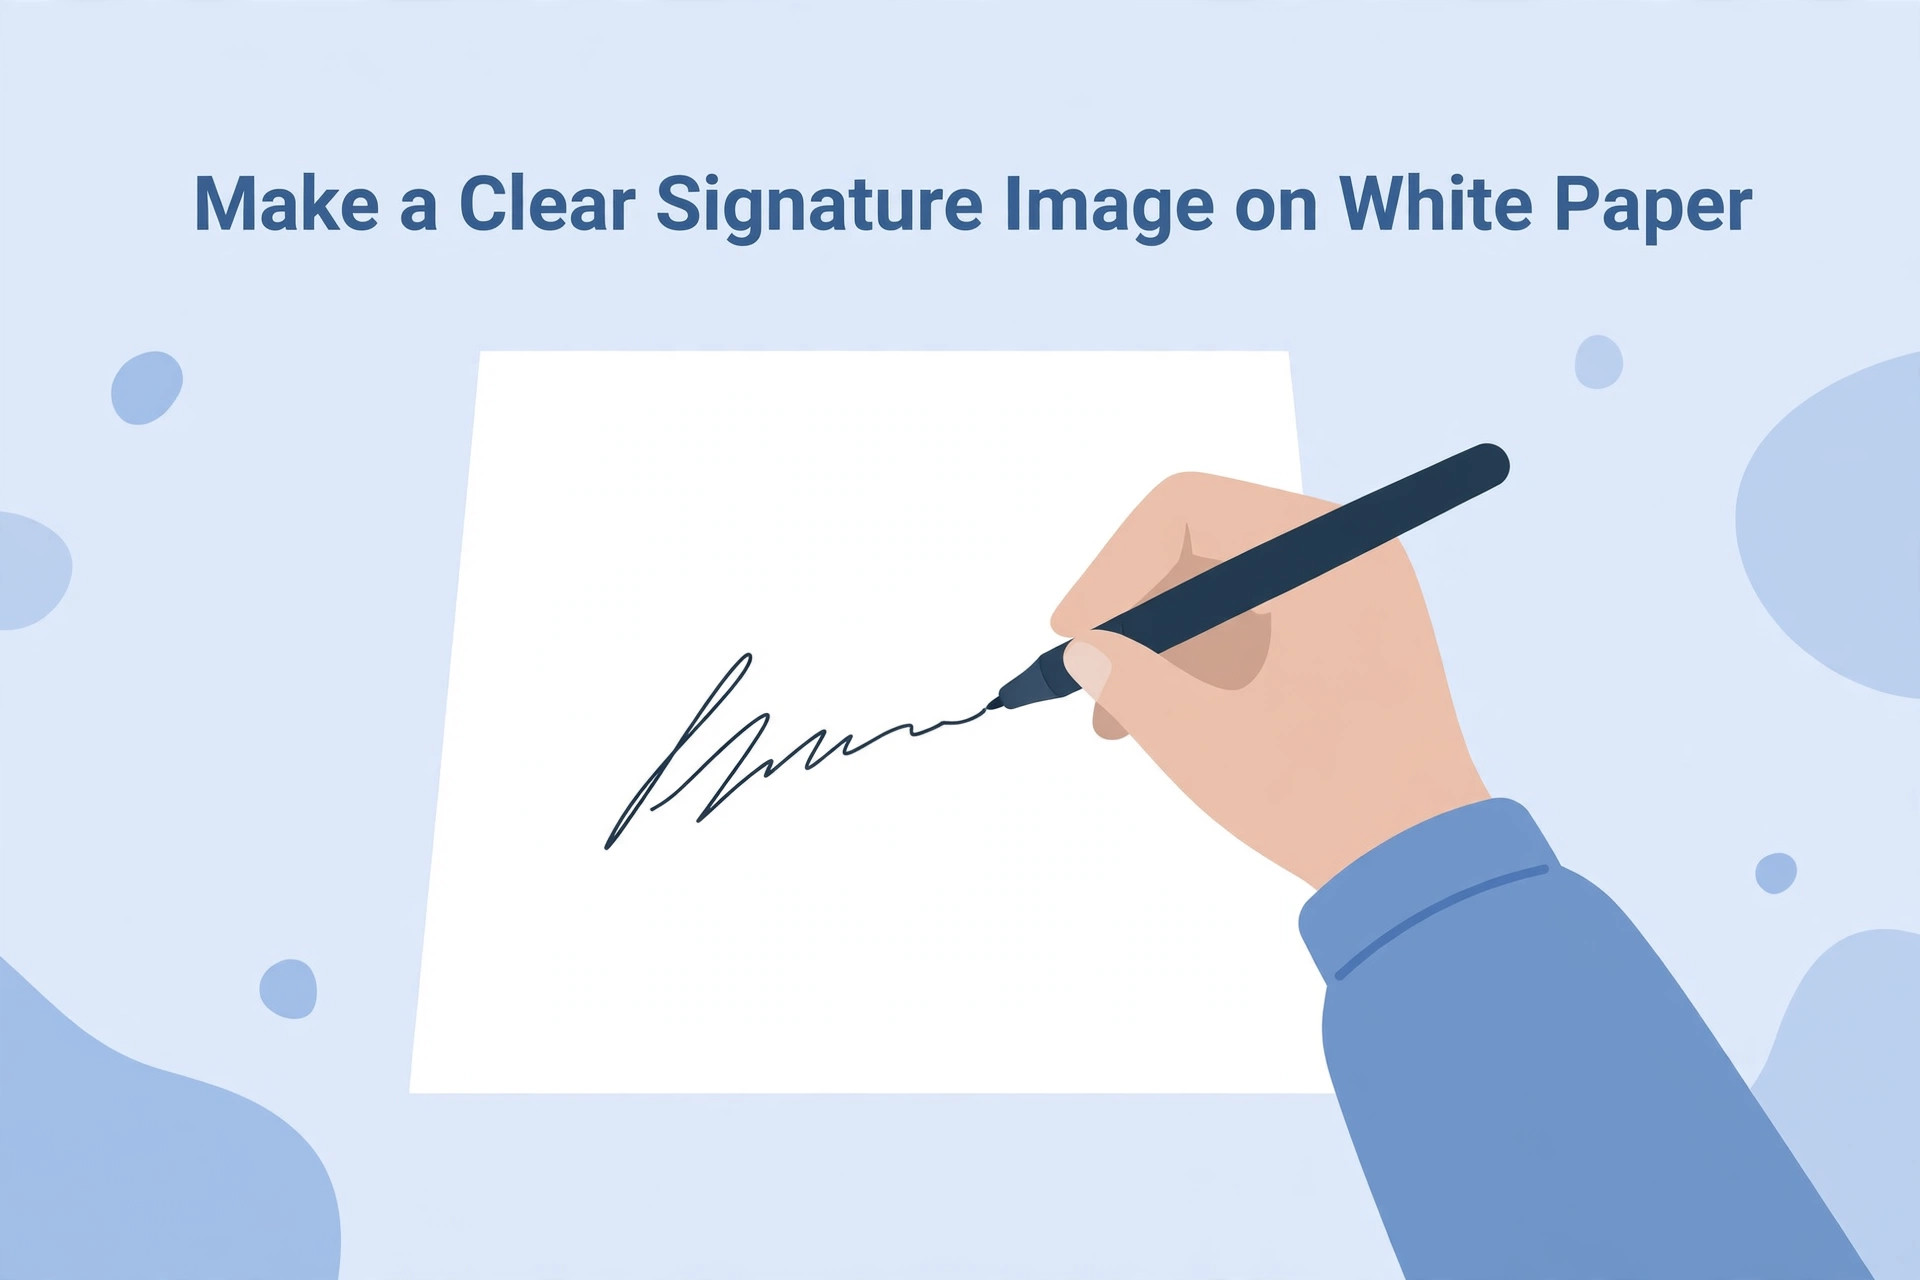
Many online recruitment applications ask candidates to upload an image of their handwritten signature. The usual process is to write the signature on paper, scan it and prepare a digital file. Applicants sometimes face problems because the paper is creased, the ink is faint, the photograph is tilted or the signature is surrounded by too much blank space.
Preparing a clear signature image does not require professional design software. A clean sheet of paper, a suitable pen, steady lighting and careful checking are often enough. However, you must follow the current recruitment notification because some authorities specify the paper, ink colour, image dimensions or file format.
Read the recruitment instructions before writing
Start by opening the official notification or application help page. Find the section about the signature image. Check whether the authority asks for a signature on plain white paper, a particular ink colour or a specific scanning method. Also note the file format, file-size range and pixel dimensions.
Do not assume that every examination uses the same rules. A signature image accepted by one recruitment portal may not meet the requirements of another. If the portal provides a sample, examine the signature's position and the amount of blank space around it.
Keep a copy of the instructions so that you can compare your final image before uploading it. This is especially useful when the application has several separate upload fields.
Select clean white paper
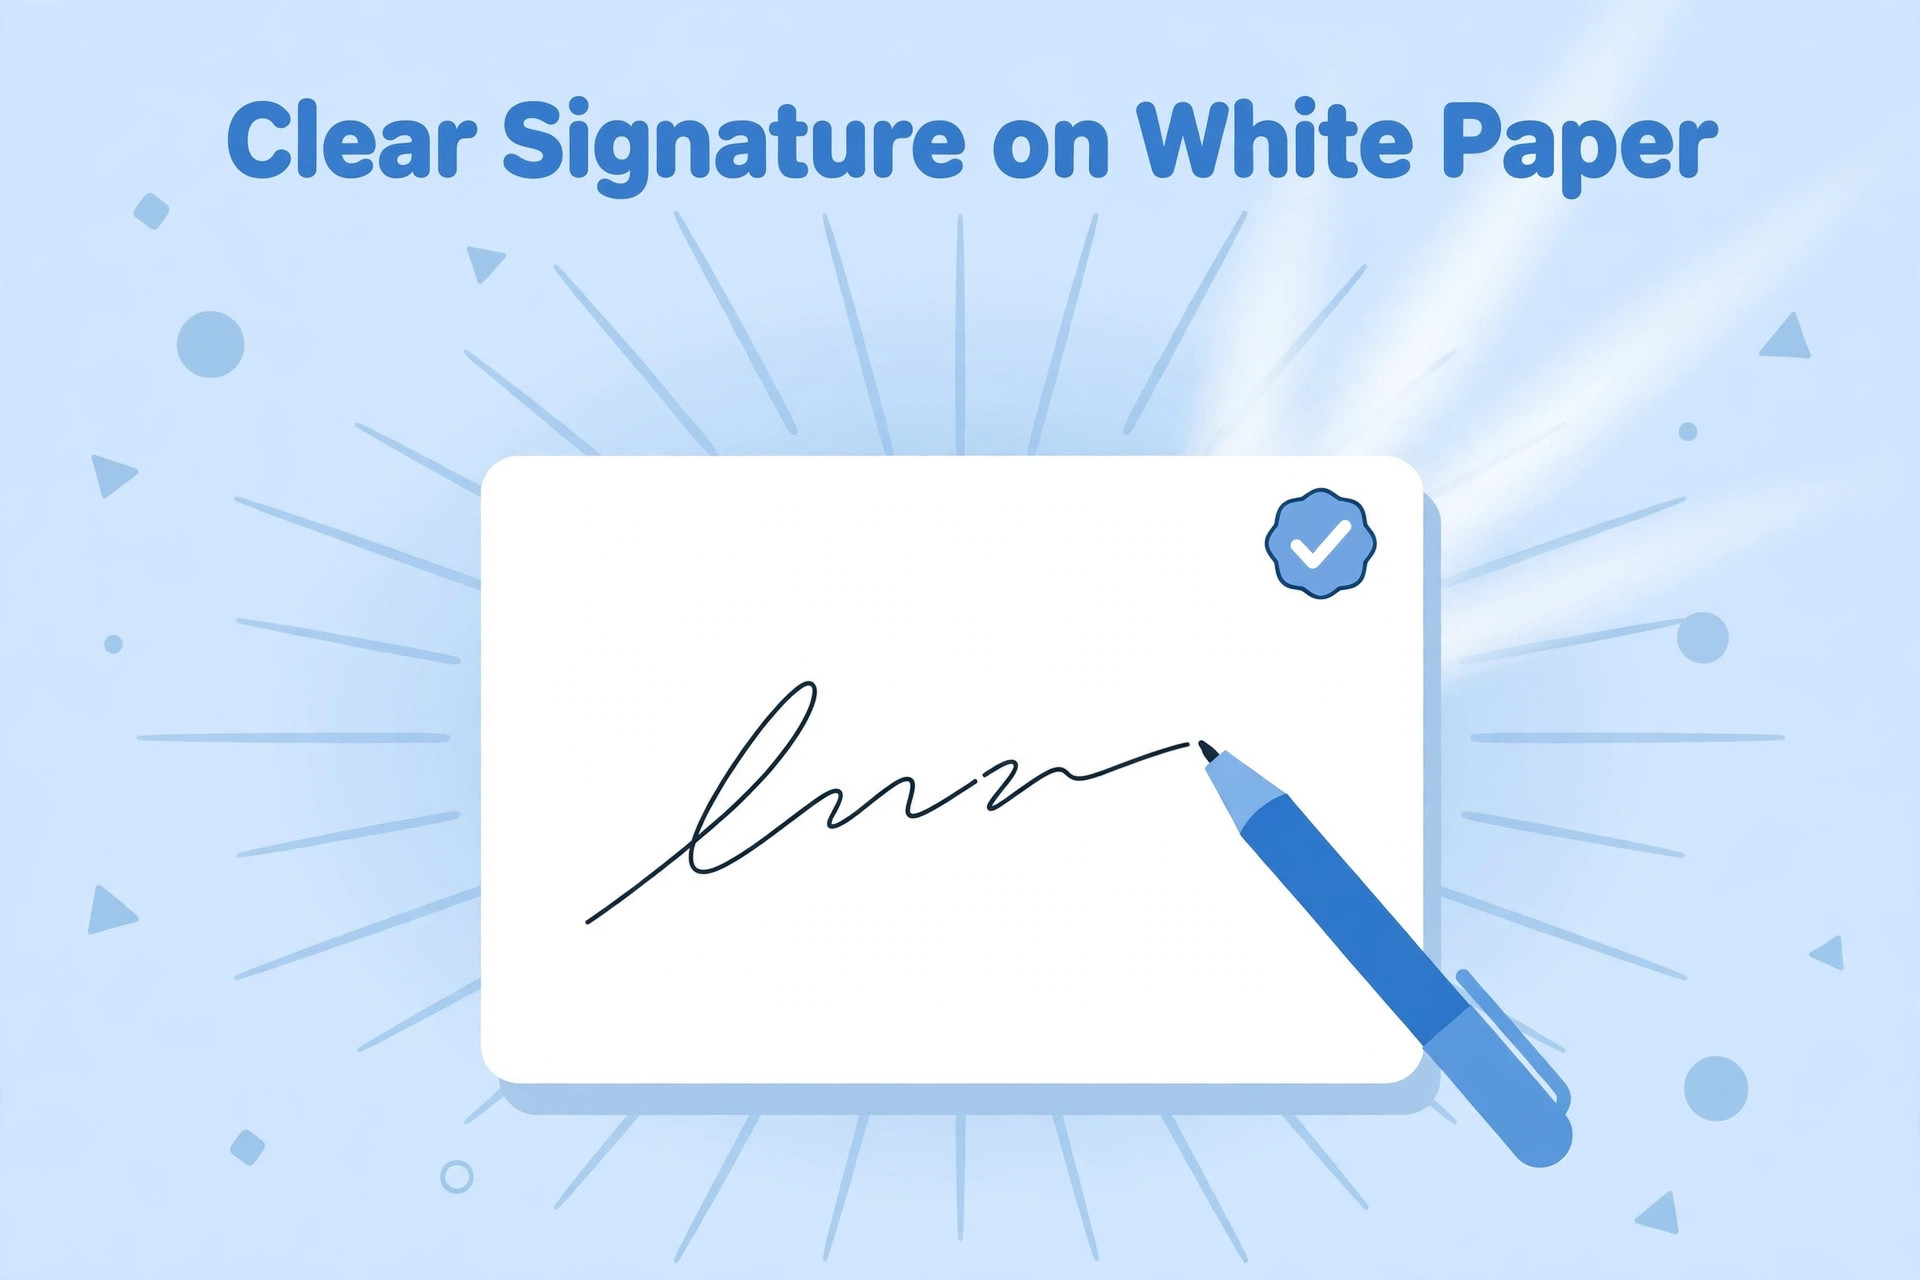
Use a clean, uncreased sheet of plain white paper when the notification asks for it. The paper should not have lines, printed text, a watermark or stains. A smooth surface makes it easier to capture a clean scan.
Place the paper on a flat table. Avoid writing on a notebook page if the instruction asks for plain paper. Lines and printed marks may appear in the scanned image and distract from the signature.
If the paper has a fold or shadow, use another sheet. It is usually quicker to prepare a fresh page than to try to remove marks with image-editing tools.
Choose a suitable pen
Use a pen that creates a clear and consistent line. The ink should be dark enough to remain visible after scanning and resizing. A pen that skips or produces very thin strokes may make parts of the signature disappear in a small image.
Follow the ink-colour instruction if the notification gives one. Do not assume that black or blue is universally required. If the authority does not specify a colour, choose a pen that creates good contrast against the paper and is consistent with the sample, if one is provided.
Avoid markers that create very thick lines unless the instructions specifically permit them. Thick strokes can merge letters and make the signature difficult to recognise.
Write your genuine signature naturally
Write the signature in the style you normally use for official purposes. Do not create a decorative version that is very different from your usual signature. Avoid adding extra marks or flourishes simply to make the image look attractive.
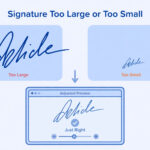
Leave enough space around the signature. Do not write too close to the edge of the paper. Keep the signature at a comfortable size so it can be cropped later without losing any strokes.
If you make a mistake, use a fresh sheet. Do not cross out the incorrect signature and write another one beside it. A scan containing multiple attempts can confuse the reviewer and make it difficult to identify the intended signature.
Scan with a flatbed scanner
A flatbed scanner can produce a consistent image because the paper stays flat and the scanner captures it from a fixed position. Place the sheet correctly and select a suitable colour or grayscale setting according to the application requirements.
Do not choose an extremely low scan resolution if it makes the pen strokes look rough. At the same time, an unnecessarily large scan may create a file that needs more processing. The important thing is to produce a clear image that can be resized without losing the handwriting.
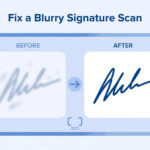
After scanning, open the image and check the entire signature. Look for cut-off strokes, dust marks, shadows or a tilted page. If the scan is poor, repeat it before editing.
Scan with a mobile phone
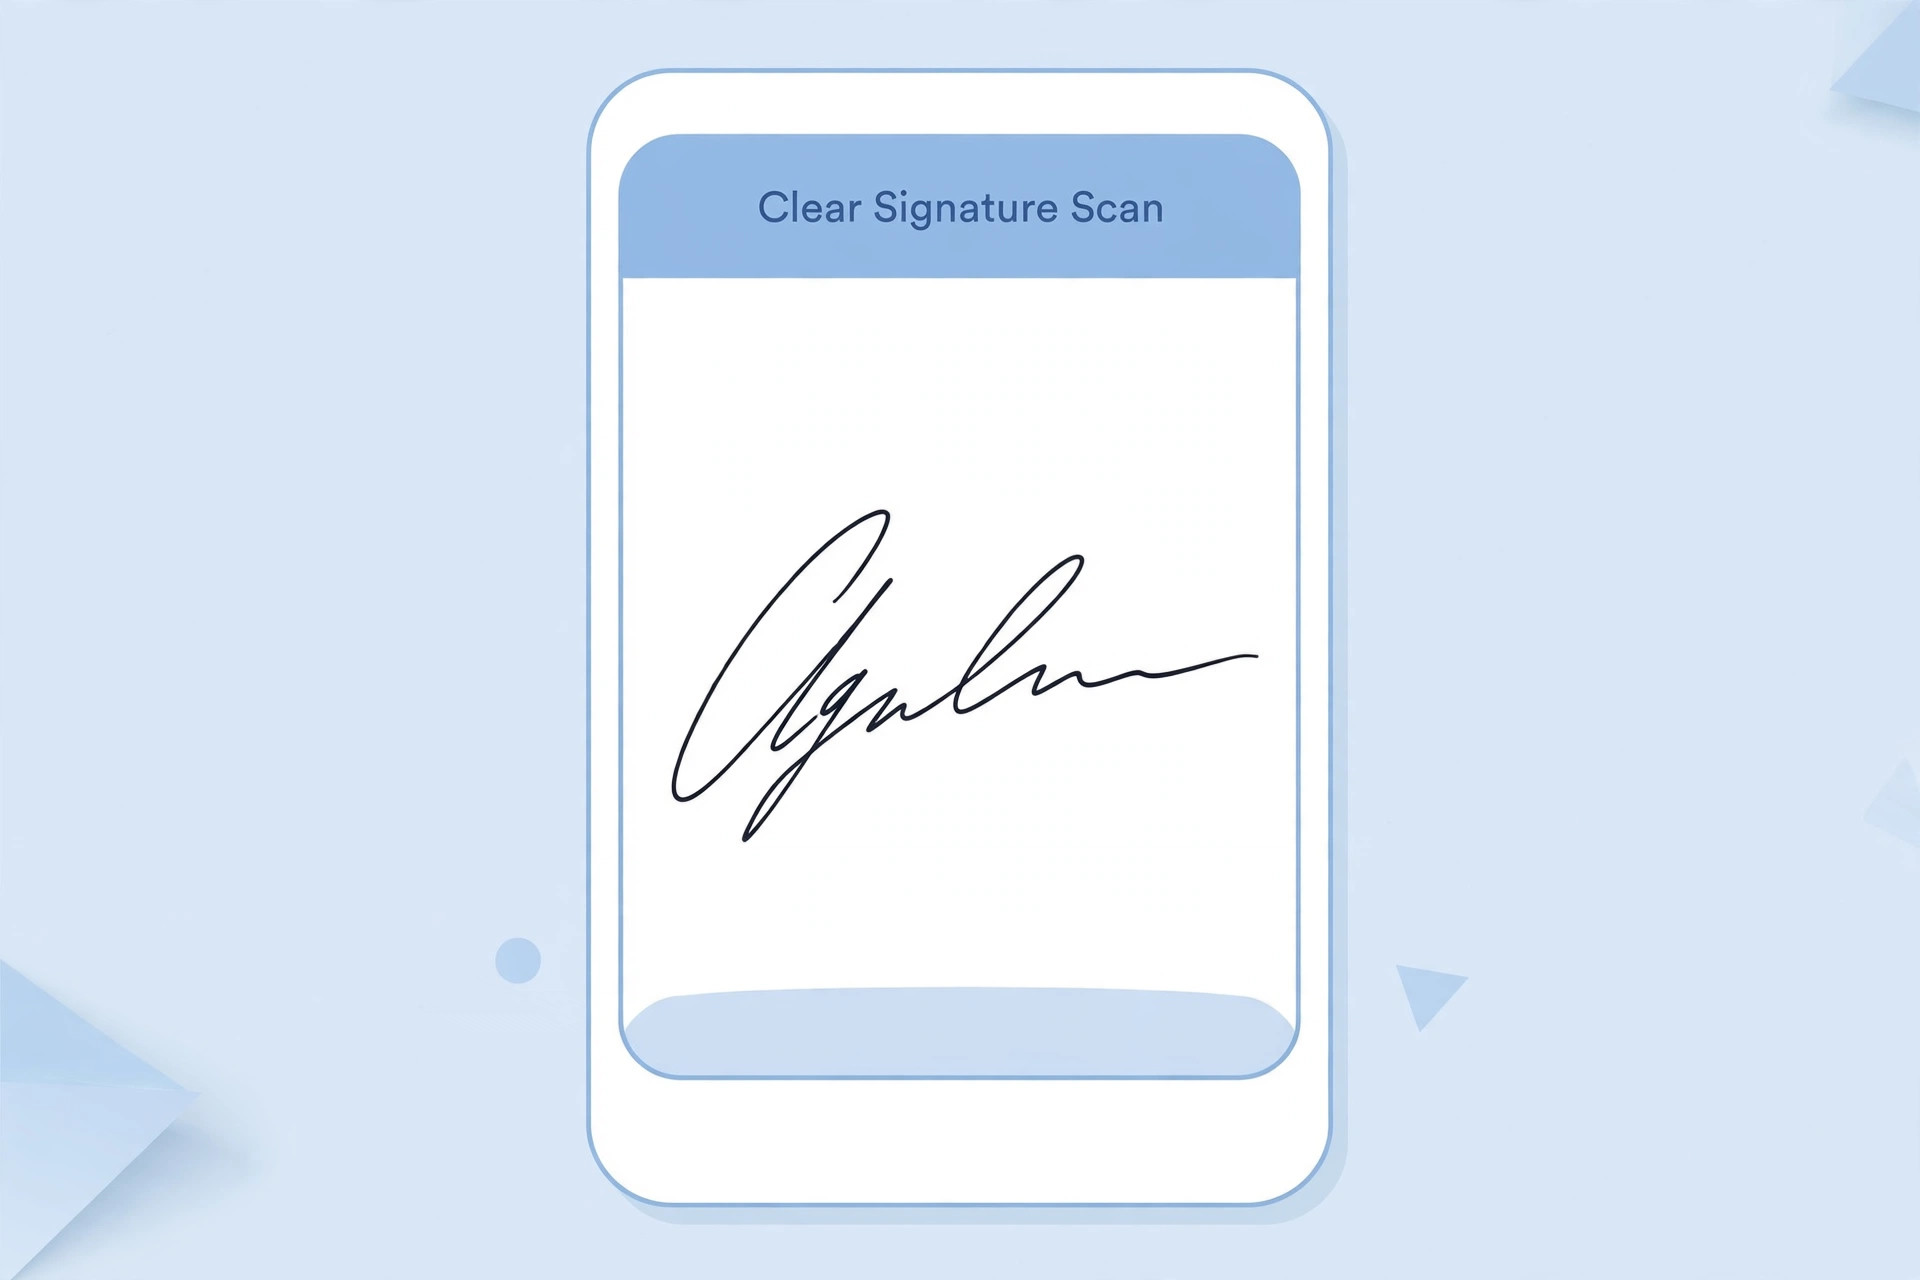
If you do not have a scanner, a mobile phone may be enough when the recruitment authority permits a scanned or photographed image. Place the paper on a flat surface in a well-lit room. Hold the phone directly above the paper, keeping the camera parallel to it.
Clean the camera lens and tap the signature area to focus. Avoid casting a shadow with your hand. Do not use a flash if it creates a bright reflection. Take the photograph from far enough away to include the whole signature, then crop it later.
Some scanning applications automatically detect page edges and correct perspective. Review the result carefully because automatic cropping can sometimes cut off a flourish or remove thin ink strokes. Do not accept the scan without checking it.
Crop without removing any strokes
Cropping should remove unnecessary blank space, not change the signature. Keep a small margin around the full handwriting. Make sure the first and last strokes are visible, including any underline or flourish that is part of the genuine signature.
If the crop is too tight, the signature may appear cramped. If it is too loose, the handwriting may become very small after resizing. Use the sample image from the recruitment portal as a visual guide.
Do not use an automatic background-removal feature without inspecting the result. Thin strokes may be mistaken for noise and removed. A simple crop is often safer than aggressive editing.
Improve brightness and contrast carefully
A scan may look grey because of lighting or scanner settings. A small brightness or contrast adjustment can make the ink easier to see. However, avoid extreme changes that turn the background into harsh black-and-white patches or make thin strokes disappear.
Do not use filters that change the handwriting. The aim is to improve readability, not to redesign the signature. Keep the original scan so you can compare it with the edited copy.
Export in the required format
Once the crop is ready, export the image in the file format named by the recruitment authority. JPG or JPEG is commonly used, but the portal's instructions decide. Do not change only the filename extension. Use the editor's export function to convert the actual file.
If the portal specifies pixel dimensions, set those dimensions while keeping the proportions correct. If it gives a file-size range, adjust compression carefully. Check both values after saving.
Check the final file
Open the exported image at normal size. Confirm that the handwriting is clear, all strokes are visible and the background is clean. Check the file's dimensions, format and size using the file information option on your device.
Keep the final version in a separate folder. If you are applying for multiple examinations, label each version so that you do not confuse files with different dimensions or file limits.
Common mistakes
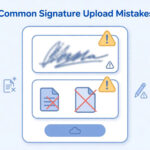
Applicants sometimes use ruled paper, write too close to the edge, choose faint ink or take a photograph at an angle. Others crop too tightly, remove the background too aggressively or compress the image until thin strokes vanish. Another common mistake is uploading the entire sheet when the portal expects only the signature area.
Avoid these problems by reviewing the image before upload. If the handwriting itself is unclear, make a new signature on a fresh sheet rather than trying to repair it digitally.
Frequently asked questions
Can I use a mobile scanning application?
Yes, if the recruitment instructions permit a scanned image and the result is clear. Always inspect the crop and the final file.
Should I sign in capital letters?
Use your genuine signature. Do not change its style unless the authority specifically gives a different instruction.
Can I use a blue pen?
Only follow this if the notification permits or requires it. Ink-colour rules vary.
Is a white background compulsory?
It depends on the recruitment instructions. If plain white paper is requested, use it. Otherwise follow the stated requirement.
Can I edit the signature after scanning?
Basic cropping and technical adjustments may be useful, but do not alter the actual handwriting or create a misleading signature image.
A reliable routine
Read the notice, prepare a clean sheet, use a suitable pen, write your genuine signature, scan it in even light and crop carefully. Export the image in the required format and check its size and dimensions. A clear original scan is the best starting point for a successful upload.