A scanned signature is a common requirement in online government recruitment applications. Applicants may be asked to write their signature on plain paper, scan it and upload the image in a specified field. Although this sounds simple, a signature file can be rejected because of incorrect dimensions, an unsupported format, excessive file size or poor image quality. In some cases, the signature may upload successfully but look unclear when the application is reviewed.
The most important point is that signature rules are not universal. Different recruitment authorities may specify different file formats, dimensions, file-size limits, ink colours and methods of preparation. Even the same authority may update its instructions in a new recruitment cycle. Always read the current official notification and application help document before preparing the file.
Why the signature is required
A signature helps connect the online application with the candidate’s written declaration and other examination records. Depending on the recruitment process, it may be printed on the application form, admit card or attendance-related documents. It can also be used during document verification to compare the submitted signature with a signature made by the candidate at a later stage.
For this reason, the uploaded image should represent the applicant’s genuine signature. It should be clear enough to read and should not be artificially altered. A signature that is too small, faint, cropped or covered by shadows may create verification difficulties.
Read the exact instructions first
Find the signature section in the official notification or online application instructions. Check whether the authority asks for a handwritten signature on plain paper or another specific method. Note the accepted file format, maximum and minimum file size, pixel dimensions and any instruction about ink colour.
Some recruitment systems provide a sample image. Use it to understand how much of the frame the signature should occupy. If the notice asks for a particular colour of ink, follow that instruction. Do not assume that a rule used by another examination applies to your form.
If the instructions are unclear, check the official help document or contact the recruitment authority through its published support channel. Avoid relying on old screenshots because application portals and requirements can change.
Write the signature on suitable paper
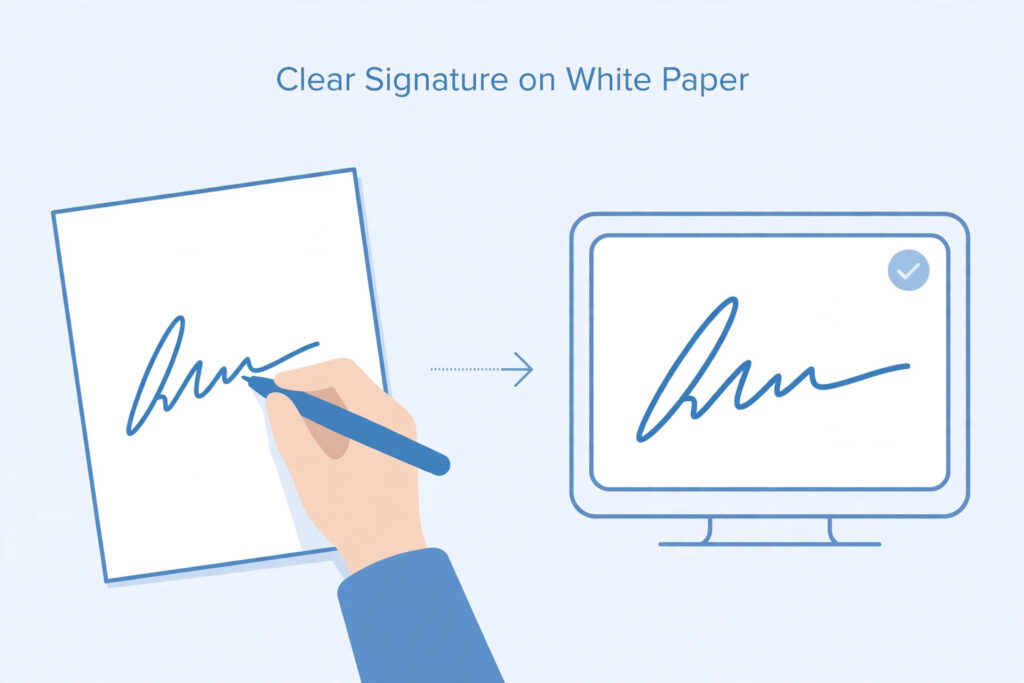
Use clean, plain paper unless the notification specifies something different. Choose a pen that produces a dark, consistent line. The signature should be written naturally and should not be so large that it touches the edges of the paper.
Do not practise directly on the final sheet. If you make a mistake, use a fresh sheet rather than trying to erase or cover the error. Erasing can leave marks and make the scan look untidy. Write the signature in the same style that you normally use for official documents.
Avoid using a very faint pen or a damaged pen that creates broken strokes. The signature should be visible when scanned, but it should not be so thick that letters merge together.
Scan the signature clearly
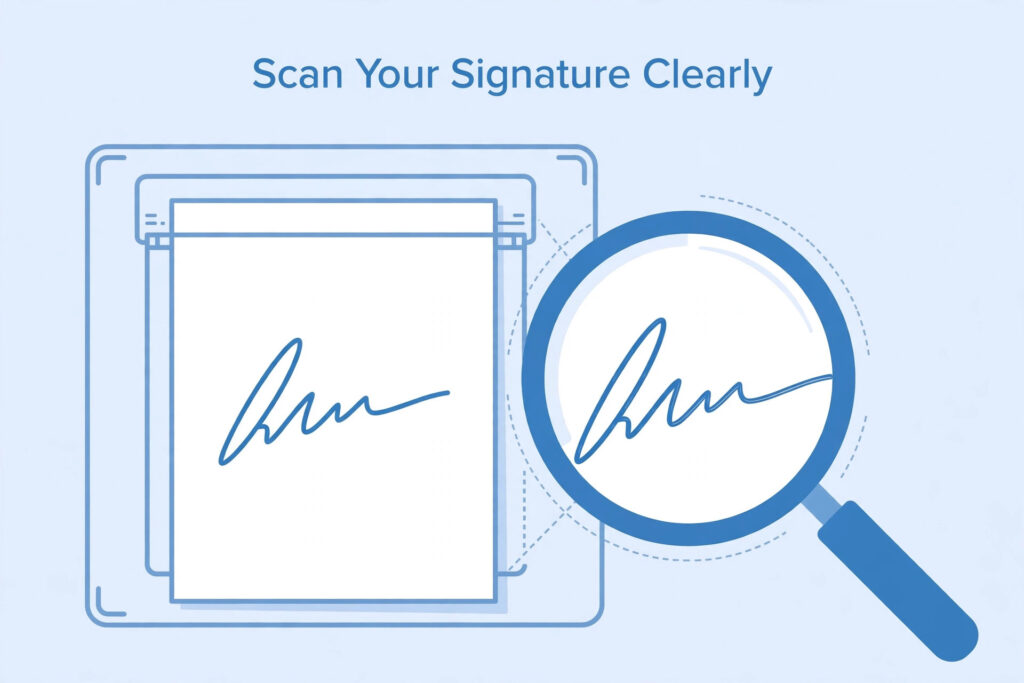
You can use a flatbed scanner or a mobile phone scanning application if the recruitment instructions allow a scanned image. Place the paper on a flat surface and keep the camera or scanner parallel to it. Uneven angles can make the signature look tilted or distorted.
Use good lighting and avoid shadows from your hand or phone. If you use a mobile camera, hold it steady and make sure the full signature is in focus. Do not use a flash if it creates glare on the paper.
After scanning, open the image and inspect the strokes. Check that no part of the signature has been cut off. The background should be clean and the ink should be distinguishable from the paper.
Crop the image carefully
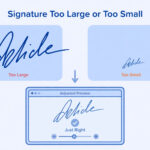
Cropping removes unnecessary blank space around the signature. Keep enough space around the strokes so that no letter or flourish is cut off. Do not crop so tightly that the signature touches the image boundary.
A very large blank area can make the signature appear tiny after the portal displays it. A balanced crop makes the signature easier to view. Compare the crop with the sample image or framing instruction provided by the authority.
If the signature is naturally wide, do not squeeze it into a narrow rectangle by changing its proportions. Crop to the required shape where possible and resize while keeping the aspect ratio locked.
Understand file size and dimensions
File size is measured in KB or MB. Dimensions are measured in pixels. They are separate properties. A signature can have the correct pixel width and height but exceed the permitted file size. It can also be below the file-size limit but have dimensions outside the accepted range.
If the notice gives both requirements, check both after exporting. Use the exact units mentioned in the portal. Do not assume that a number stated in KB is the same as a number stated in MB.
If the image is too large, export it with suitable compression. If the dimensions are wrong, resize it according to the stated pixel values. Avoid reducing the image so much that thin signature strokes disappear.
Choose the required format
JPG or JPEG is commonly used for scanned signature images, but some portals may accept other formats. Follow the exact upload instruction. Do not simply rename a PNG file with a JPG extension. That changes the filename, not the actual image format.
Use an image editor’s export or save-as option to create the required format. Reopen the exported file to make sure it is valid. If the file does not open or appears damaged, create it again from the original scan.
Common reasons for signature rejection
A signature upload may fail because the file is too large, too small, in the wrong format or outside the permitted dimensions. The scan may also be blurred, too faint, tilted, cropped or difficult to distinguish from the background.
Some applicants upload a photograph of the entire sheet, leaving the signature very small in the frame. Others use a background-removal tool that removes thin parts of the handwriting. Repeated compression can also make the strokes uneven. These problems are avoidable when the original scan is prepared carefully.
A simple signature preparation checklist
Before uploading, confirm each point:
- The signature is genuine and written by the applicant.
- The paper and background follow the instructions.
- The ink colour matches the stated requirement, if one is given.
- All strokes are visible and in focus.
- The signature is not cut off.
- The crop does not leave excessive blank space.
- The image proportions have not been distorted.
- The file format is accepted.
- The dimensions and file size meet the stated limits.
- The final file opens correctly.
Keep the original scan separately. If you need to create a different version for another examination, start from the original rather than repeatedly editing an already compressed file.
What if the portal rejects the signature?
Read the error message first. If it mentions file size, check the actual size of the selected file. If it mentions dimensions, inspect the pixel width and height. If it mentions image quality, review the scan and consider creating a new one.
Make sure you are uploading the signature in the signature field, not the photograph field. Some portals display a preview after upload. Check that preview before moving to the next step. If the portal continues to reject a file that follows the instructions, take a screenshot of the error and contact the official helpdesk.
Frequently asked questions
Can I upload a signature made with a digital drawing app?
Use the method stated in the recruitment instructions. If the authority asks for a handwritten signature on paper, a digitally drawn version may not meet the requirement.
Is black ink compulsory?
Not for every examination. Follow the current notification. If no ink colour is mentioned, do not invent a rule based on another exam.
Can I use the same signature for several applications?
You may use the same genuine signature if each application permits it and the image meets the individual technical requirements. Prepare a separate file when the dimensions or file limits differ.
Should the signature fill the whole image?
No. It should be clearly visible with suitable margins. Follow the sample image and avoid cutting off the strokes.
Can I remove the white background?
Do not change the image beyond what the authority permits. A clean scan on plain paper is usually easier to verify than an aggressively edited image.
Final preparation advice
A good signature file begins with a genuine, clearly written signature. Scan it in even light, crop carefully and export it according to the current recruitment instructions. Check the final image rather than trusting the editing tool’s confirmation message. This small review can help prevent avoidable upload problems.