A scanner is not always available when an applicant needs to upload educational certificates or other documents for a government job. A mobile phone can be a practical alternative, provided the photograph is clear and the recruitment portal accepts scanned images. A poorly captured document may have shadows, tilted edges, glare or missing corners. These issues can make important details difficult to read.
A good mobile scan begins with a clean surface, even lighting and a steady camera. You should also review the final PDF or image before uploading it. This guide explains how to scan certificates with a phone and prepare the file for an online recruitment form.
Check what the recruitment portal accepts
Before scanning, read the official application instructions. Check whether the portal asks for PDF, JPG or another format. Note the maximum file size, required page count and whether the document should be uploaded in colour.
Some fields may require a single-page image, while others may ask for a multi-page PDF. Do not assume that every certificate should be combined into one file. Follow the upload field labels and current notification.
Prepare the document
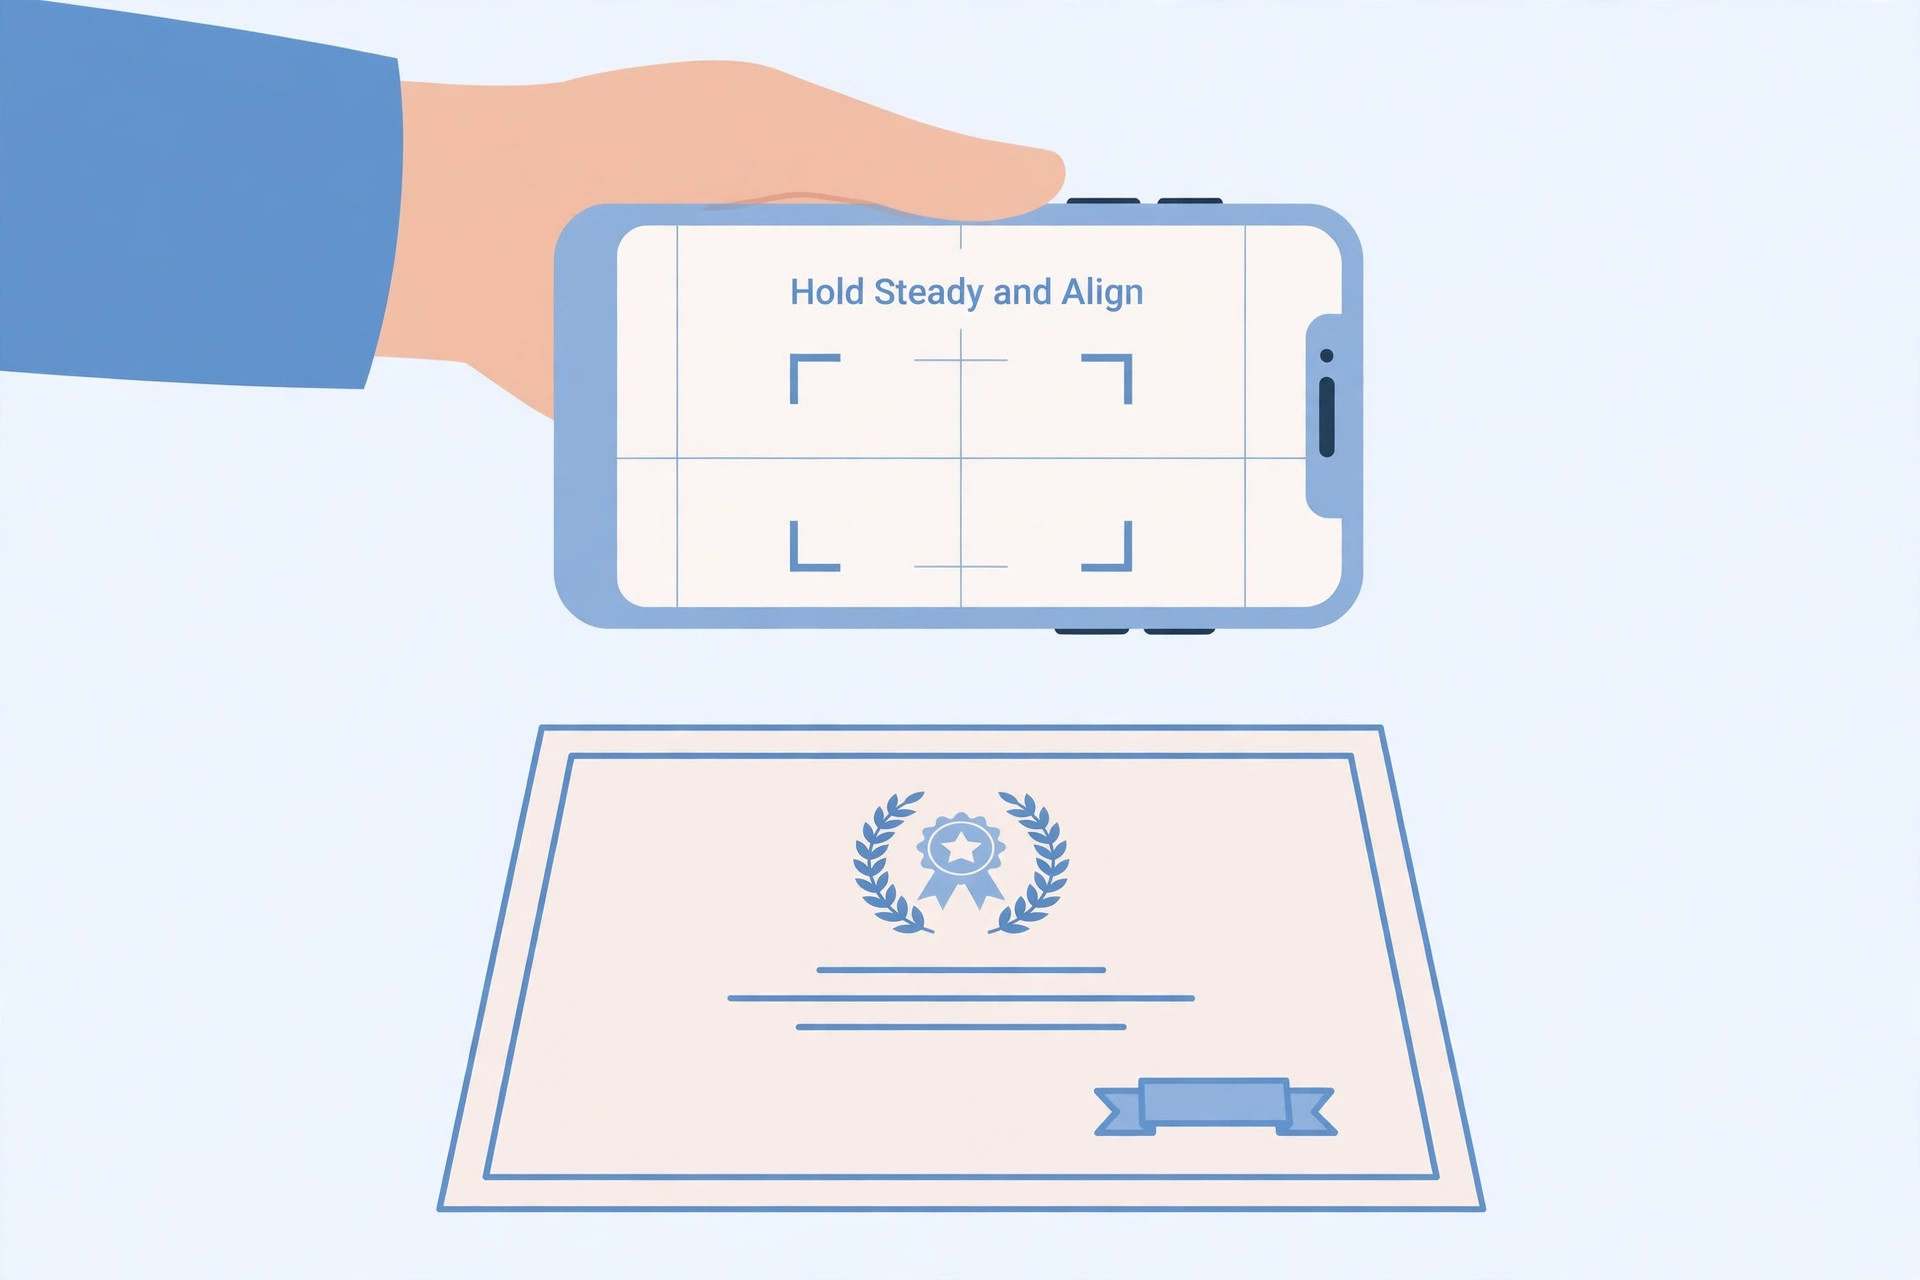
Place the certificate on a clean, flat surface. Open folded pages carefully and make sure no important text is hidden. Remove objects that may cover the document. If the certificate is inside a plastic cover, remove it if doing so is safe and permitted, because plastic can create reflections.
Check that the page is not heavily curled. If the edges are raised, the camera may capture shadows. Use a flat surface and keep the paper as straight as possible.
Choose a suitable location
Use a well-lit room with even light. Daylight can work well when it does not create a strong reflection. Avoid placing the document directly under a harsh light that creates glare. Do not let your hand or phone cast a shadow across the certificate.
A plain table or desk is useful because it creates contrast around the page. Keep other papers and objects away from the frame so that the scanning application can detect the document edges correctly.
Hold the phone correctly
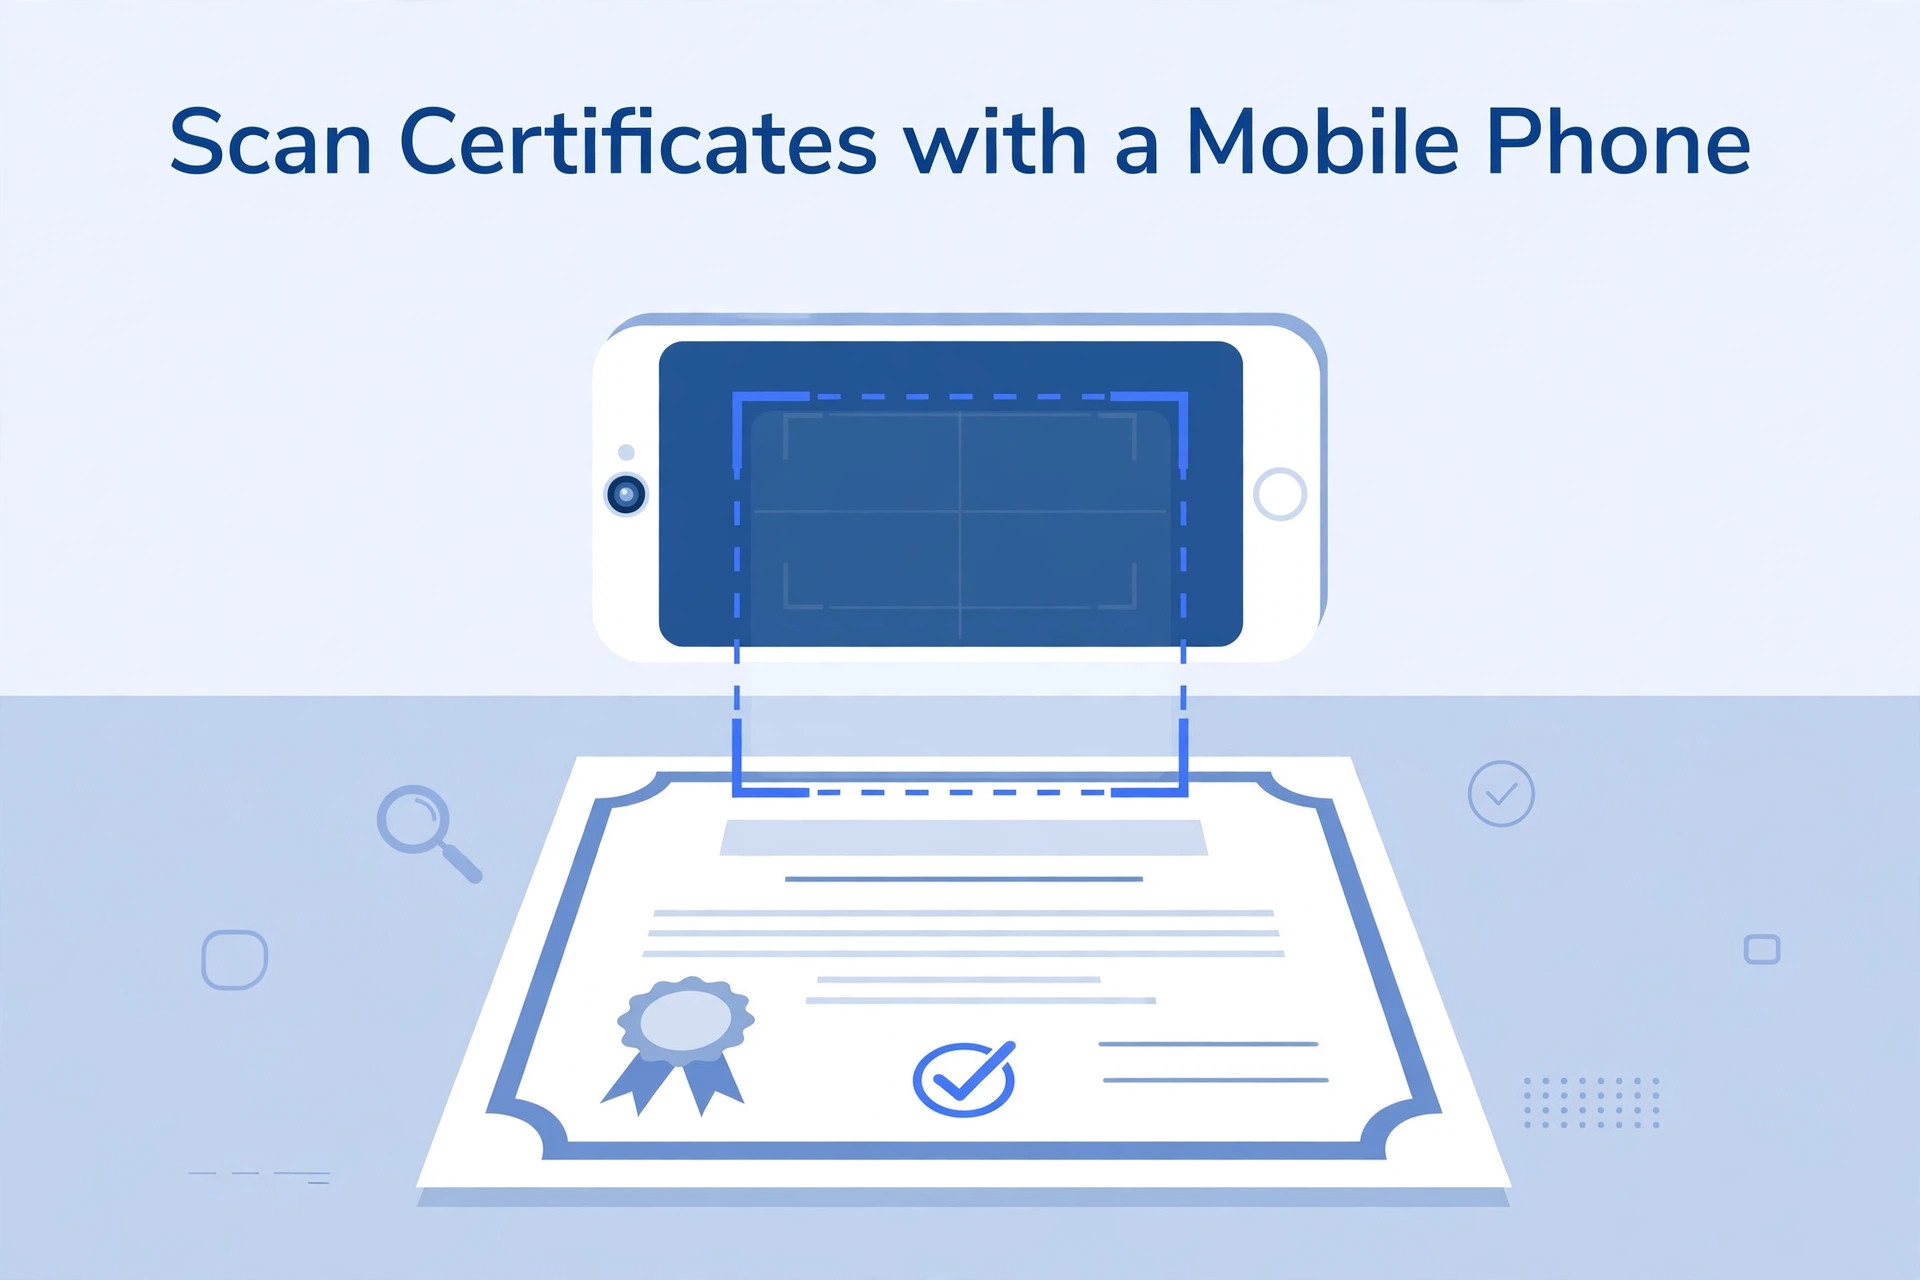
Clean the camera lens before scanning. Hold the phone directly above the document, keeping the camera parallel to the page. If the phone is tilted, the top and bottom edges may appear at different angles. This perspective distortion can make text harder to read.
Use both hands or place the phone on a stable support. Tap the document to focus. Take a test image and inspect the smallest text before scanning every page.
Use a scanning application
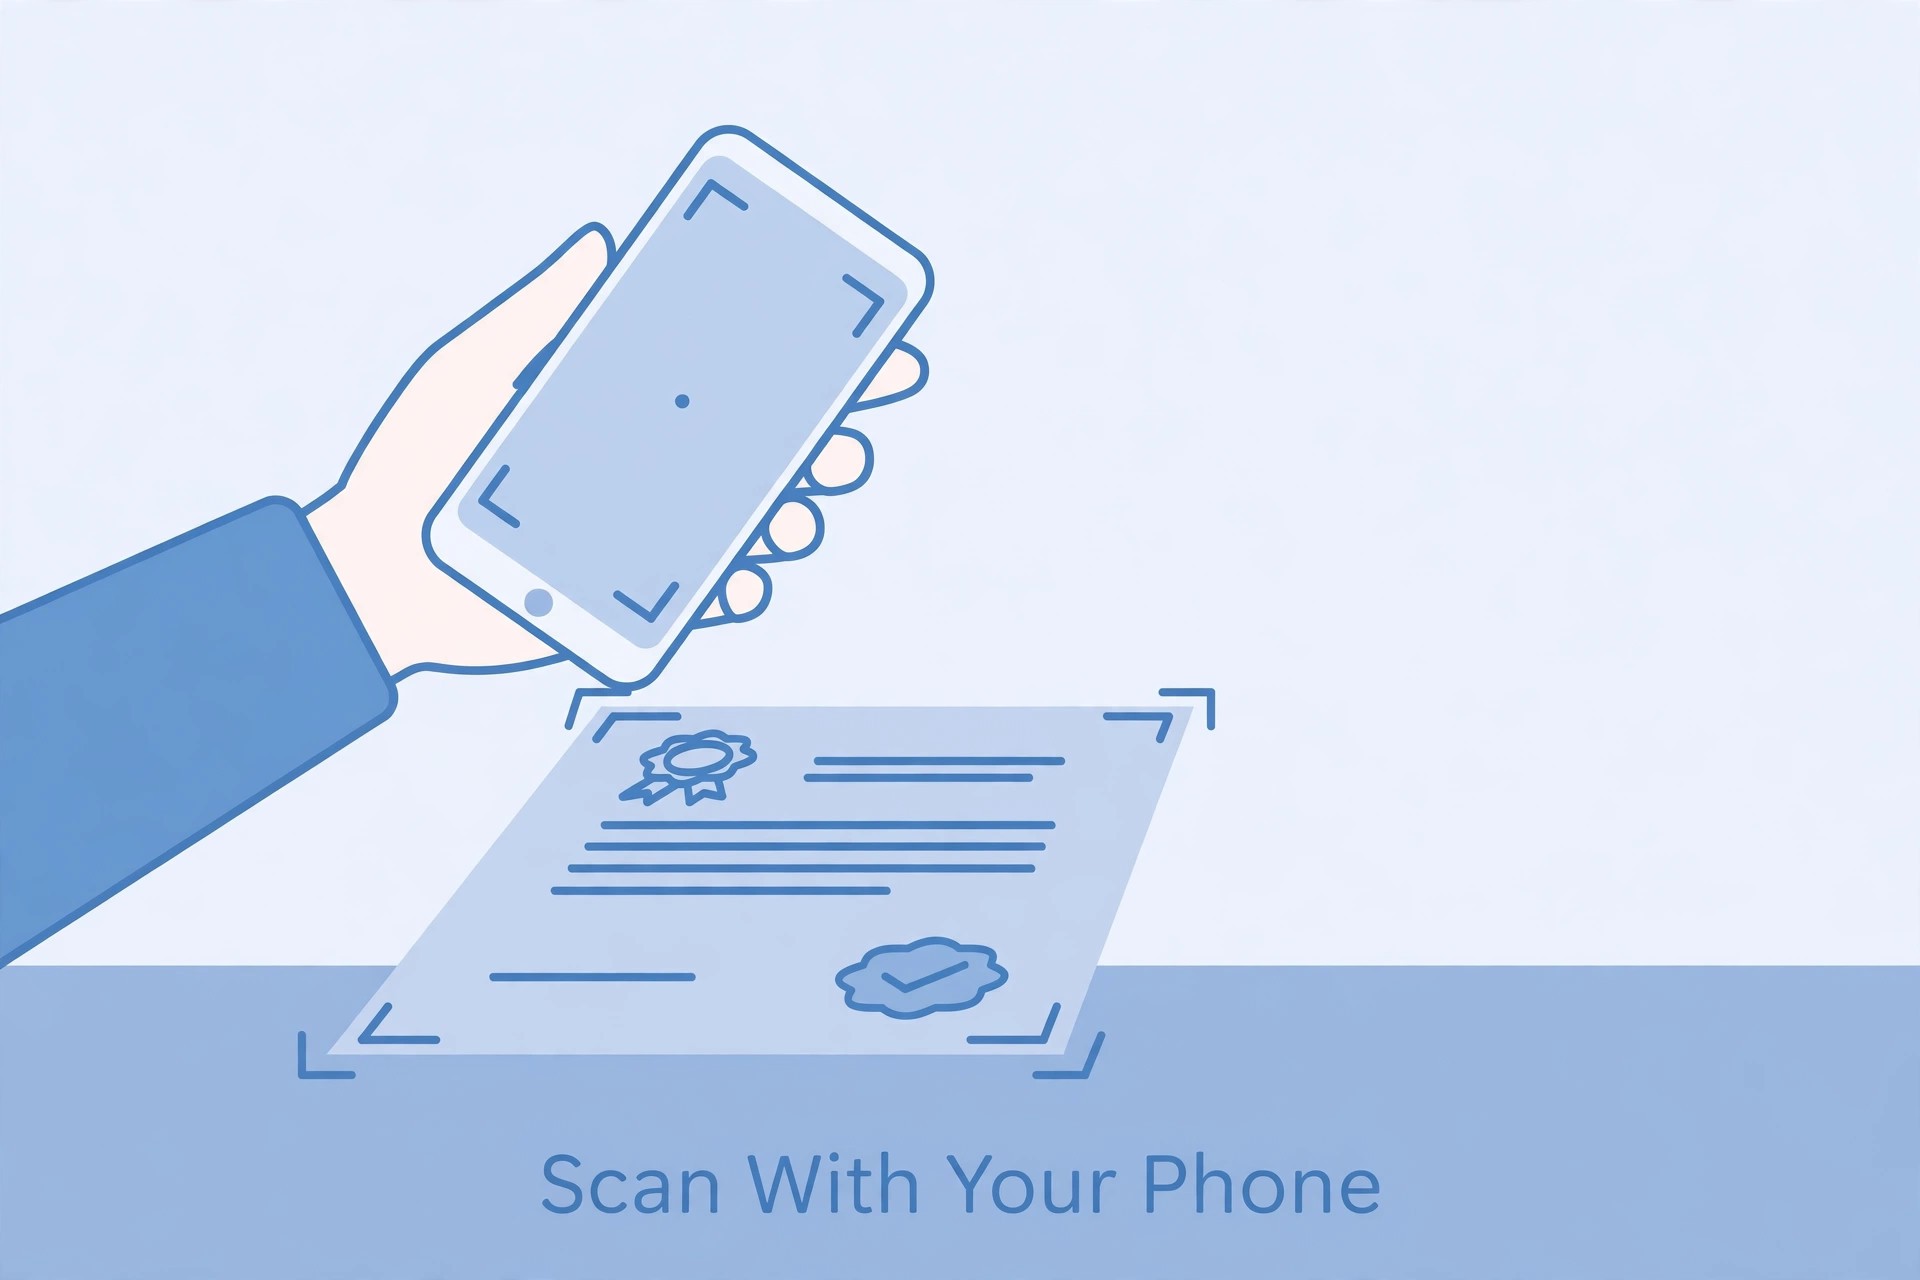
A document scanning application can detect page edges, crop the image and create a PDF. Some phones also include a scan feature in the camera or file application. Choose a trusted application and review its permissions.
Automatic edge detection is useful, but it is not perfect. It may cut off a stamp near the page border or include part of the table. Review the crop manually and adjust it so the complete document remains visible.
Choose colour or grayscale carefully
If the certificate contains coloured seals, photographs or security features, a colour scan may preserve more information. Grayscale can be useful for plain text documents, but it may remove details that matter. Follow the recruitment instructions if they specify a colour mode.
Do not apply filters that make the document look artificially clean. The scan should be a faithful copy of the certificate.
Capture every page
For a multi-page document, scan each page in the correct order. Check the page count before creating the final PDF. Some scanning applications allow pages to be rearranged, so verify the sequence after scanning.
Do not omit a reverse side if it contains a stamp, endorsement or other relevant information. If the authority asks for both sides, include both even when one side appears mostly blank.
Review readability
Open the saved file and zoom in on names, dates, certificate numbers, stamps and signatures. Make sure the letters are not blurred or hidden by shadows. Check the page corners and edges to confirm that no content has been cut off.
If the image is soft, scan again. Editing cannot reliably restore detail that was not captured. A fresh scan is usually better than strong sharpening.
Save in the correct format
If the portal asks for PDF, export the pages as a PDF. If it asks for JPG, save the required page as an image. Check the final file size and dimensions where relevant.
Use a clear filename such as “Degree-Certificate” or “Class-12-Marksheet”. Keep the original scans until the application process is complete.
Protect your documents
Certificates contain personal information. Use a trusted scanning application and avoid uploading documents to unknown services without understanding how they handle files. If you use a shared device, remove temporary copies after the application and sign out of your accounts.
Do not share certificate scans in public groups or post them on social media. Keep a secure copy for your own records.
Common mobile scanning mistakes
Common problems include photographing the page at an angle, using flash that creates glare, scanning in a dark room, cutting off the corners and failing to review the PDF. Some applicants also use filters that remove faint stamps or handwritten notes.
Avoid these issues by taking a test scan, checking the result and repeating any page that is unclear.
Frequently asked questions
Is a phone scan accepted for government forms?
It depends on the recruitment portal. Many systems accept scanned documents, but the current instructions decide the allowed method and format.
Should I use a scanning app or the normal camera?
A scanning application can help crop and create PDFs, but a normal camera may also work if it produces a clear image and the portal accepts the file.
Can I scan multiple certificates into one PDF?
Only if the upload field asks for a combined PDF or allows it. Otherwise, upload each document separately.
Why does my scan look darker than the original?
Lighting, camera processing and filters may change the appearance. Use even light and check the scan settings.
What if the certificate has a shiny surface?
Change the light angle to reduce reflections. If glare remains, try a different location or a flatbed scanner.
Final advice
A mobile phone can create a useful document scan when the page is flat, the camera is parallel and the lighting is even. Review every page, save the correct format and check the final file before uploading. A careful scan is much more useful than a quick photograph that hides important details.
Additional practical considerations for mobile certificate scanning
A useful way to avoid confusion is to treat mobile certificate scanning as a separate task instead of mixing it with every other part of the application. First identify what the authority is asking for, then prepare the relevant file or information, and finally compare the result with the official instructions. This order matters because editing a file before checking the rules can create extra work. It may also lead to a version that looks correct but does not satisfy the upload field.
For example, imagine that you have prepared each scanned certificate page. Before submitting it, pause and review camera angle, lighting, page edges and focus. Check whether the information is complete, whether the image or document opens correctly and whether the file still looks clear after the final export. If the portal shows a preview, compare that preview with the saved file. A preview can reveal an incorrect crop, a wrong upload field or a file that has not been processed as expected.
It is also useful to keep a small record of what you have checked. Write down the name of the recruitment, the date you reviewed the notification and the technical requirements that apply to this upload. If the authority later publishes a correction or revised instruction, check whether it changes anything. This is especially important when you apply for more than one post or when a recruitment process remains open for several weeks. Do not rely on a screenshot saved from an earlier application cycle.
When something goes wrong, avoid changing several things at once. Read the error message, identify the property it refers to and make one correction. For example, if the message concerns the file type, verify the actual format before changing dimensions. If it concerns readability, inspect the original capture before compressing it again. A step-by-step approach makes it easier to understand the cause and prevents unnecessary changes to a correct file.
Before you finish, ask yourself these questions: Does the file belong to the correct applicant? Is it the document or image requested in this field? Are all important details visible? Does it follow the current notice? Have you checked the final saved version rather than an earlier draft? These checks are simple, but they are useful because upload mistakes often happen when applicants are in a hurry.
If the instructions appear inconsistent, do not choose whichever value seems easier. Check for a later official notice, a corrigendum, an application help page or a clarification from the recruiting authority. Keep the response or reference number if you contact support. An unofficial blog or social media post can help you understand a topic, but it should not override an official recruitment instruction.
Finally, keep your original records safely. Save the unedited scan or source file separately from the version prepared for upload. This gives you a clean starting point if a correction is required or another portal asks for a different format. Use clear filenames and avoid sharing personal documents through public links. A careful file-management routine makes the application process more organised and reduces the chance of selecting an outdated version.