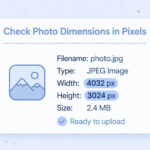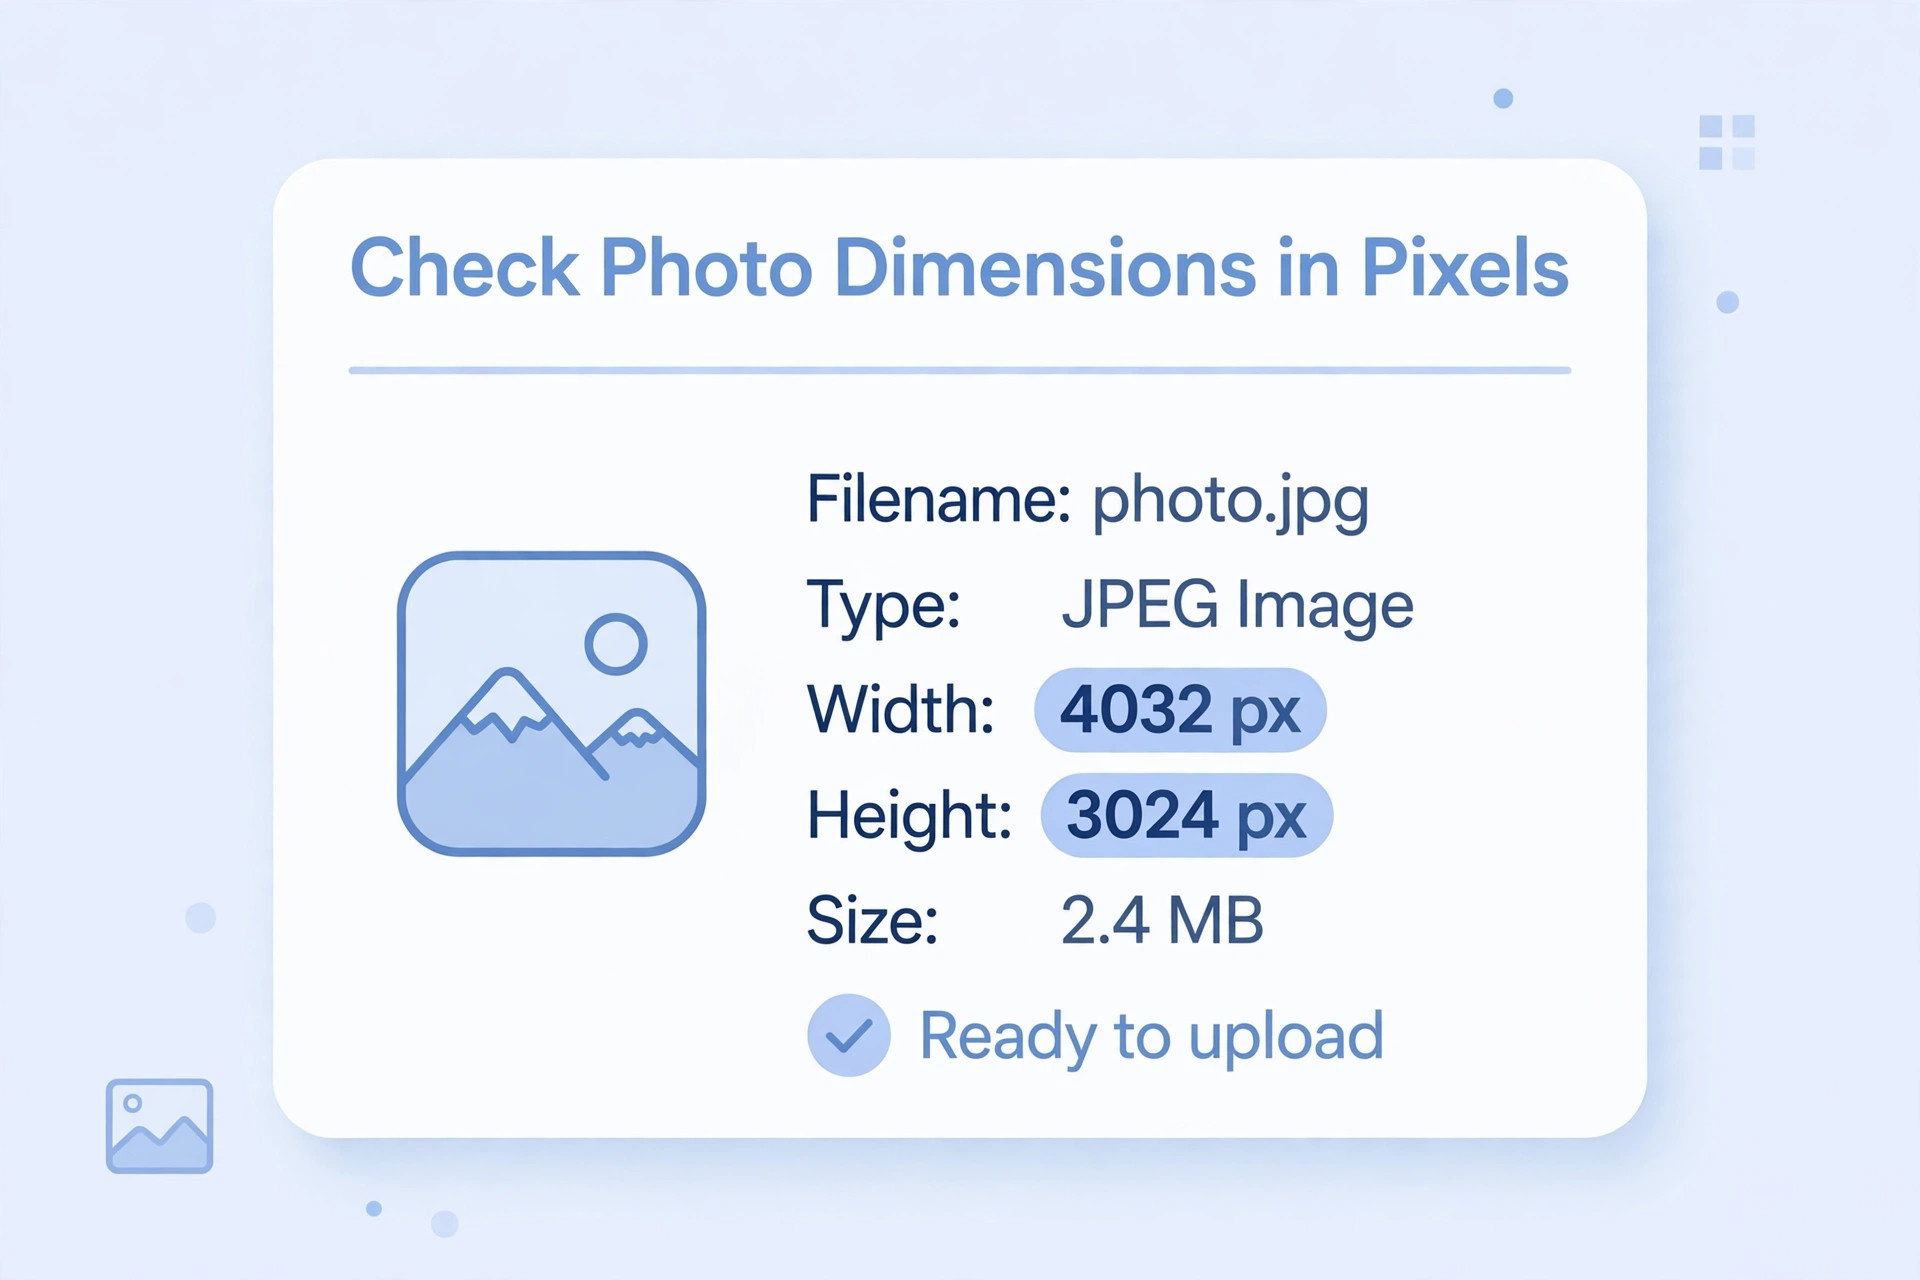
A government recruitment portal may ask applicants to upload a photograph with specific pixel dimensions. These numbers describe the image's width and height. Applicants sometimes check only the file size and forget to verify the dimensions. As a result, an image may be below the size limit but still fail the portal's technical check.
Checking pixel dimensions is simple once you know where to look. You do not always need to edit the image. In many cases, your computer or phone can display the dimensions in the file information screen. This guide explains what pixels mean, how to check them and what to do if the image does not match the recruitment instructions.
What are pixels?
A pixel is a small unit used to represent an image on a digital screen. An image's dimensions are usually written as width × height. For example, a portrait photograph may have a width of a few hundred pixels and a greater height. The exact values depend on how the photograph was captured or edited.
Pixel dimensions are not the same as printed measurements such as centimetres or inches. A printed photograph's physical size also depends on its resolution or DPI. If a recruitment portal asks for pixels, enter or check pixel values rather than centimetres.
Why dimensions matter in recruitment forms
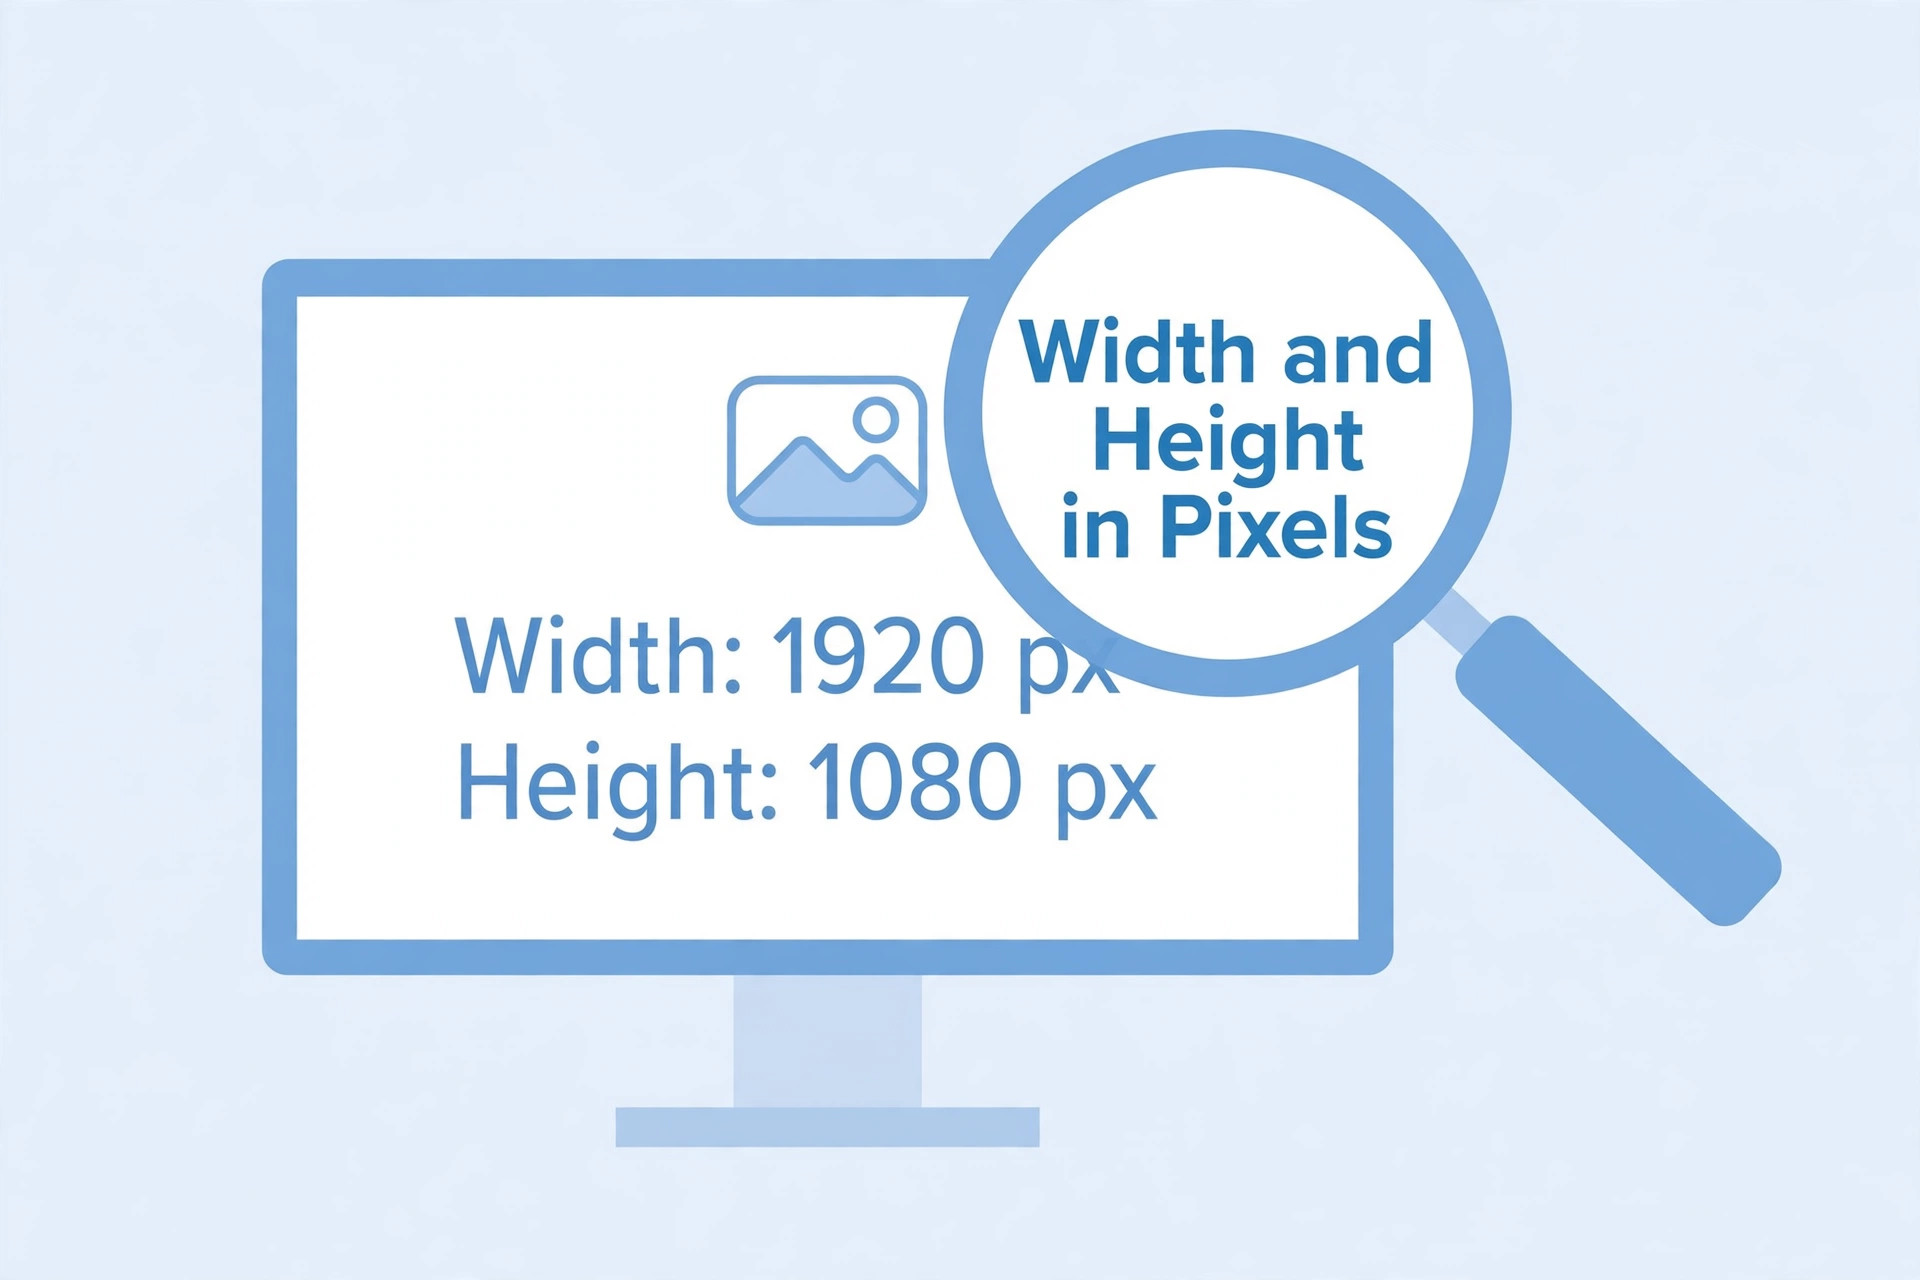
Some application systems automatically check whether an uploaded image falls within a permitted width and height. This helps keep photographs consistent in the application record. If the image is too small, the face may not be clear. If it is too large, the portal may reject it or process it differently.
A portal may specify exact dimensions or a range. It may also specify a file-size limit. These requirements should be checked separately. A correct file size does not prove that the pixel dimensions are correct.
Find the official dimensions first
Open the current recruitment notification or application help page. Look for the photograph upload section. Note the required width and height and check whether the values are exact or given as a range.
Do not copy pixel dimensions from a general passport-photo website. Requirements can differ between examinations and recruitment cycles. If the portal provides a sample image, use it to understand framing, but rely on the written specifications for the exact numbers.
Check dimensions on Windows
On many Windows computers, you can right-click the image file and open its Properties window. Look for the Details tab. The image section may show width and height in pixels. The exact labels can vary depending on the Windows version and file type.
You can also open the image in an image editor. Many editors display the dimensions in an image-size or resize menu. Be careful not to change the values accidentally while checking them. If you only need to inspect the image, close the dialog without saving changes.
Check dimensions on Android
On an Android phone, open the image in the gallery or file manager and look for Details, Info or Properties. Many devices display the image's width and height in pixels. The location of this option varies by phone brand and gallery application.
If the gallery does not show pixel dimensions, use a trusted image information tool. Avoid installing unknown applications that request access unrelated to the task. You can also transfer the file to a computer and inspect it there.
Check dimensions on an online tool
An online image information tool may display width, height, format and file size after you select an image. Before uploading a personal photograph to a third-party website, consider its privacy practices. A recruitment photograph is personal information, so use a trusted service or an offline application when possible.
Do not assume that a tool's display is correct if the file has not finished loading. Check the downloaded file on your own device as well.
What if the dimensions are wrong?
If the recruitment notice specifies exact dimensions, use an image editor to crop and resize the photograph. Crop it to the correct aspect ratio first so that the face does not become stretched. Then resize it to the required width and height.
Keep the aspect-ratio lock enabled whenever possible. If the target dimensions have a different ratio from the source, adjust the crop rather than distorting the image. After saving, check the new file's dimensions again.
Difference between dimensions and file size
Dimensions are measured in pixels. File size is measured in bytes, KB or MB. A large image can sometimes have a small file size because of compression. A smaller image can have a larger file size depending on its format and content.
If the portal gives both requirements, you must satisfy both. Resize the image to the required dimensions and then compress it if needed. Check the actual saved file after export.
Common mistakes
One common mistake is reading the dimensions in centimetres instead of pixels. Another is checking the original file but uploading a different edited copy. Some applicants resize the image but forget to save the changes. Others stretch the image by changing width and height independently.
Avoid these errors by checking the exact file you plan to upload. Give it a clear name and open its properties immediately before submission.
Frequently asked questions
Are 300 DPI and 300 pixels the same thing?
No. DPI describes dots per inch in a printing context, while pixel dimensions describe the number of pixels across the image. Follow the unit stated by the recruitment portal.
Can I check dimensions without editing the image?
Yes. File properties or image details may show width and height without changing the file.
Why do two images with the same dimensions have different file sizes?
They may use different formats, compression settings or image content. Dimensions alone do not determine file size.
Can I enlarge an image to meet the required dimensions?
You can increase the pixel dimensions, but enlargement does not create new photographic detail. Start with a clear original image.
What if the portal gives a dimension range?
Keep the image within the stated minimum and maximum values. Do not assume that only one exact size is accepted.
Final upload check
Check the official pixel requirements, inspect the dimensions of the final file and verify the file size and format separately. Open the image to make sure the face remains clear. This quick check can prevent a common technical error during online recruitment.
Additional practical considerations for signature image resizing
A useful way to avoid confusion is to treat signature image resizing as a separate task instead of mixing it with every other part of the application. First identify what the authority is asking for, then prepare the relevant file or information, and finally compare the result with the official instructions. This order matters because editing a file before checking the rules can create extra work. It may also lead to a version that looks correct but does not satisfy the upload field.
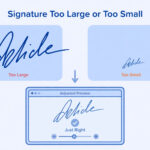
For example, imagine that you have prepared the resized signature preview. Before submitting it, pause and review the natural proportions of the handwriting. Check whether the information is complete, whether the image or document opens correctly and whether the file still looks clear after the final export. If the portal shows a preview, compare that preview with the saved file. A preview can reveal an incorrect crop, a wrong upload field or a file that has not been processed as expected.
It is also useful to keep a small record of what you have checked. Write down the name of the recruitment, the date you reviewed the notification and the technical requirements that apply to this upload. If the authority later publishes a correction or revised instruction, check whether it changes anything. This is especially important when you apply for more than one post or when a recruitment process remains open for several weeks. Do not rely on a screenshot saved from an earlier application cycle.
When something goes wrong, avoid changing several things at once. Read the error message, identify the property it refers to and make one correction. For example, if the message concerns the file type, verify the actual format before changing dimensions. If it concerns readability, inspect the original capture before compressing it again. A step-by-step approach makes it easier to understand the cause and prevents unnecessary changes to a correct file.
Before you finish, ask yourself these questions: Does the file belong to the correct applicant? Is it the document or image requested in this field? Are all important details visible? Does it follow the current notice? Have you checked the final saved version rather than an earlier draft? These checks are simple, but they are useful because upload mistakes often happen when applicants are in a hurry.
If the instructions appear inconsistent, do not choose whichever value seems easier. Check for a later official notice, a corrigendum, an application help page or a clarification from the recruiting authority. Keep the response or reference number if you contact support. An unofficial blog or social media post can help you understand a topic, but it should not override an official recruitment instruction.
Finally, keep your original records safely. Save the unedited scan or source file separately from the version prepared for upload. This gives you a clean starting point if a correction is required or another portal asks for a different format. Use clear filenames and avoid sharing personal documents through public links. A careful file-management routine makes the application process more organised and reduces the chance of selecting an outdated version.