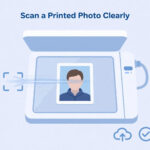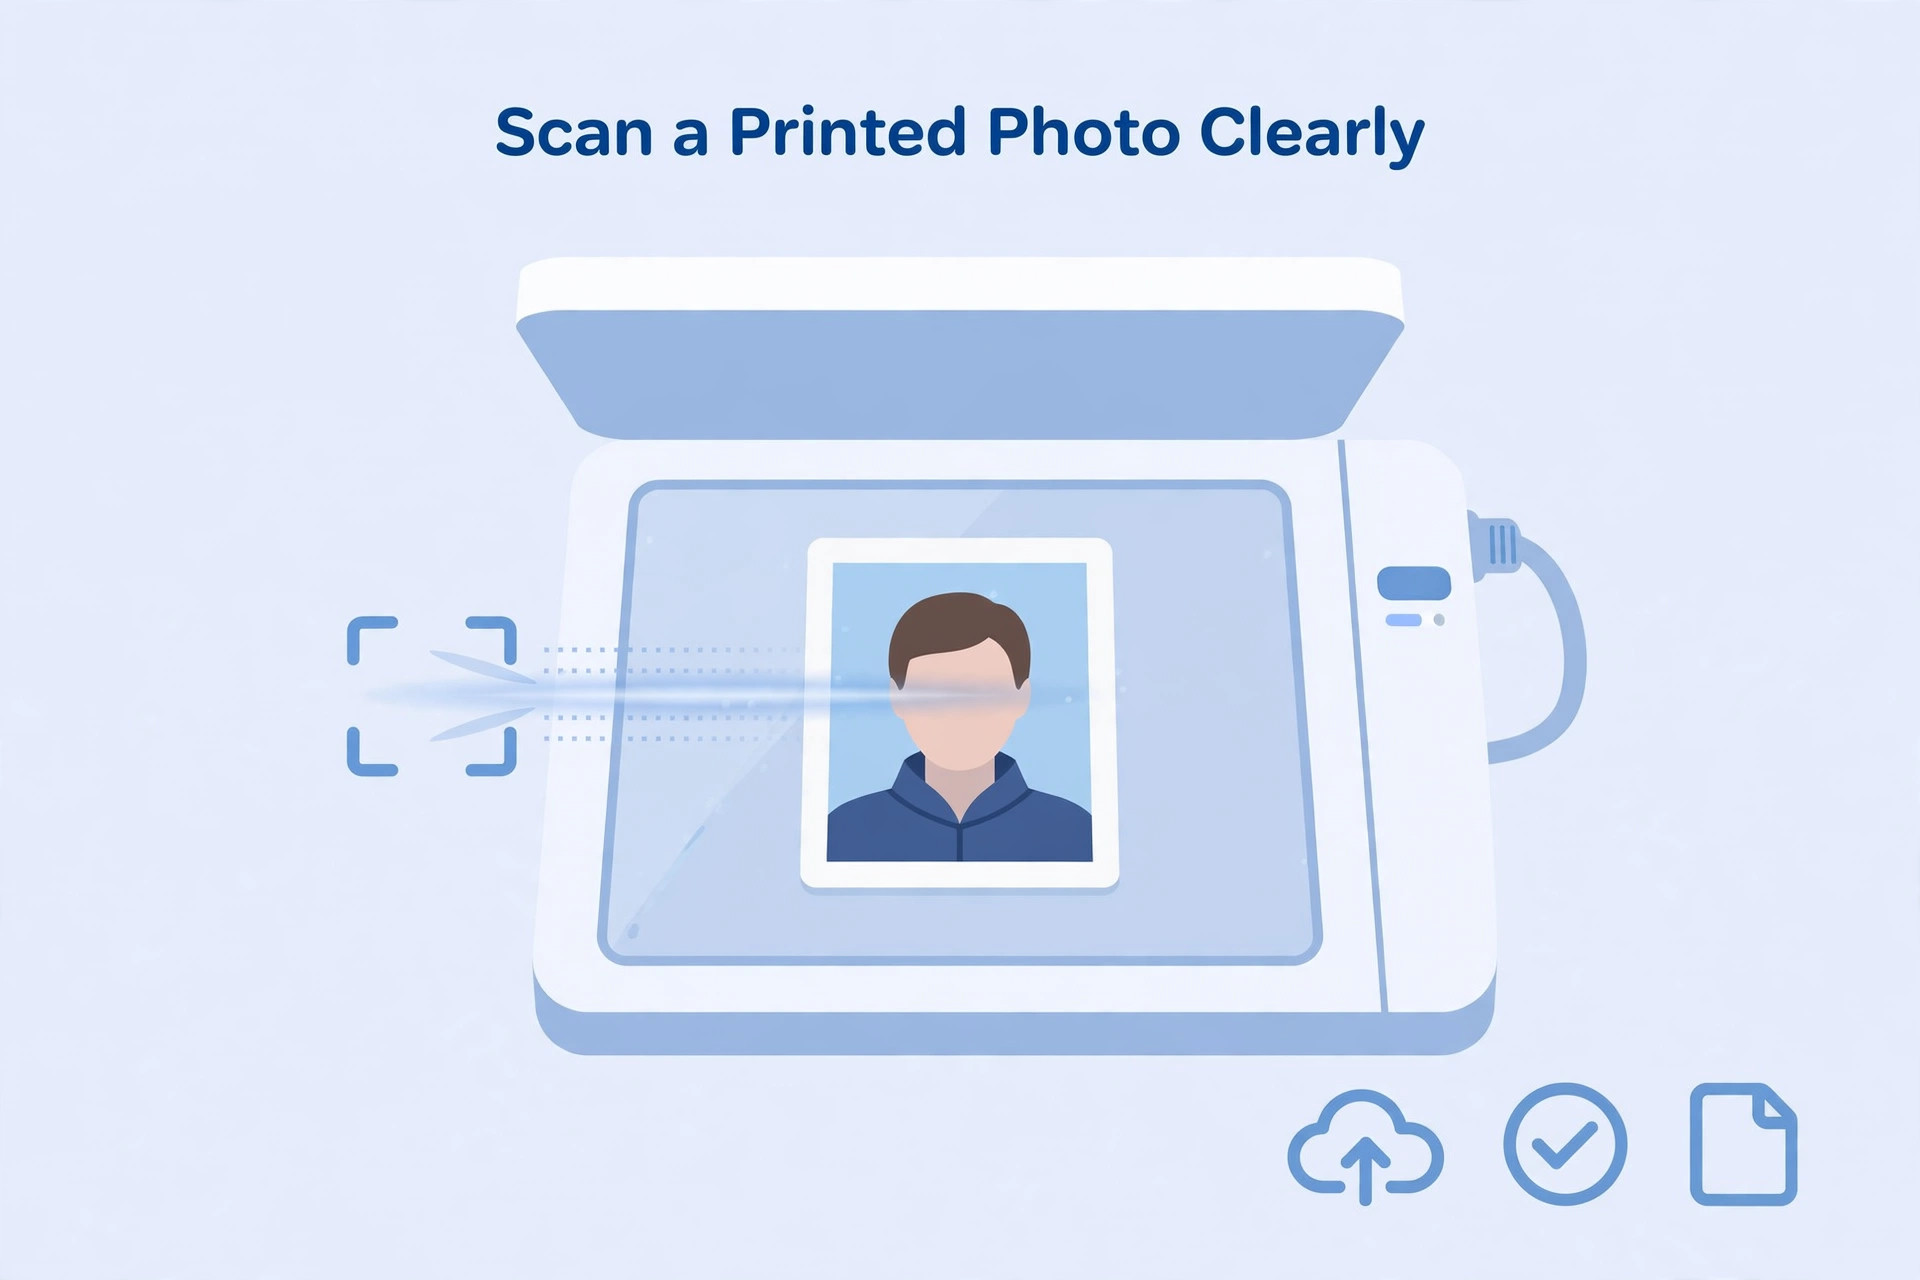
Some applicants have a printed passport-style photograph but do not have the original digital file. In that situation, they may need to scan the printed photograph before uploading it to a government recruitment form. A scan can work when the recruitment authority permits it, but the result must be clear and must follow the current application instructions.
Scanning a printed photograph is different from taking a new photograph. The scanner captures a copy of the printed image, including the paper surface, print quality and any marks on it. If the print is faded, scratched or blurred, the digital copy will show those problems. This guide explains how to prepare a clean scan and what to check before uploading it.
Check whether a scanned print is allowed
Start by reading the official notification and the application help page. Some recruitment portals ask for a recent photograph and may allow a scanned printed photo. Others may require a live photograph or a direct camera capture. If the portal specifically asks for live capture, scanning a printed photograph is not a substitute.
Also check whether the authority requires a particular date, background, face position, file format, dimensions or file-size range. Do not assume that a printed photo that was accepted for an earlier examination will automatically be accepted for a new one.
Choose a suitable printed photograph
Use a recent, clear print. Check that the face is recognisable and that the photograph is not faded, scratched or stained. A very small print may be difficult to scan clearly if the portal expects a larger digital image.
Avoid using a photograph that has been cut unevenly or damaged around the face. If the printed image is poor, taking a new photograph may be a better choice. Scanning cannot restore detail that is missing from the print.
Clean the scanner glass
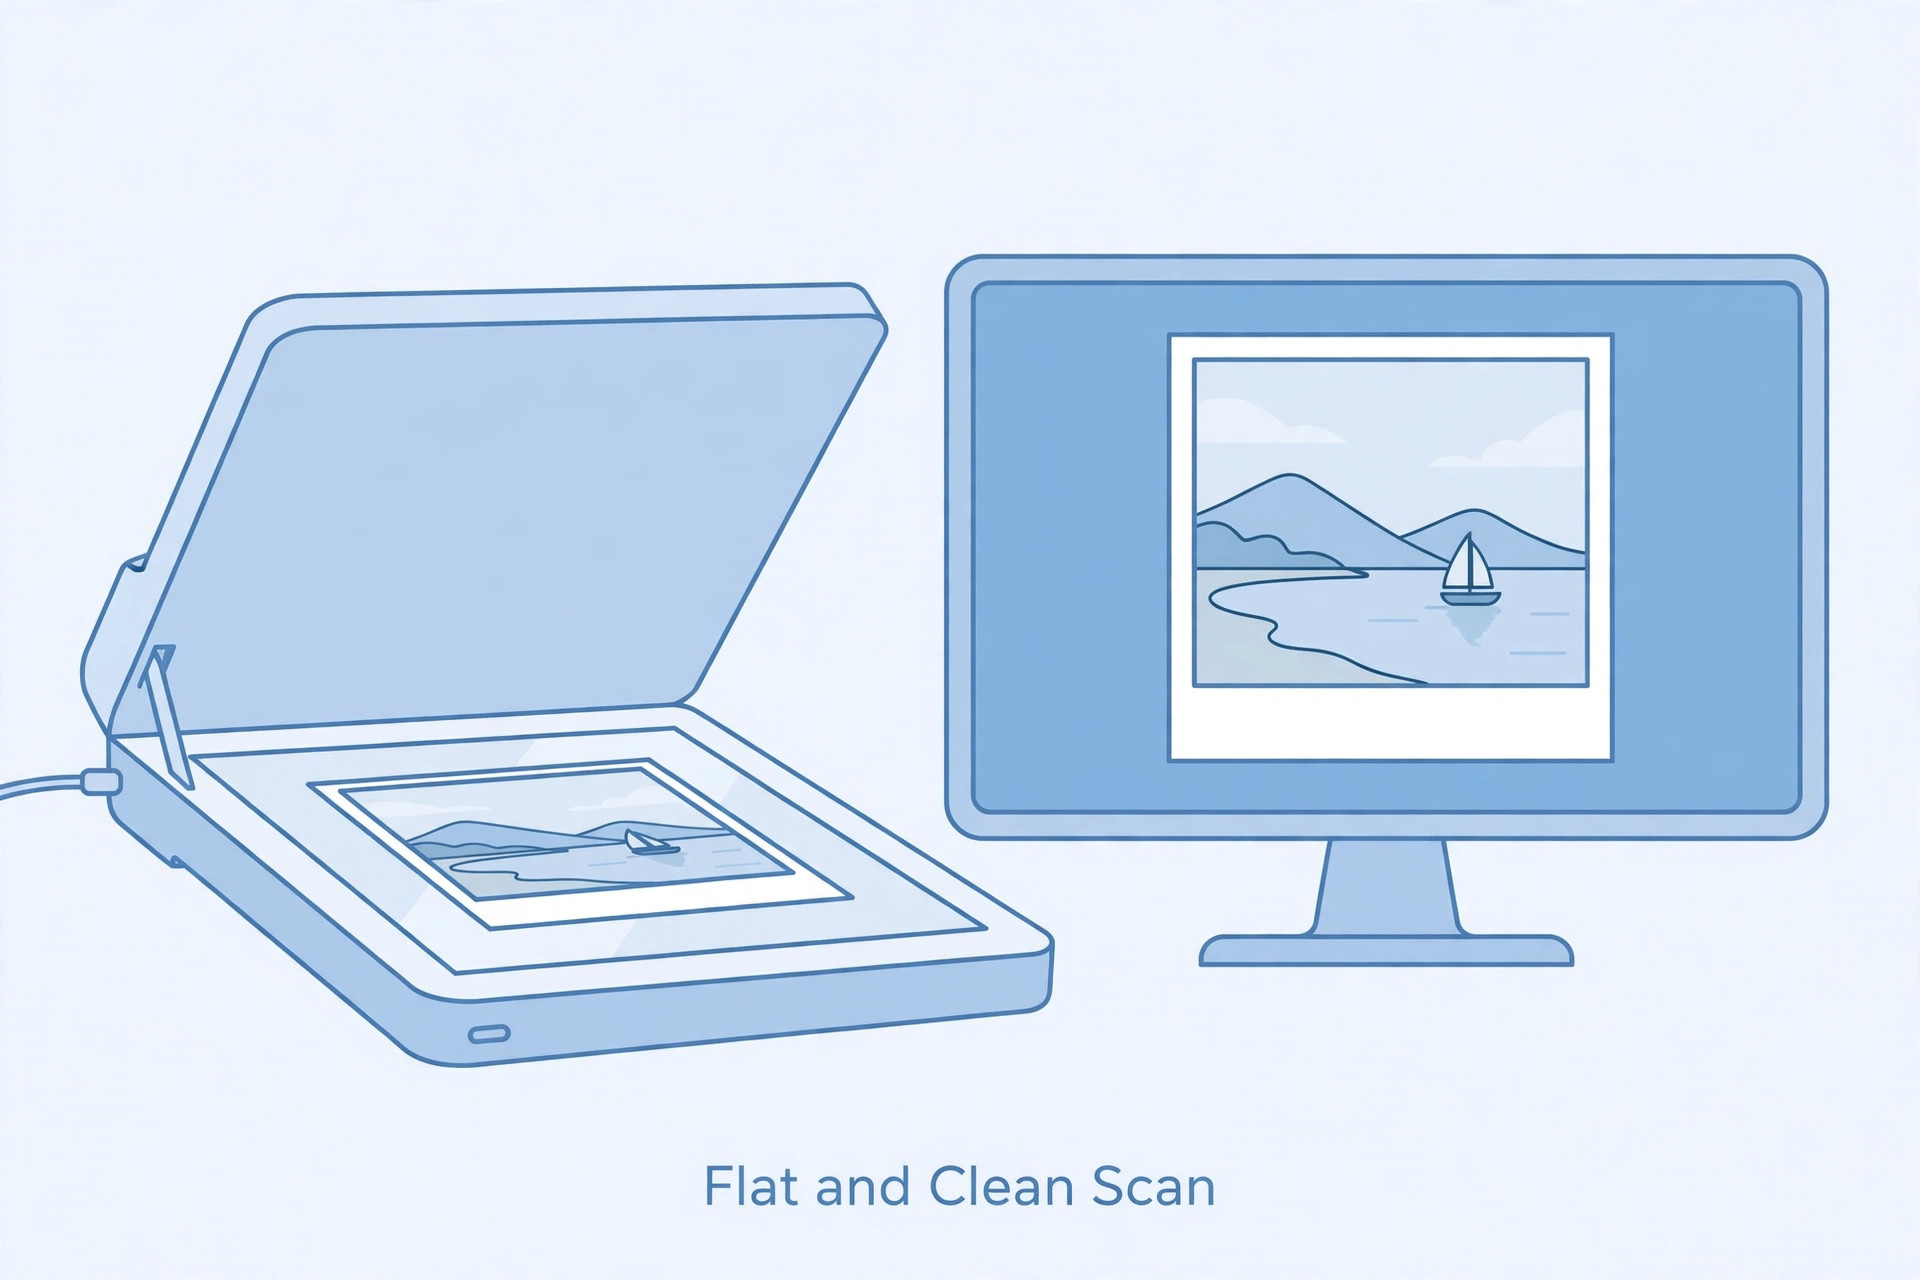
If you have a flatbed scanner, clean the glass with a soft, lint-free cloth. Dust, fingerprints and small particles can appear as spots in the scanned image. Place the photograph flat against the glass and make sure it is not tilted.
If the photograph curls at the edges, use a flat print or gently position it so that the whole image touches the glass. Do not press hard or use anything that could damage the print. Close the scanner lid if possible to reduce outside light.
Scan at a suitable setting
Choose a colour scan when the photograph is in colour and the recruitment instructions do not require another format. Use a resolution that captures the details clearly. Extremely low resolution can make the face look rough, while an unnecessarily high resolution can create a large file that needs more processing.
The ideal setting depends on the scanner and the portal's requirements. After scanning, inspect the image before resizing. If the scan looks soft or has visible lines, try again with a different suitable setting.
Use a mobile phone carefully
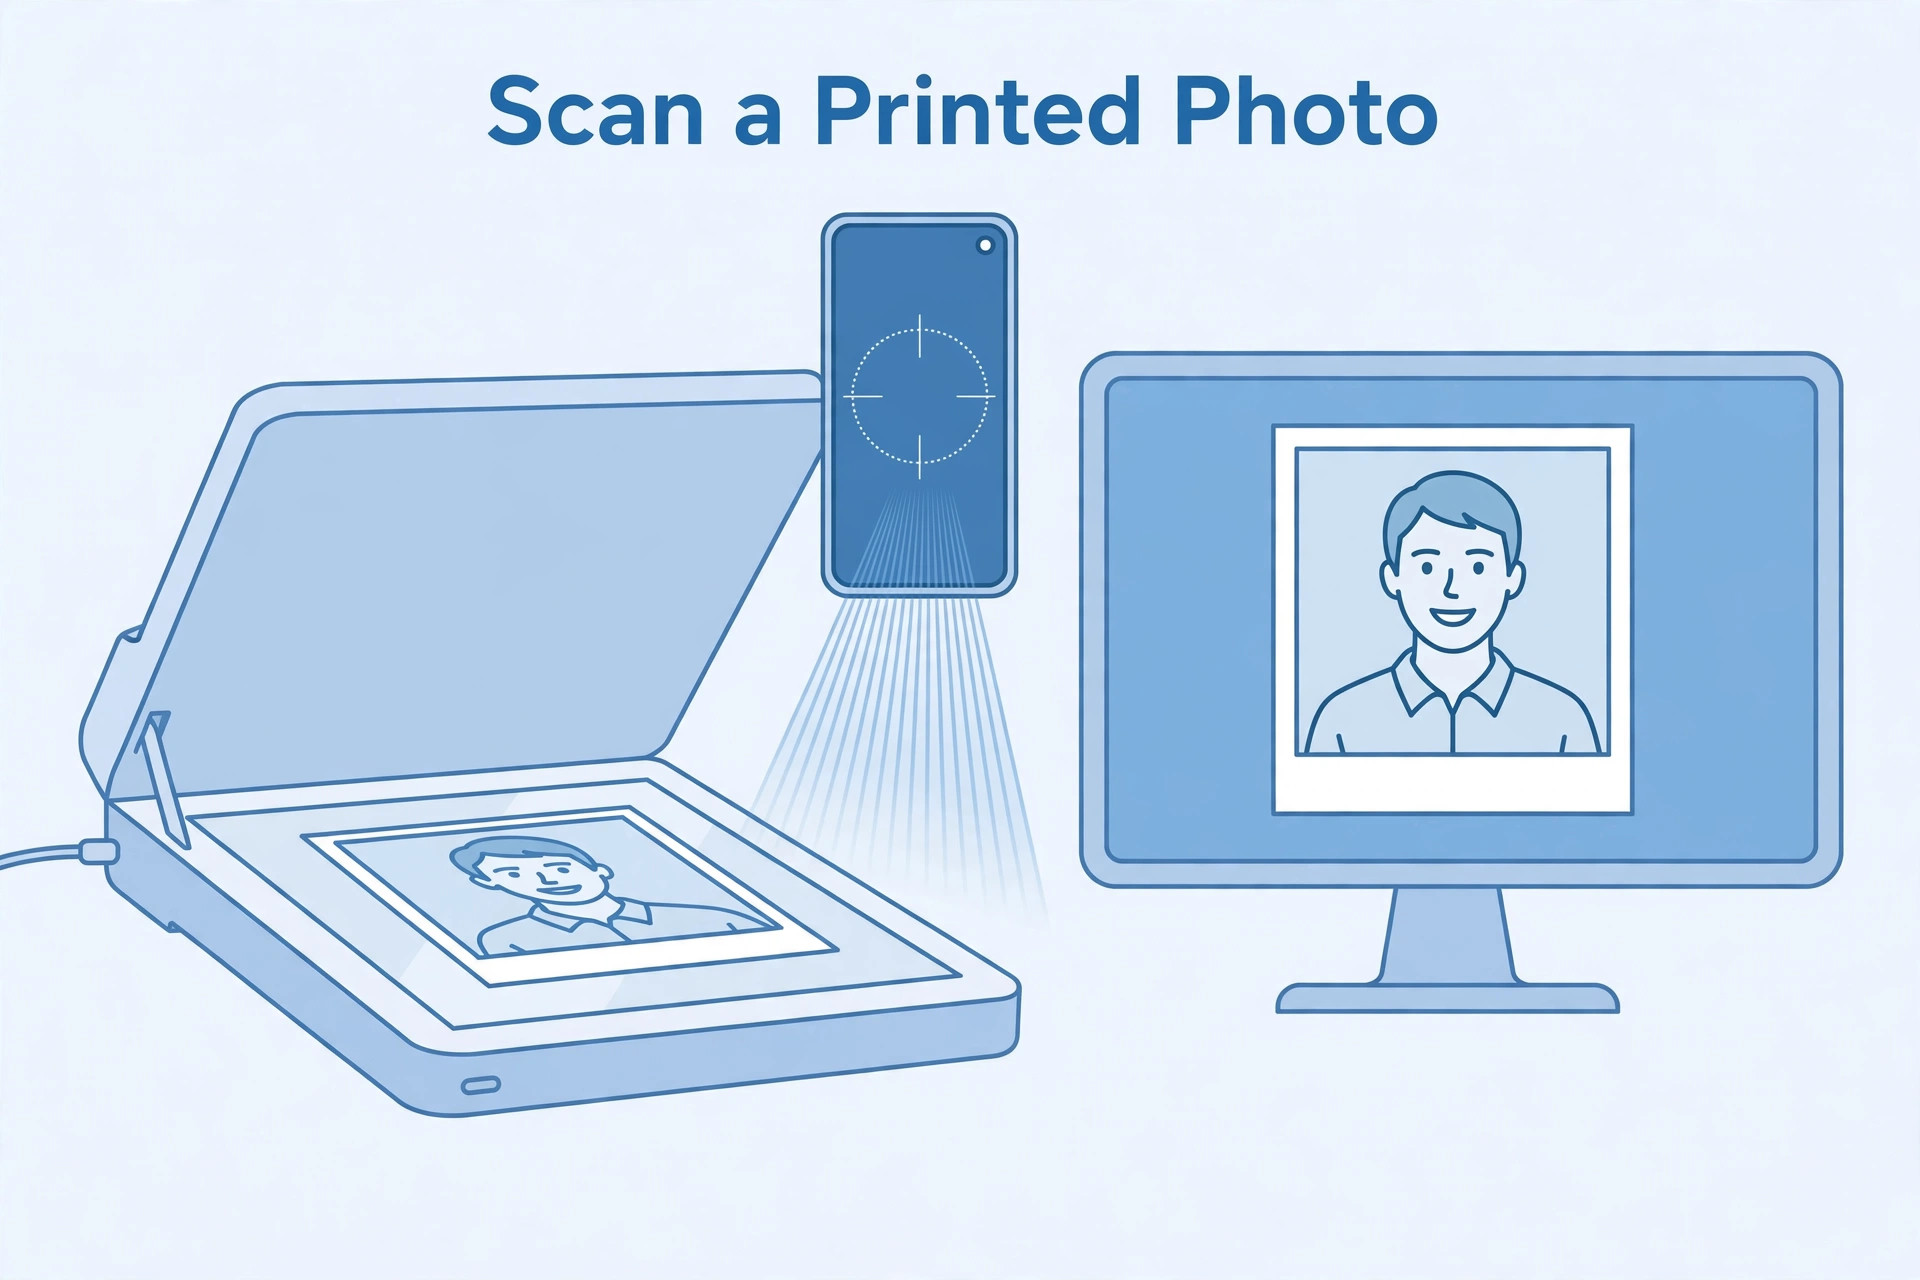
A phone can photograph a printed image if a scanner is not available and the recruitment authority accepts that type of file. Place the print on a flat surface in even light. Keep the phone parallel to the photograph and avoid reflections from overhead lights.
Do not hold the phone at an angle because the print may appear trapezoidal. Tap to focus and keep the camera steady. If the photograph has a glossy finish, move the light source so that it does not reflect directly into the lens.
A scanning application may detect the edges and correct perspective. Check the result because automatic cropping may remove part of the printed photograph.
Crop the scanned image
The scan may include the table, scanner lid or extra white space around the print. Crop the image so that only the photograph remains. Keep the full printed image inside the crop and avoid cutting off the head or shoulders.
If the recruitment portal expects a particular aspect ratio, compare the crop with the official sample. Do not stretch the image to force it into a different shape. Crop first and resize proportionally if pixel dimensions are required.
Check colour and brightness
A scanned print may look too dark, yellow or faded. Small brightness and colour adjustments may improve the result, but do not change the applicant's facial appearance. Avoid beauty filters, skin smoothing and artificial background replacement.
If the print itself is faded, a scan cannot recreate the original colours accurately. In that case, a new photograph may be more suitable. The final image should represent the applicant clearly and naturally.
Resize and compress only after scanning
Once the scan is clean and cropped, check the recruitment portal's technical requirements. If exact pixel dimensions are provided, resize the image while maintaining the correct proportions. If the file exceeds the size limit, use controlled compression.
Do not repeatedly compress the same file. Keep the original scan and export a new copy if you need to change the settings. Check the final dimensions, file size and format after saving.
Common scanning problems
Glare can make part of the face look white or washed out. Dust on the scanner glass can create marks. A tilted phone can distort the photograph. Low resolution can make facial features unclear. Automatic crop tools may remove important edges. Strong colour correction can make the image look unnatural.
If a problem is visible in the original scan, consider scanning again rather than trying to fix it with heavy editing. A clean second scan is often quicker and safer.
Before uploading
Check that the portal allows a scanned printed photograph. Confirm that the photo is recent enough, clear and correctly framed. Make sure the file format, size and dimensions match the current notice. Open the final saved file and inspect it at normal size.
Keep the original print and digital scan until the application process is complete. If a correction window opens, you may need the original to prepare a replacement image.
Frequently asked questions
Can I take a photo of a printed passport photo with my phone?
You may do so if the recruitment instructions permit it. Use even lighting, avoid glare and keep the phone parallel to the print.
Is a scanner better than a phone camera?
A flatbed scanner often produces more even results, but a phone can work when used carefully. The final image quality matters.
Can I remove the background of the printed photo?
Do not change the image beyond what the authority permits. A new photograph against the required background is safer than aggressive editing.
What if the printed photo is old?
Check the photograph age requirement in the current notification. A technically clear scan may still be unsuitable if the authority requires a recent photograph.
Can a scanned print become sharper through editing?
Editing cannot reliably restore detail missing from a low-quality print. Use a better print or take a new photograph.
Final advice
A scanned printed photograph should be clear, recent and permitted by the recruitment authority. Clean the scanner glass, avoid glare, crop carefully and check the final file. If the print is faded or the portal requires a live photograph, prepare a new image instead of trying to repair an unsuitable scan.